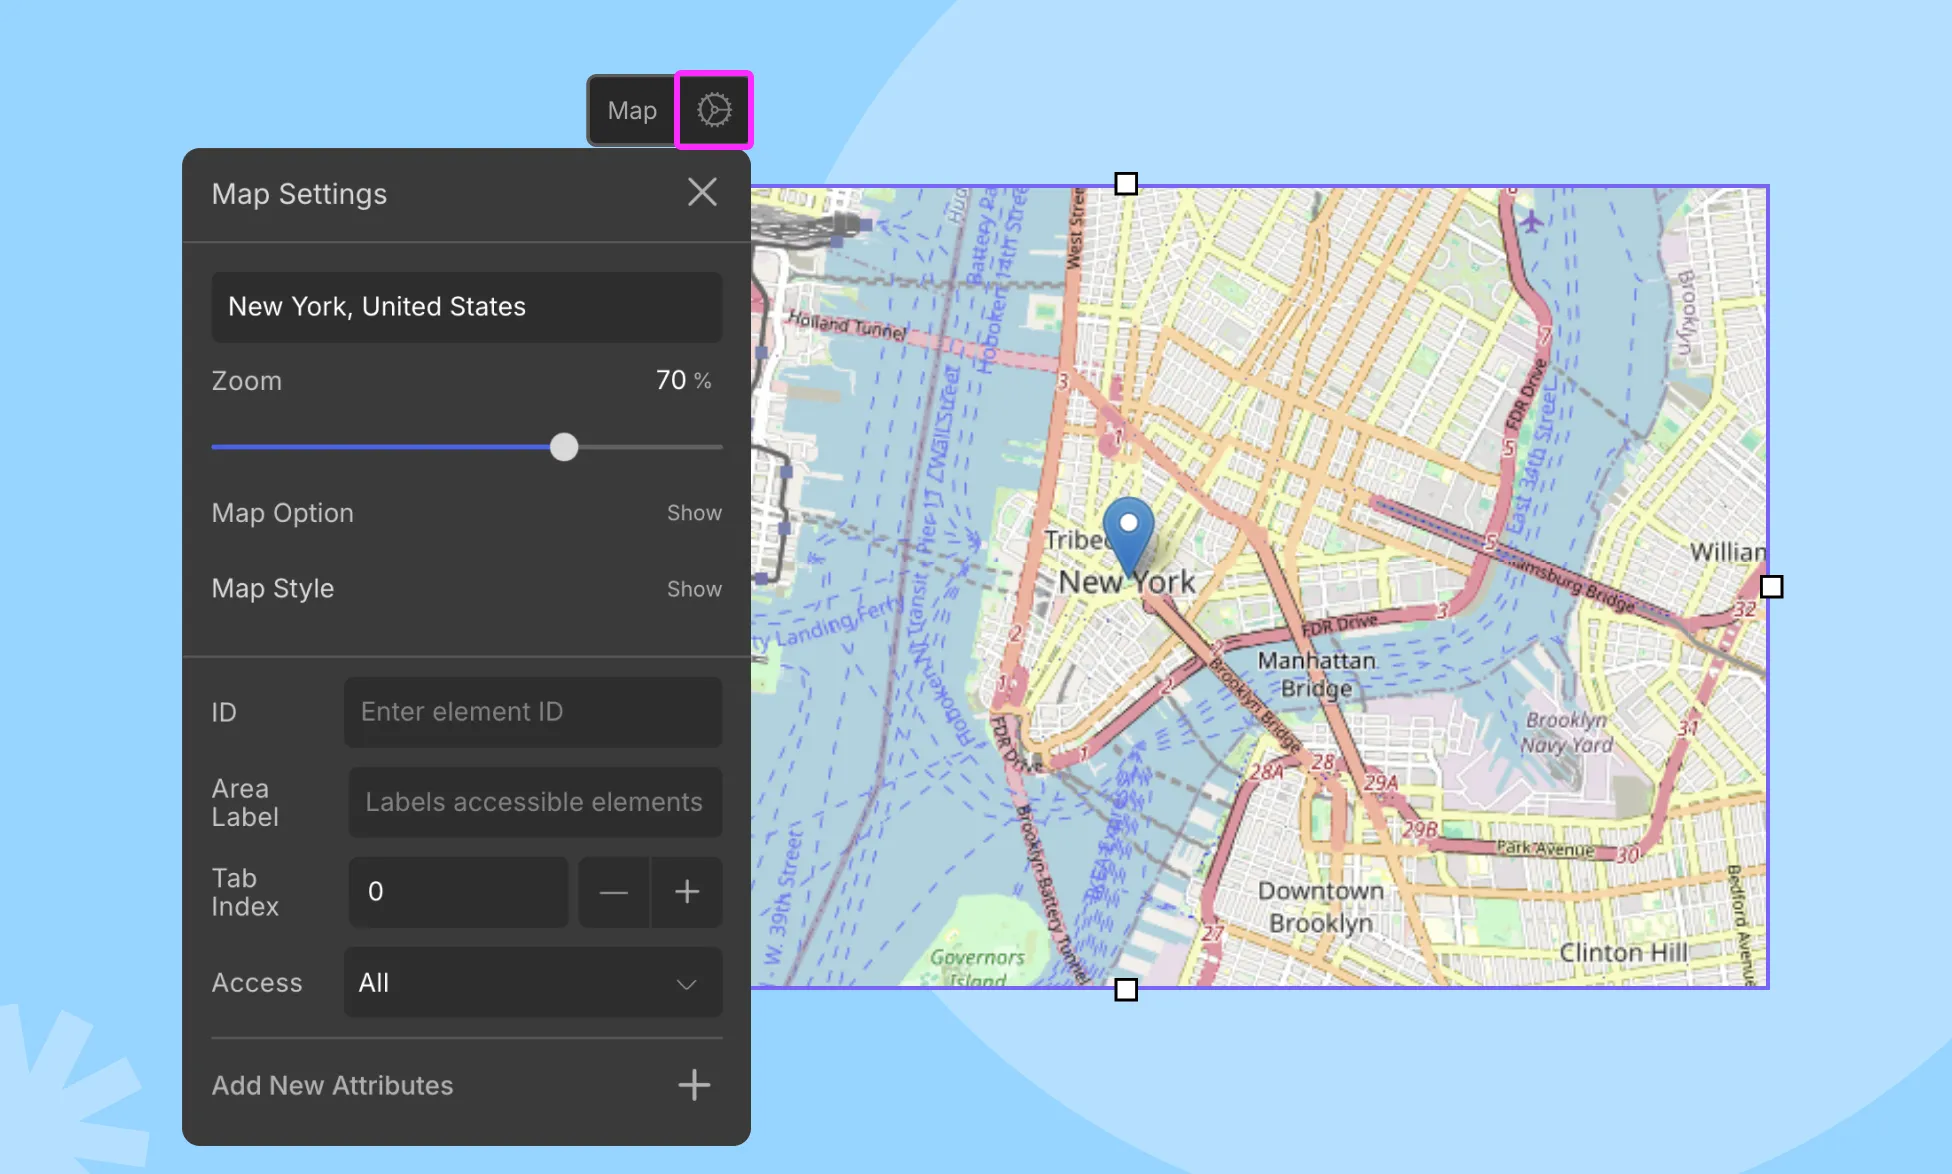
The Map element allows you to embed highly interactive maps into any of your web pages. It is built using Leaflet and Openstreet Map, making it super easy to work with and customize.
How to Add a Map
To add the Map element, follow these steps:
- Open the Elements panel.
- Scroll down to the Components section.
- Drag & drop the Map element onto your canvas.
Map Settings

To customize the Map element, select it and click on the ellipsis icon in the inline editor to open the Map Settings. Here are the available options:
Add Location
Search for the name of the location you want to display on the map. Then, select the desired result from the dropdown list.
Zoom
Define the initial magnification level of the map. A value of 0 will display a wider area, while a value of 100 will provide a more detailed view of the specified location. You can adjust this by dragging the slider or entering a value into the field.
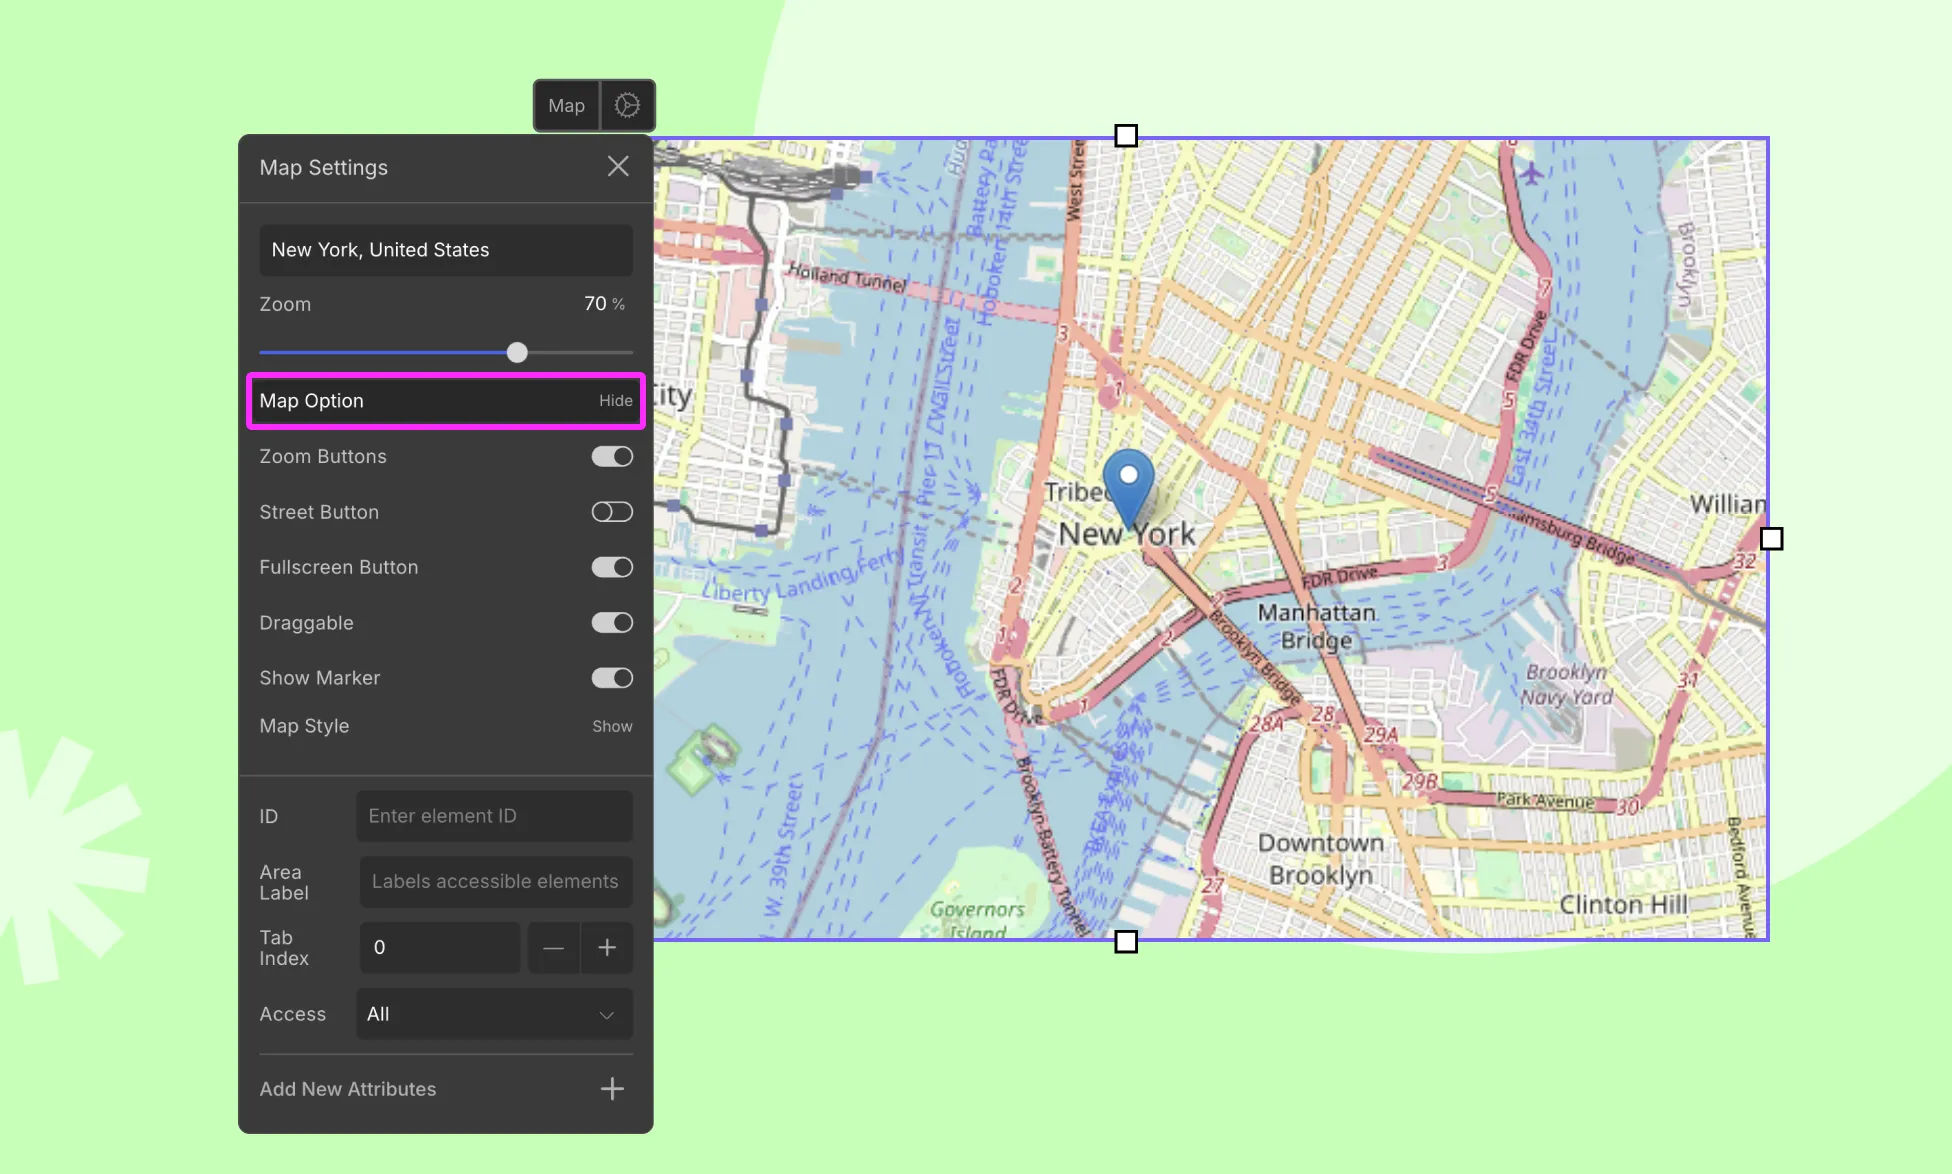
Map Option
You can enable or disable the following map controls from the Map Options menu:

- Zoom Buttons: Enable or disable the zoom-in (+) and zoom-out (-) buttons.
- Street Button: Enable or disable the street view button.
- Fullscreen Button: Enable or disable the fullscreen button on the map.
- Draggable: Enable this option to allow the map to be draggable.
- Show Marker: Enable this option to display the marker (geotag) that points to the specified location.
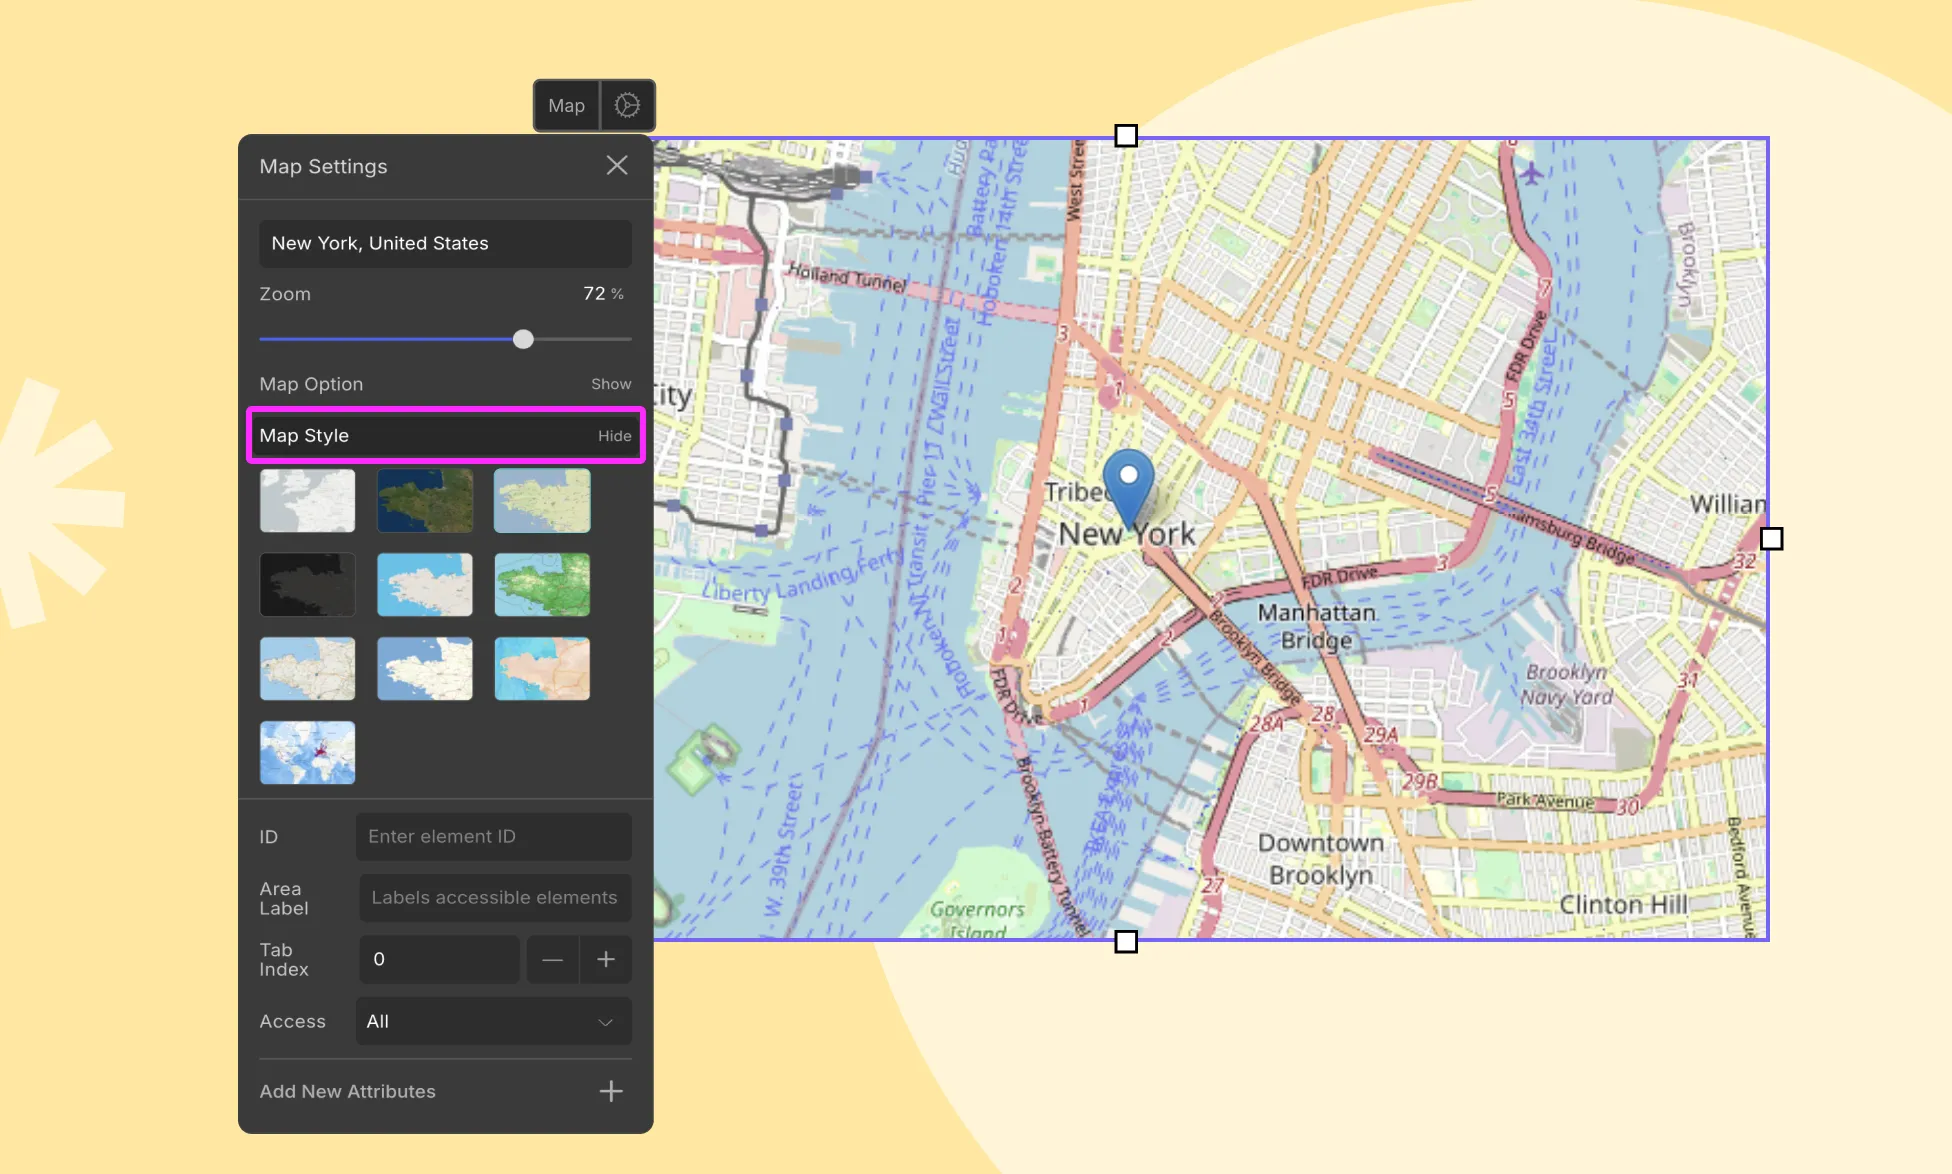
Map Style

Choose from ten different options to set the style of your map from the Map Style menu.
Was this page helpful?