The List element is used to showcase a list of items on your webpage in an organized way, enhancing the readability and user experience. Lists come in two primary types: Ordered Lists and Unordered Lists.
- Ordered List: An Ordered List presents its items in a sequential order, typically using numerical or alphabetical labels.
- Unordered List: An Unordered List displays its items as simple bullet points, providing an unordered collection of related items.
List Item
Each item within a List, known as a List Item, can contain not only text but also various other elements like images, links, and more, allowing for rich and engaging content.
Adding a List
To add a List to your webpage, follow these simple steps:
- Go to the Insert > Elements panel from the left side bar.
- Locate the List element within the Elements Panel.
- Drag and drop the List element onto your canvas.
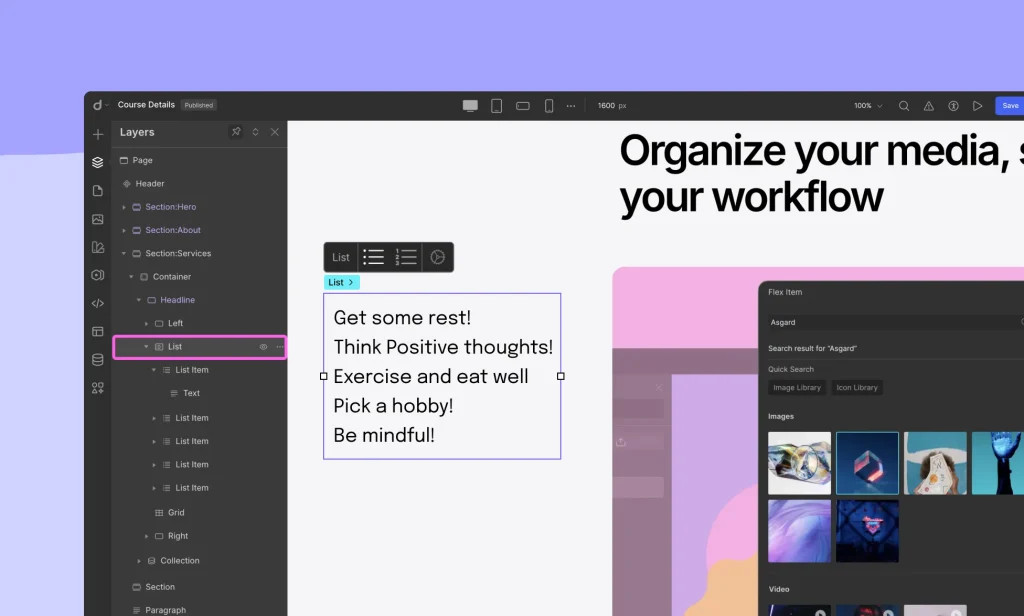
Upon adding the List element, you can configure your list from the inline editor. Use this editor to determine the type of list you want to display:
- Click on the first icon to create an Unordered List.
- Click on the second icon to create an Ordered List.
List Options
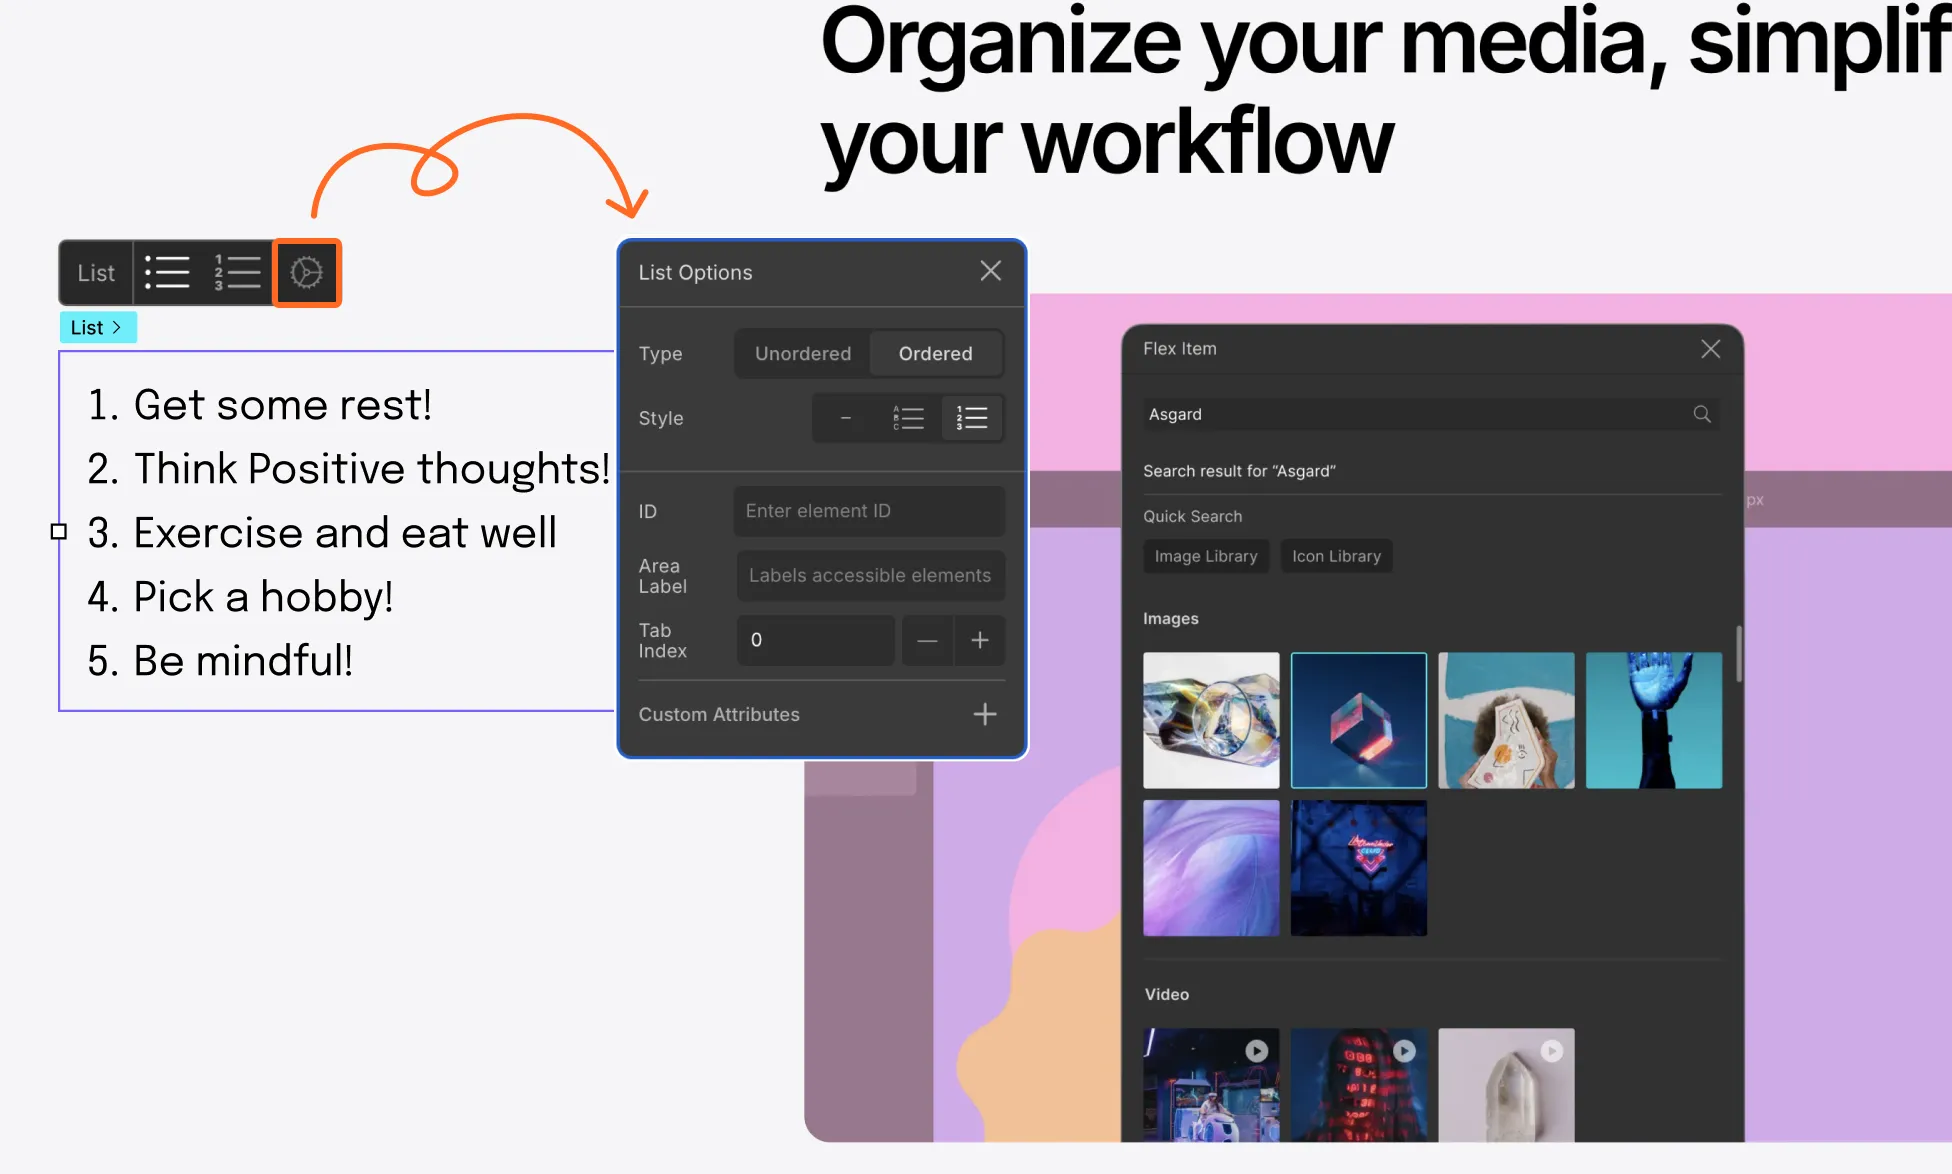
To access more list options, click on the settings icon to bring up the List Options.
List Type: Select whether you want to use ordered or unordered lists. Clicking on these tabs won’t set the type but only let you access its style options.
List Style: Change the style of the bullet points from here. For Unordered Lists, you can choose between dot or star-shaped bullet points. Similarly, for Ordered Lists, you can choose between lettered or numbered bullet points. Your List Type will be set accordingly.
You can even choose to not use bullet points for your list by clicking on the hyphen icon that’s under each type.
Adding Content to a List
Inside the List Item, add your desired content elements such as Paragraphs, Images, Buttons, etc.
For detailed information on List Items, please refer to our List Item documentation.
Was this page helpful?