Once you have created your collections and added your collection items, it’s time to display this dynamic content on your site.
By using the Collection element and Collection pages, you can efficiently manage and display your dynamic content, keeping your site both dynamic and cohesive.
Droip makes this process straightforward with the use of Collection elements and Collection pages.
Using the Collection Element
The Collection element allows you to display a list of items from any of your collections on any page of your site.
Add a Collection Element
Drag and drop the Collection element onto your page where you want the list to appear.
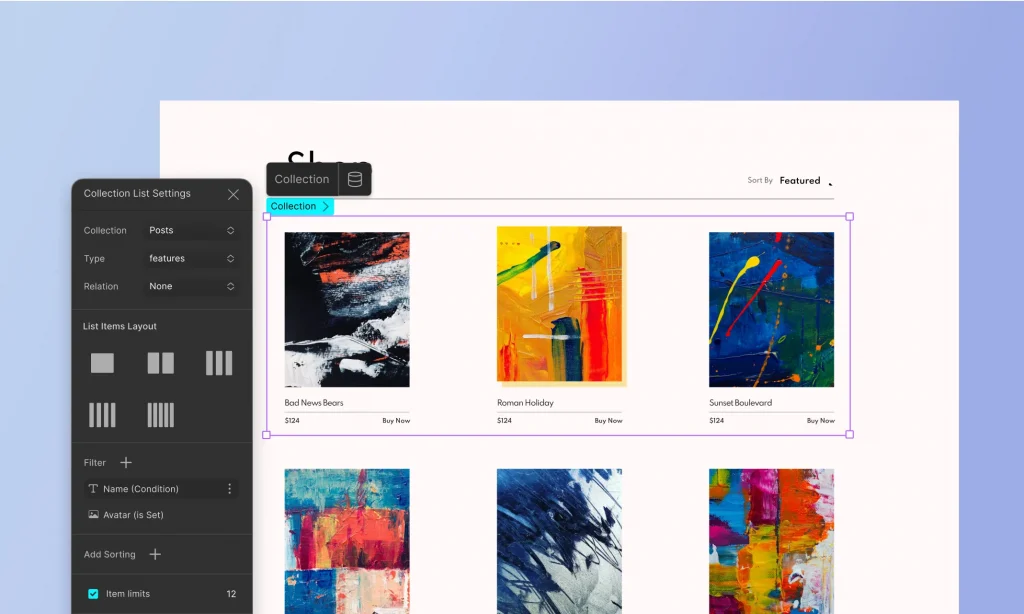
Select the Collection & Collection Type
Choose which collection you want to display from the dropdown menu. This could be blog posts, team members, recipes, etc.
List Item Layouts
Choose from a variety of pre-defined layouts to display your collection items.
Connect the Fields
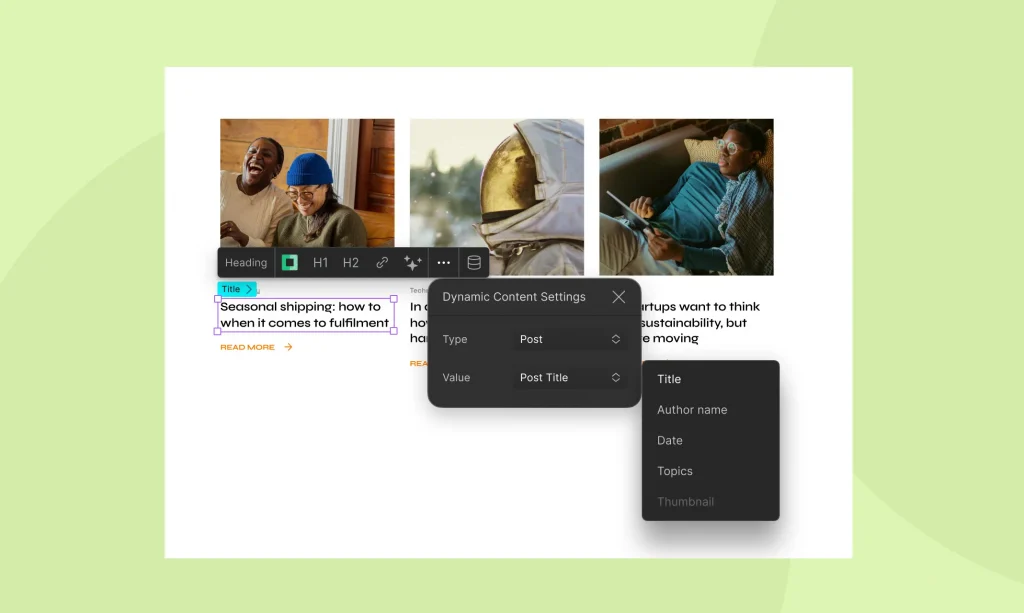
Select the fields you want to display within the Collection element. This can include text, images, links, and more, depending on the data in your collection.
Bind these fields to your collection data, ensuring that the displayed content updates automatically as the underlying data changes.
Filter Collection Items
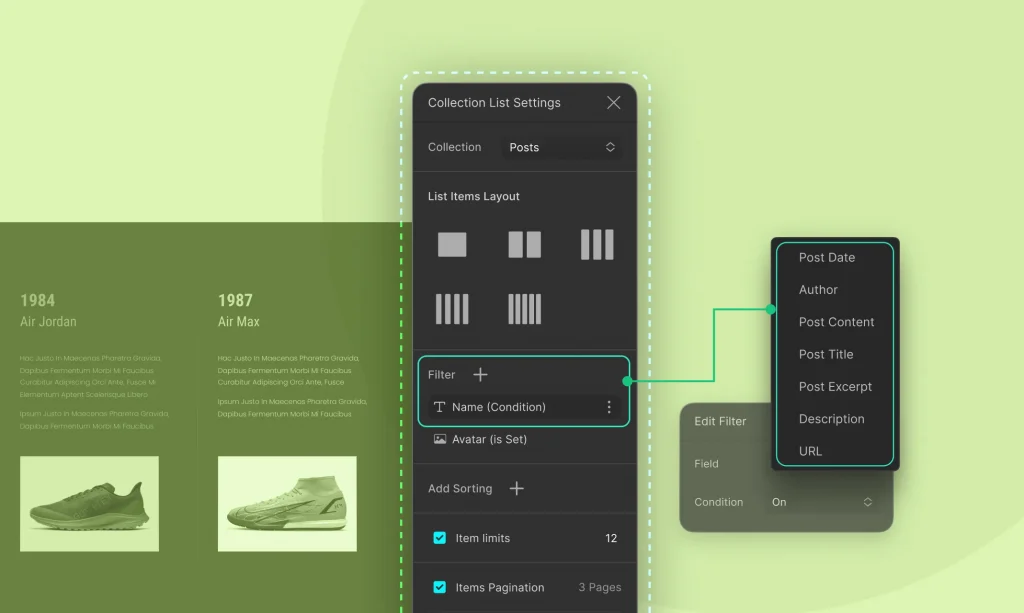
Filtering allows you to display specific items from your collection based on certain conditions:
Choose which collection items to display based on individual field values. For example, if your collection includes a field called “Newly Launched,” you can filter items to only display those marked as newly launched.
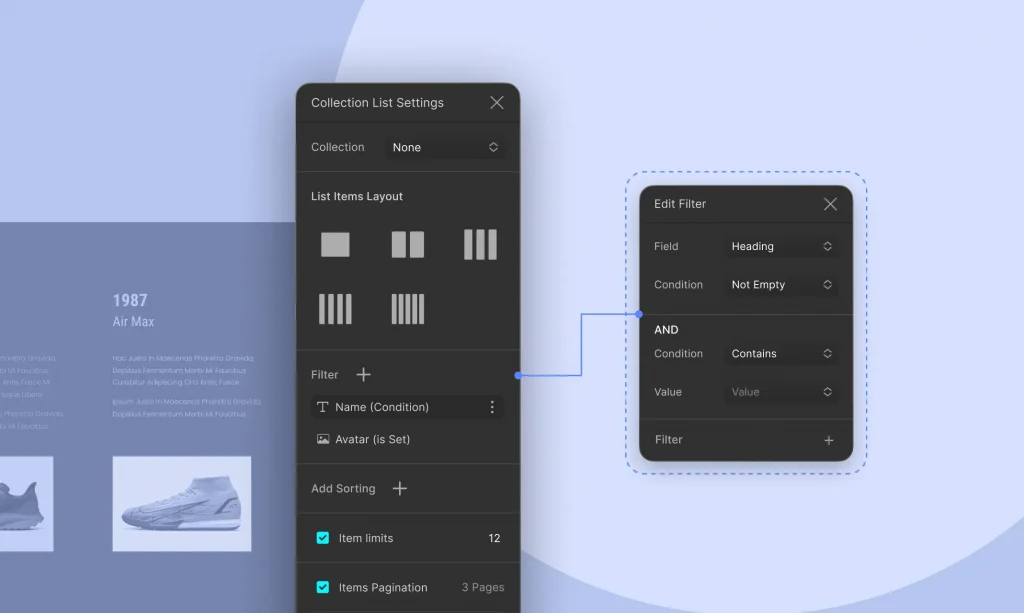
You can also add multiple conditions in certain fields to fine-tune which items appear. For instance, you might filter to show only items where the title is not empty and contains a specific keyword.
Style the Collection
Use Droip’s design tools to style the Collection to match your site’s look and feel.
Creating Template Page for Collection Items
Collection pages serve as templates for displaying individual items from your collections, ensuring that each item is presented consistently across your site. This is particularly useful for product pages, individual blog posts, portfolio entries, and more.
Step 1: Create a Collection Page
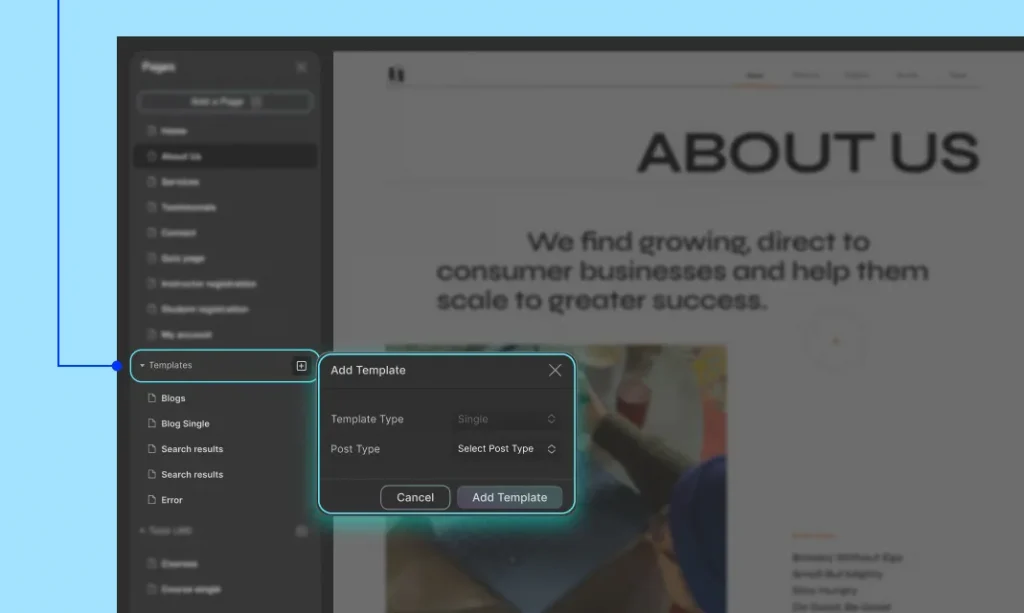
- Access the Templates: Navigate to the Templates section under Pages.
- Create a New Template: Click the + icon beside Templates, select the desired post type (e.g., blog post, product), and click on Add Template to create a new Collection Page template.
Step 2: Design the Template
- Add Elements: Drag and drop elements onto the page to design the layout. For example, add text elements for titles, image elements for photos, and more.
- Bind Elements to Collection Fields: Connect each element to the relevant fields in your collection. For instance, bind a text element to the “Title” field and an image element to the “Featured Image” field.
- Customize the Layout: Adjust the layout and styling to ensure that each page looks polished and professional.
- Dynamic Content Display: Each Collection Page dynamically pulls in content from the corresponding collection item, ensuring unique pages for each item.
Step 3: Add Dynamic SEO
You can optimize the SEO for your Collection Pages by setting up dynamic titles and meta descriptions.
To do that, define a pattern for SEO titles and meta descriptions using field tags that will automatically apply to all items in the collection.
Access SEO Settings
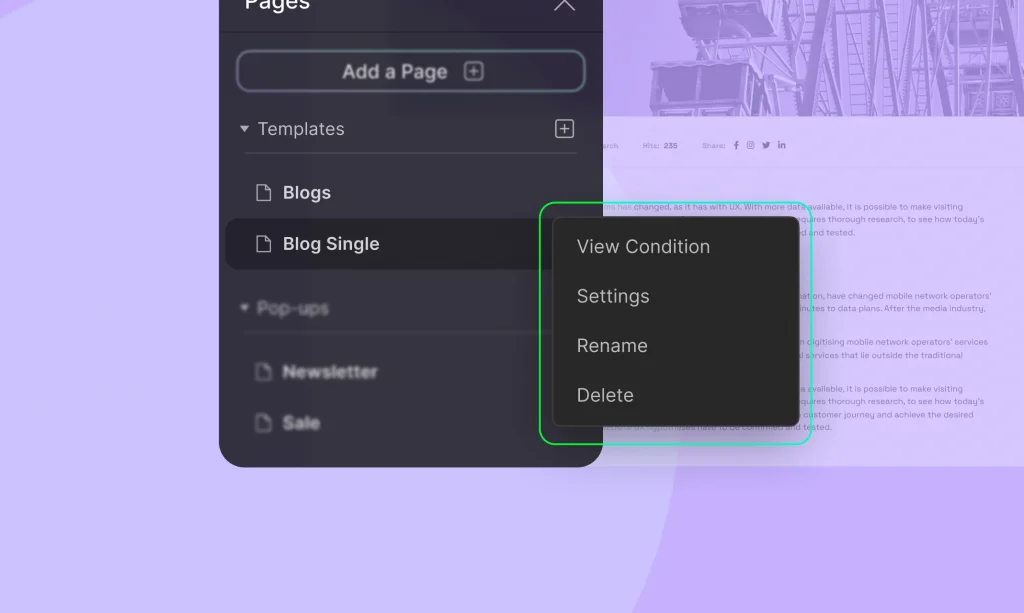
Click the three-dotted icon beside the template page, then click on Settings. Navigate to the SEO Settings tab to configure your dynamic SEO.
Field Tags
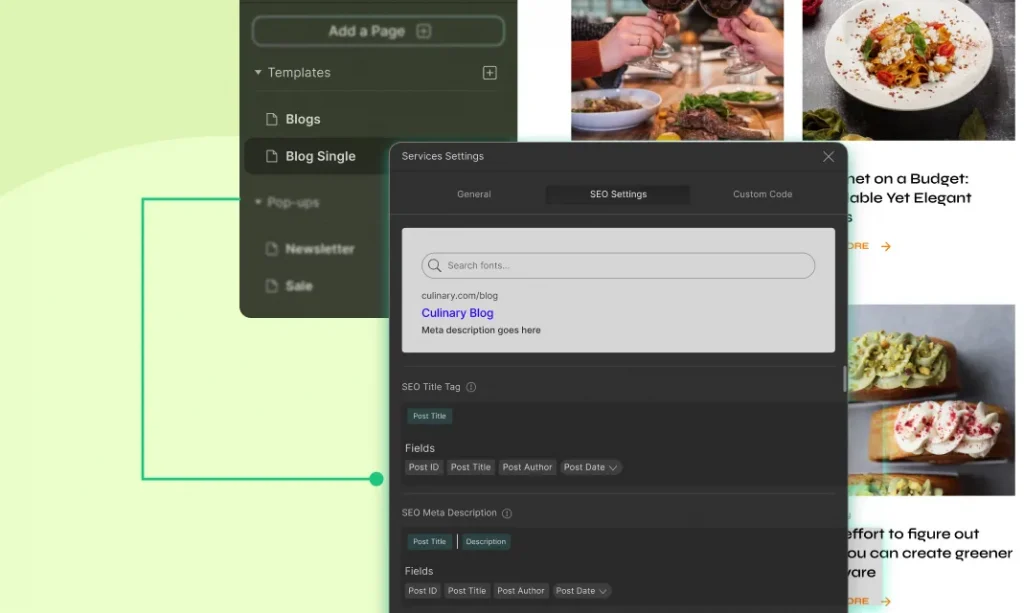
Use field tags to populate SEO settings with dynamic data, ensuring each page is optimized based on its unique content.
Open Graph Settings: Similarly, you can dynamically set the Open Graph image, title, and description, ensuring that your content is correctly represented when shared on social media platforms.
General Settings: Adjust other general settings for the template page, including:
- Page Name and URL: Set a descriptive name and URL for the template.
- Page Description: Add a brief description of the page’s purpose.
- Theme Elements Visibility: Control the visibility of global elements like the header and footer.
Customizing a Specific Collection Item Page
You can also make unique changes to individual collection item pages within a Collection template, without impacting the layout of other items.
This can be particularly useful if you want to highlight or customize a specific item with unique content or design elements.
Step-by-Step Guide:
- Navigate to the Collection Template Page: Open the Droip editor and go to the Collection template page you wish to customize.
- Add an Element for Customization: Drag and drop any element onto the template page where you want the unique content to appear. For example, you might add a text block, image, or any other design element.
- Link the Element to Dynamic Content: With the new element selected, open the Dynamic Content Settings. Set the Type to “Post” and the Value to “Post Content”. This ensures that the element is linked to the specific collection item’s content.
- Access the Specific Collection Item for Editing: Go to the specific collection item’s page in your browser. In the URL, add “?action=droip” at the end. Press Enter to reload the page in the editor mode.
- Customize the Collection Item Page: The editor will now open, allowing you to make unique changes to that specific collection item. Any modifications made here will only affect this particular item, leaving the rest of the collection pages untouched.
Was this page helpful?