Once you’ve created a Collection, you need to populate the collection with collection items. Managing entries in the Content Manager involves various actions that help you maintain and organize your content effectively.
Adding New Entries
- Open Collection: Navigate to the desired collection within the Content Manager.
- Add New Entry: Click on the “+ Add New” button.
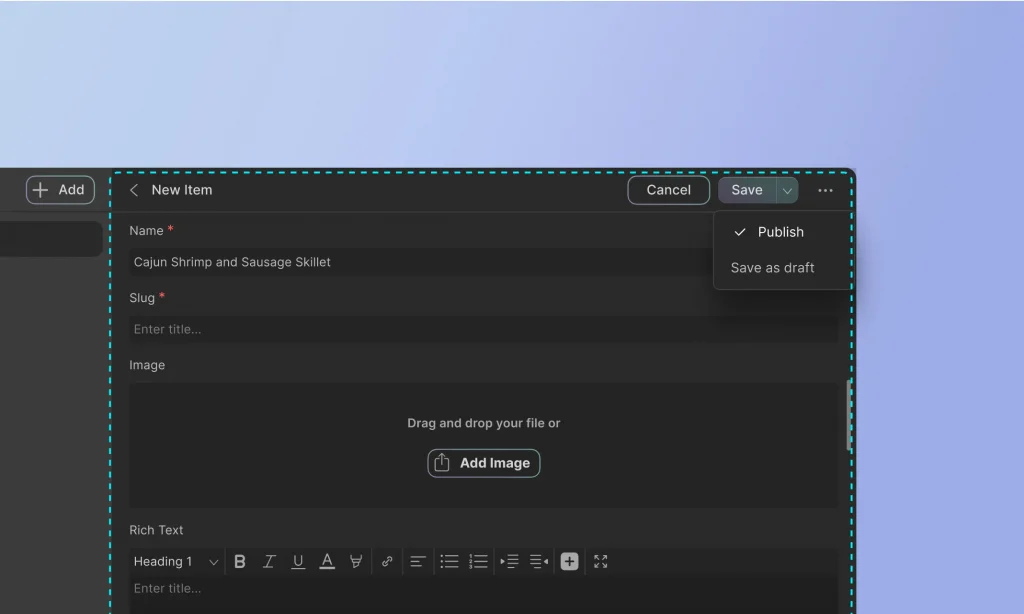
- Fill in Fields: Enter the required data in each field of the new entry form. For example, when adding a new team member, you might fill in fields for the name, slug, profile picture, bio summary, job title, email, and phone number.
- Save Entry: Choose to “Publish” or “Save as Draft” and click “Create.”
Schedule Collection Items for Automatic Publishing
You can schedule Collection items in Droip to go live at a specific date and time. It comes handy for planning ahead and managing content releases automatically.
How to Schedule a Collection Item
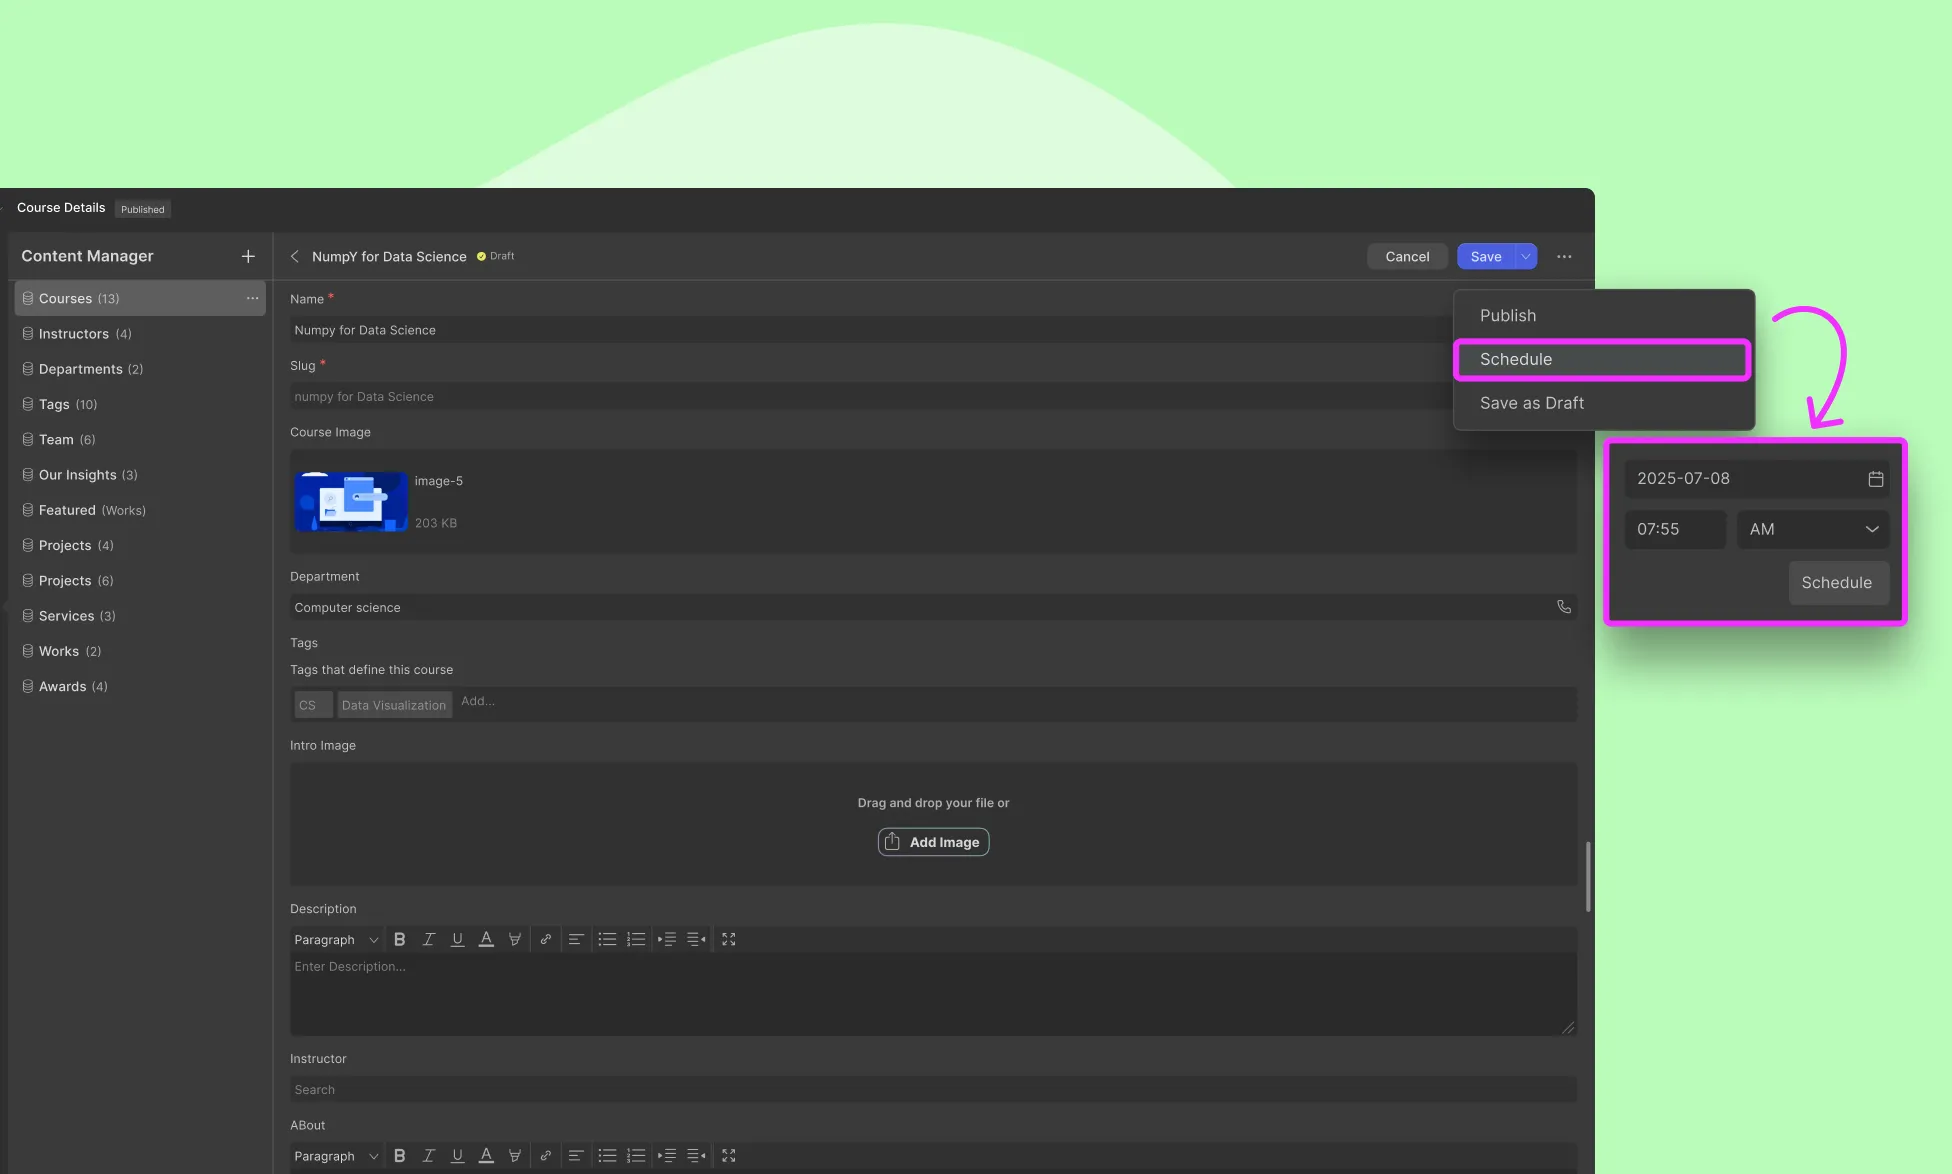
- Open the Collection item you want to schedule.
- Click the Save dropdown at the top-right corner.
- Select Schedule.
- Set the desired date and time (based on your site’s configured time zone).
- Click Schedule to confirm.
How to Unschedule or Reschedule
To unschedule, change the item’s status to Save as Draft.
To reschedule:
- Open the scheduled item.
- Click the Save dropdown.
- Select reschedule.
- Adjust the date and time.
Click Schedule to apply the new timing.
Managing Collection Items
Using the following features, you can efficiently manage your collection items and ensure that your collection table remains organized and up-to-date.
Perform bulk actions
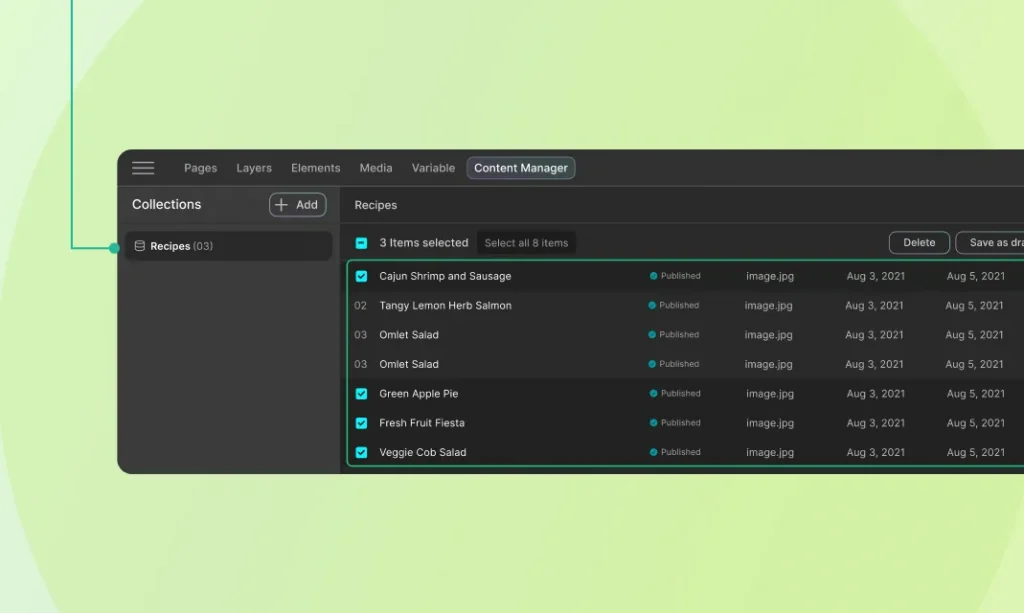
Perform bulk actions on multiple items simultaneously. This could include publishing, unpublishing, deleting, or moving items between collections.
Filter Collection Items
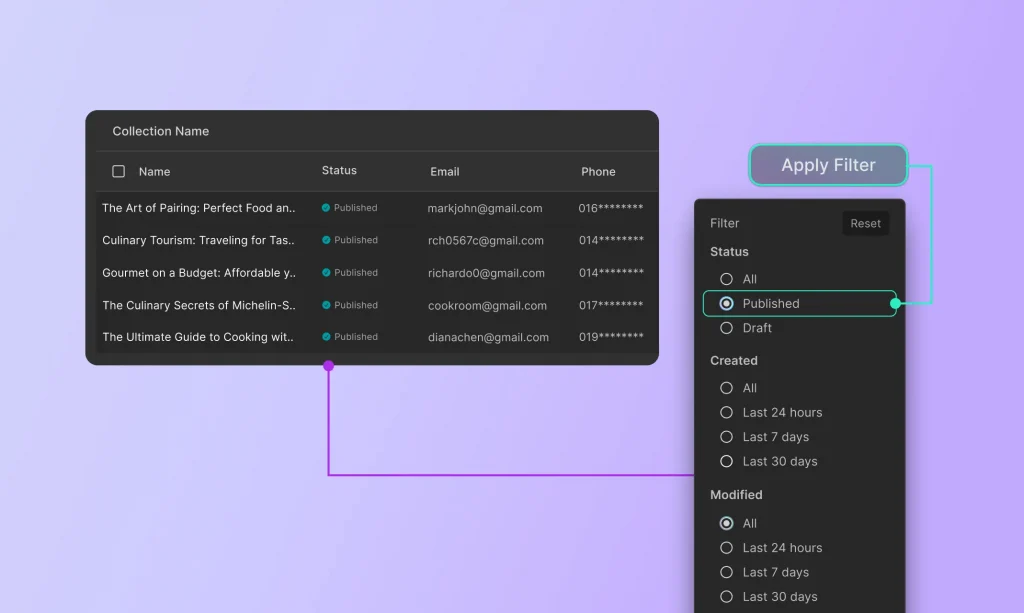
Use filters to quickly find specific items based on criteria such as date of creation, status, or last modified date. This feature is particularly useful for managing large collections.
Organize Collection Table
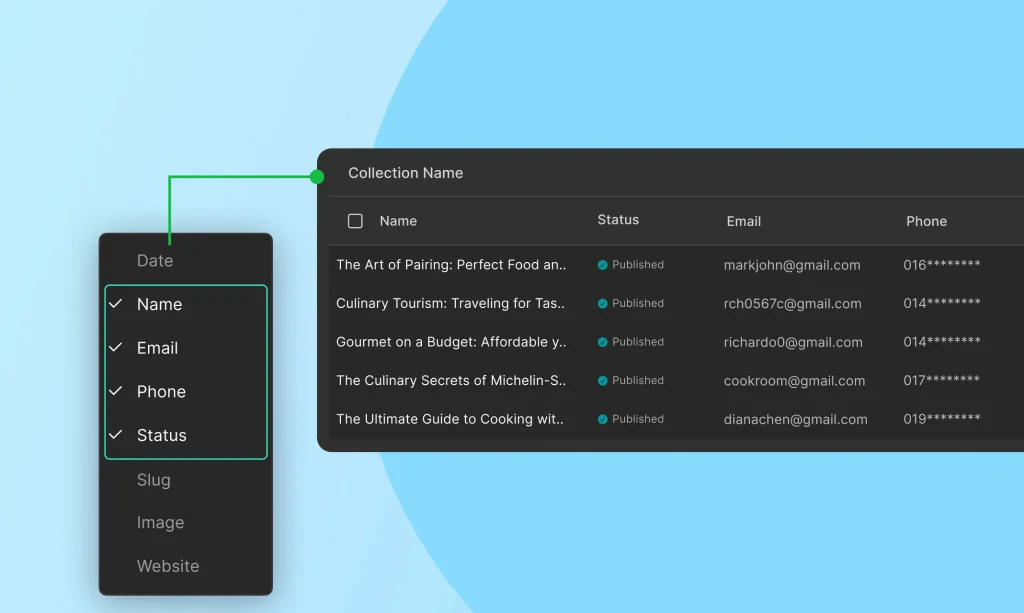
Customize the display of the item table by adding, removing, or rearranging columns based
on the fields. This allows for a more tailored and efficient content management experience.
In the next sections, we’ll cover advanced topics such as dynamic content integration and best practices for content management.
Was this page helpful?