The Background section in the Style Panel allows you to apply and customize background styles for any element.
You can layer multiple backgrounds, manage their order, set blend modes, and control how backgrounds interact with other elements’ content.
Accessing Background Settings
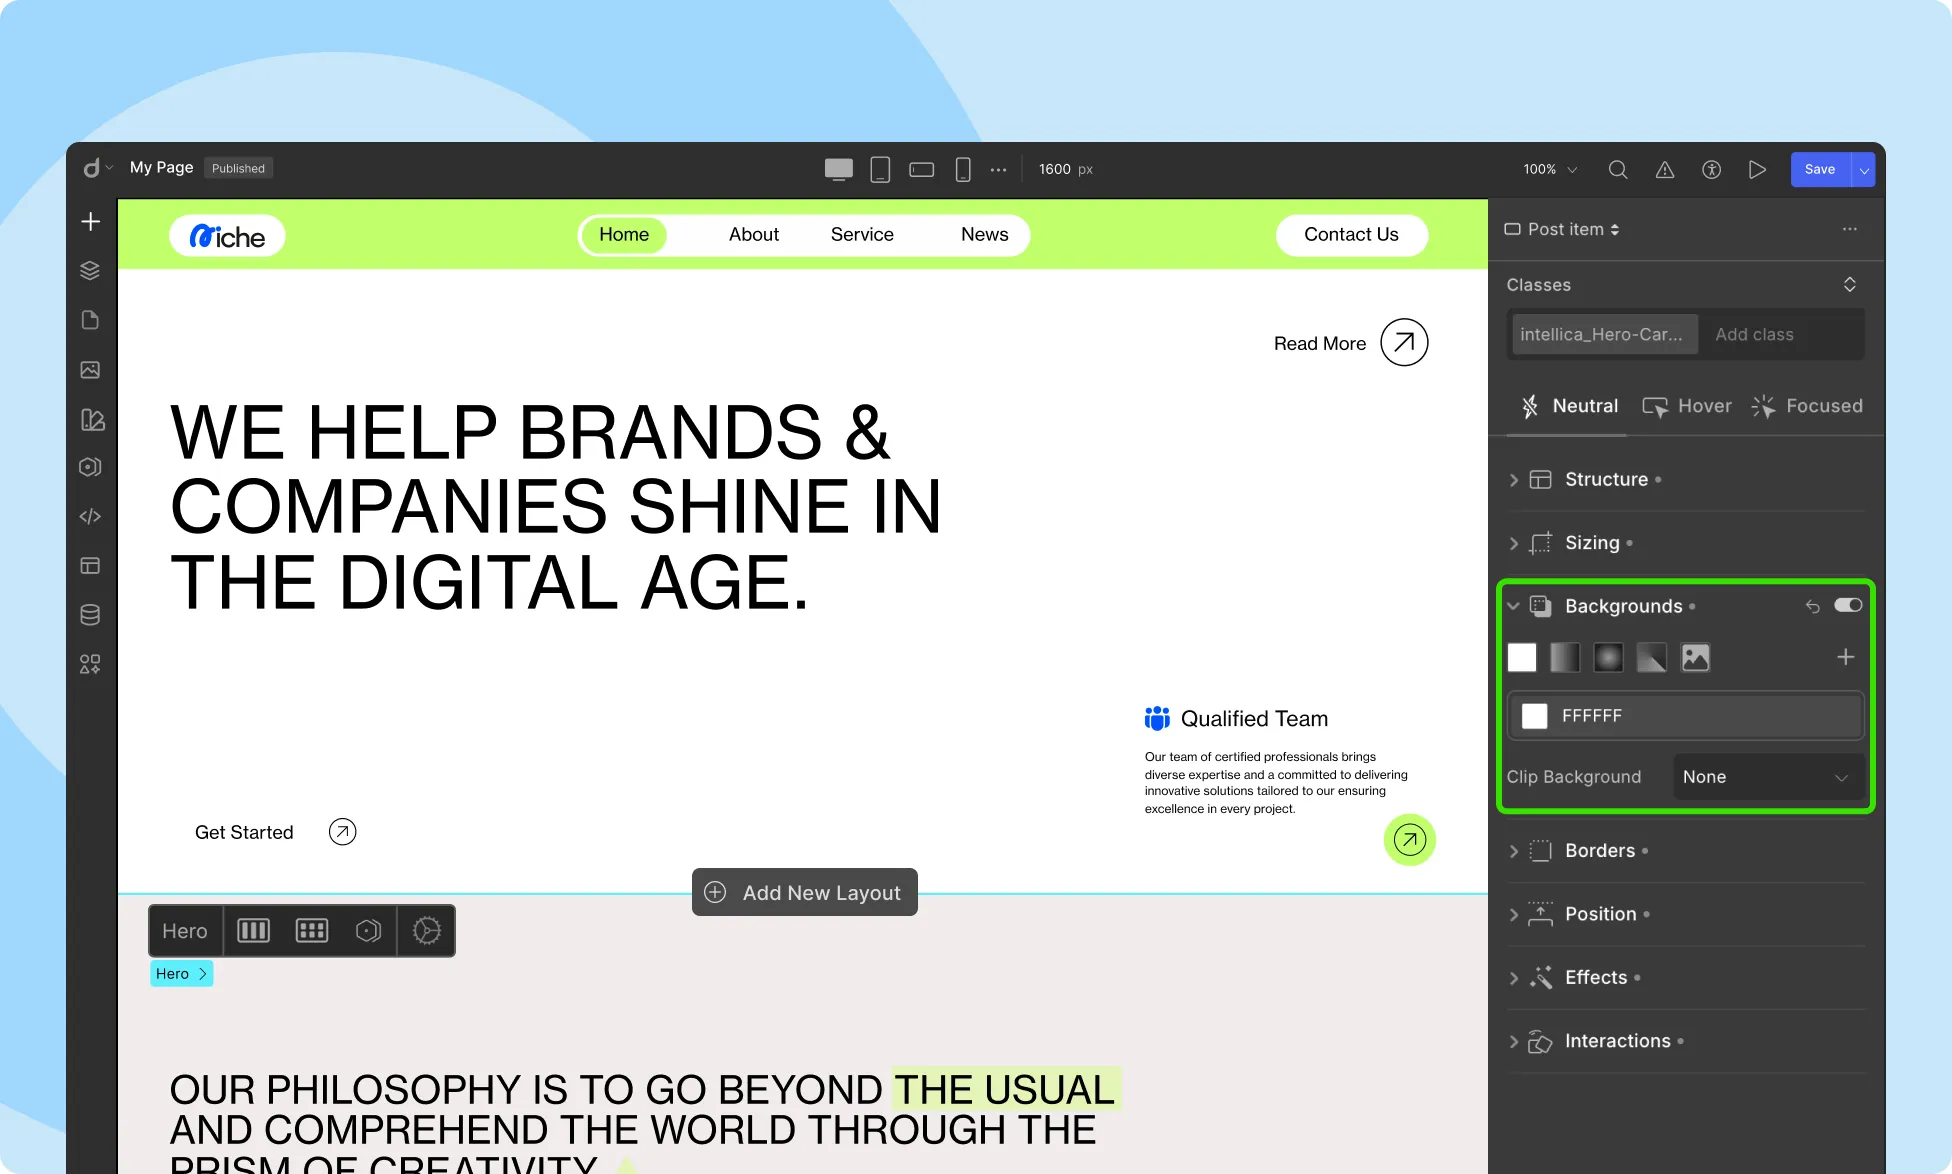
To start customizing:
- Select any element on the canvas.
- Navigate to the Style Panel.
- Expand the Background section.
- Choose a background type and click the + icon to add it.
Each background is treated as a separate layer and can be edited, reordered, or removed individually.
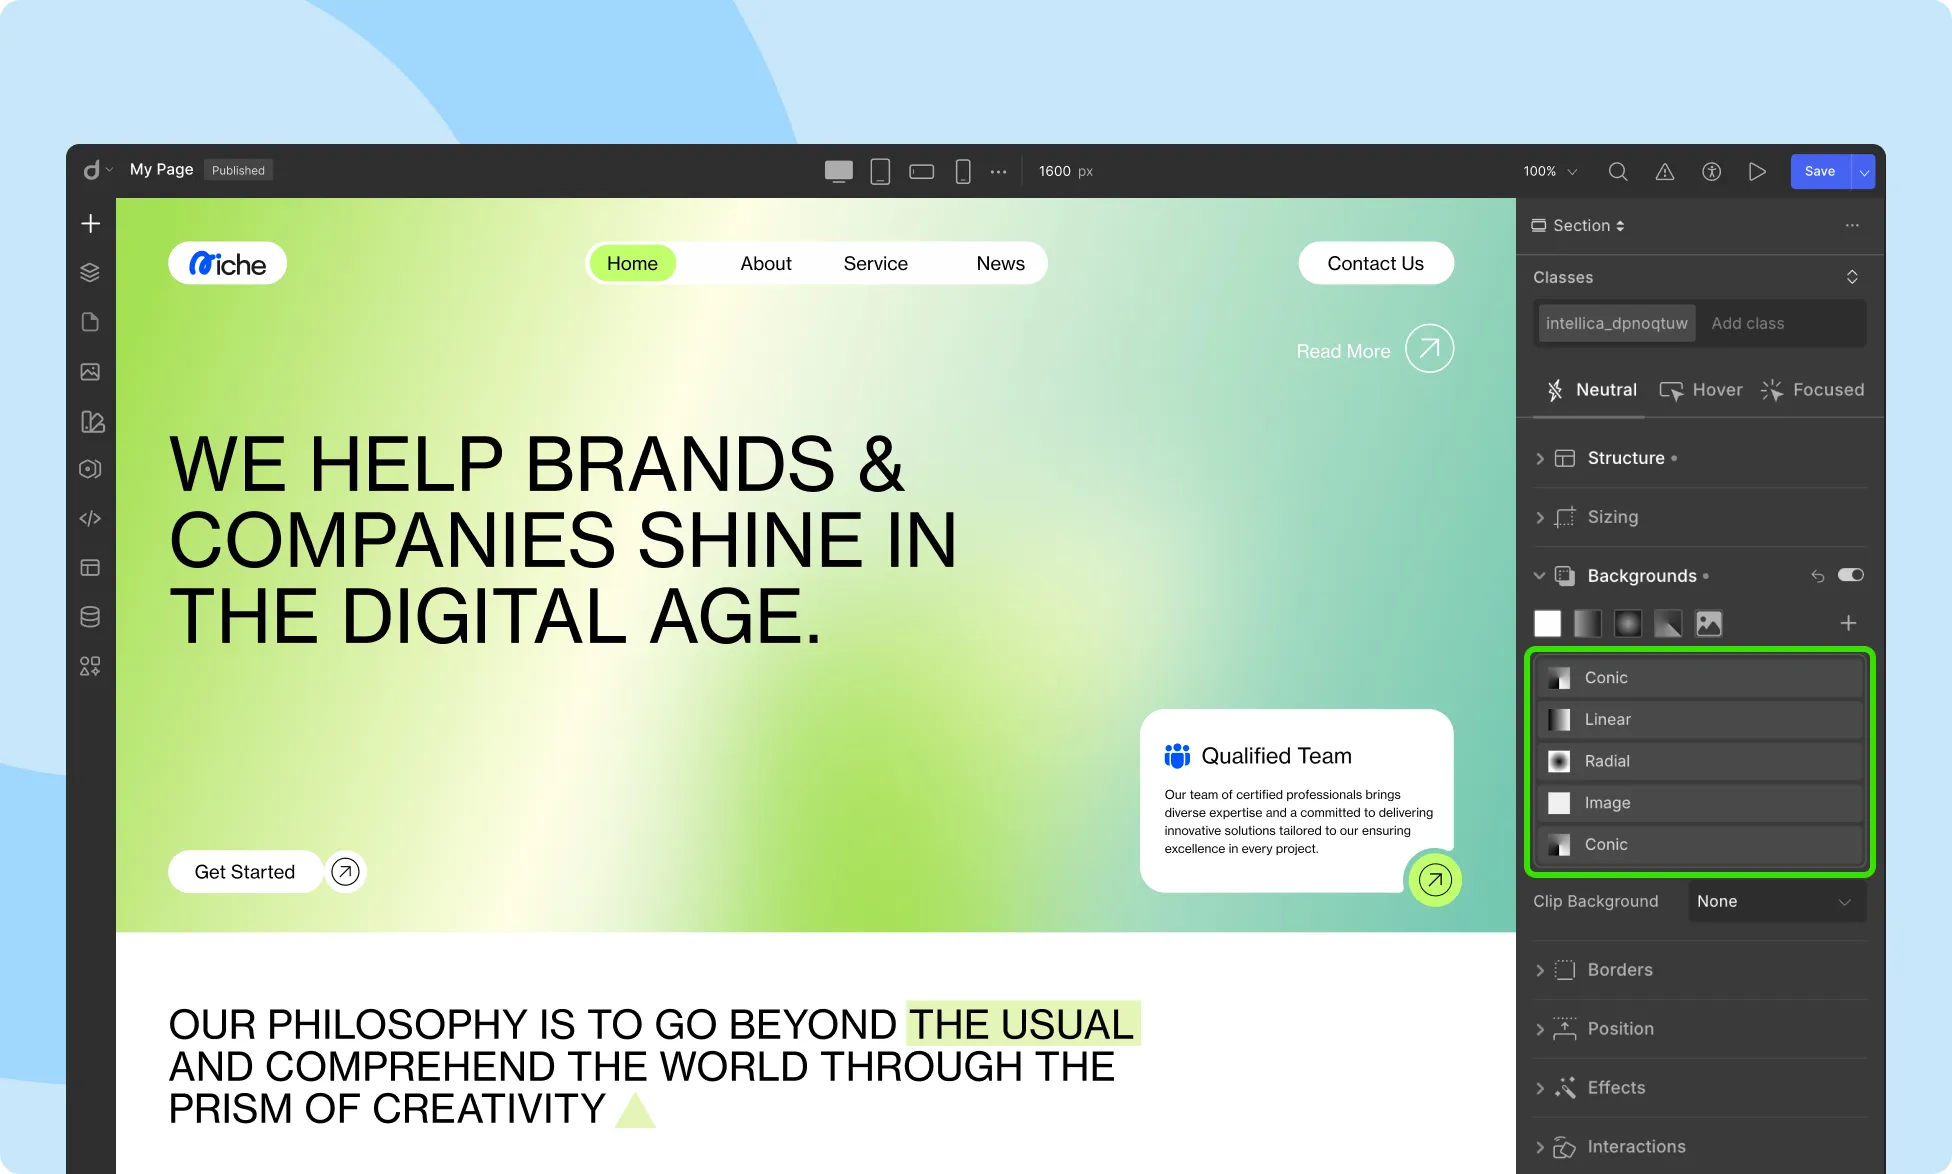
Available Background Types
You can choose from the following background types:
- Solid Color
- Linear Gradient
- Radial Gradient
- Conic Gradient
- Image
Each type provides its own configuration panel with dedicated settings.
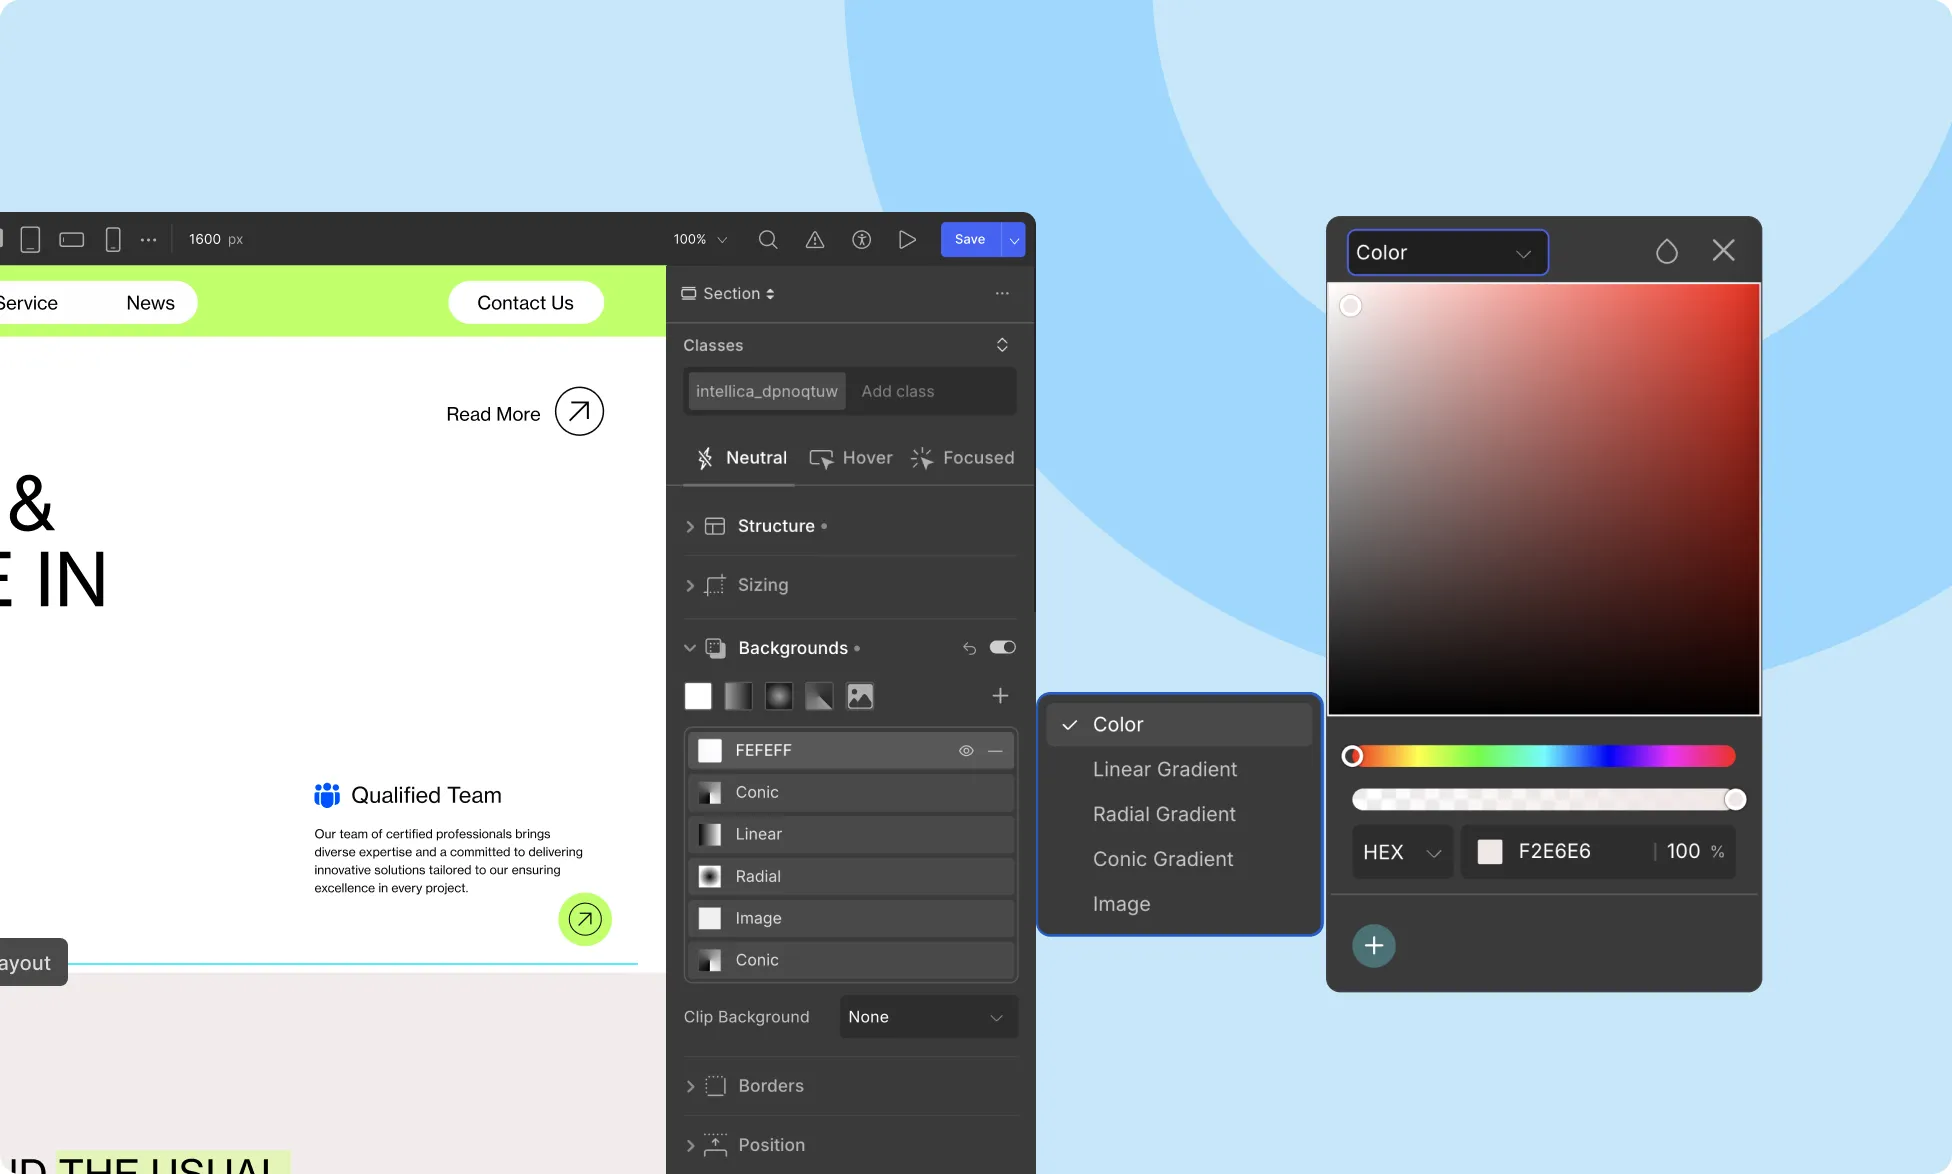
Solid Color Background
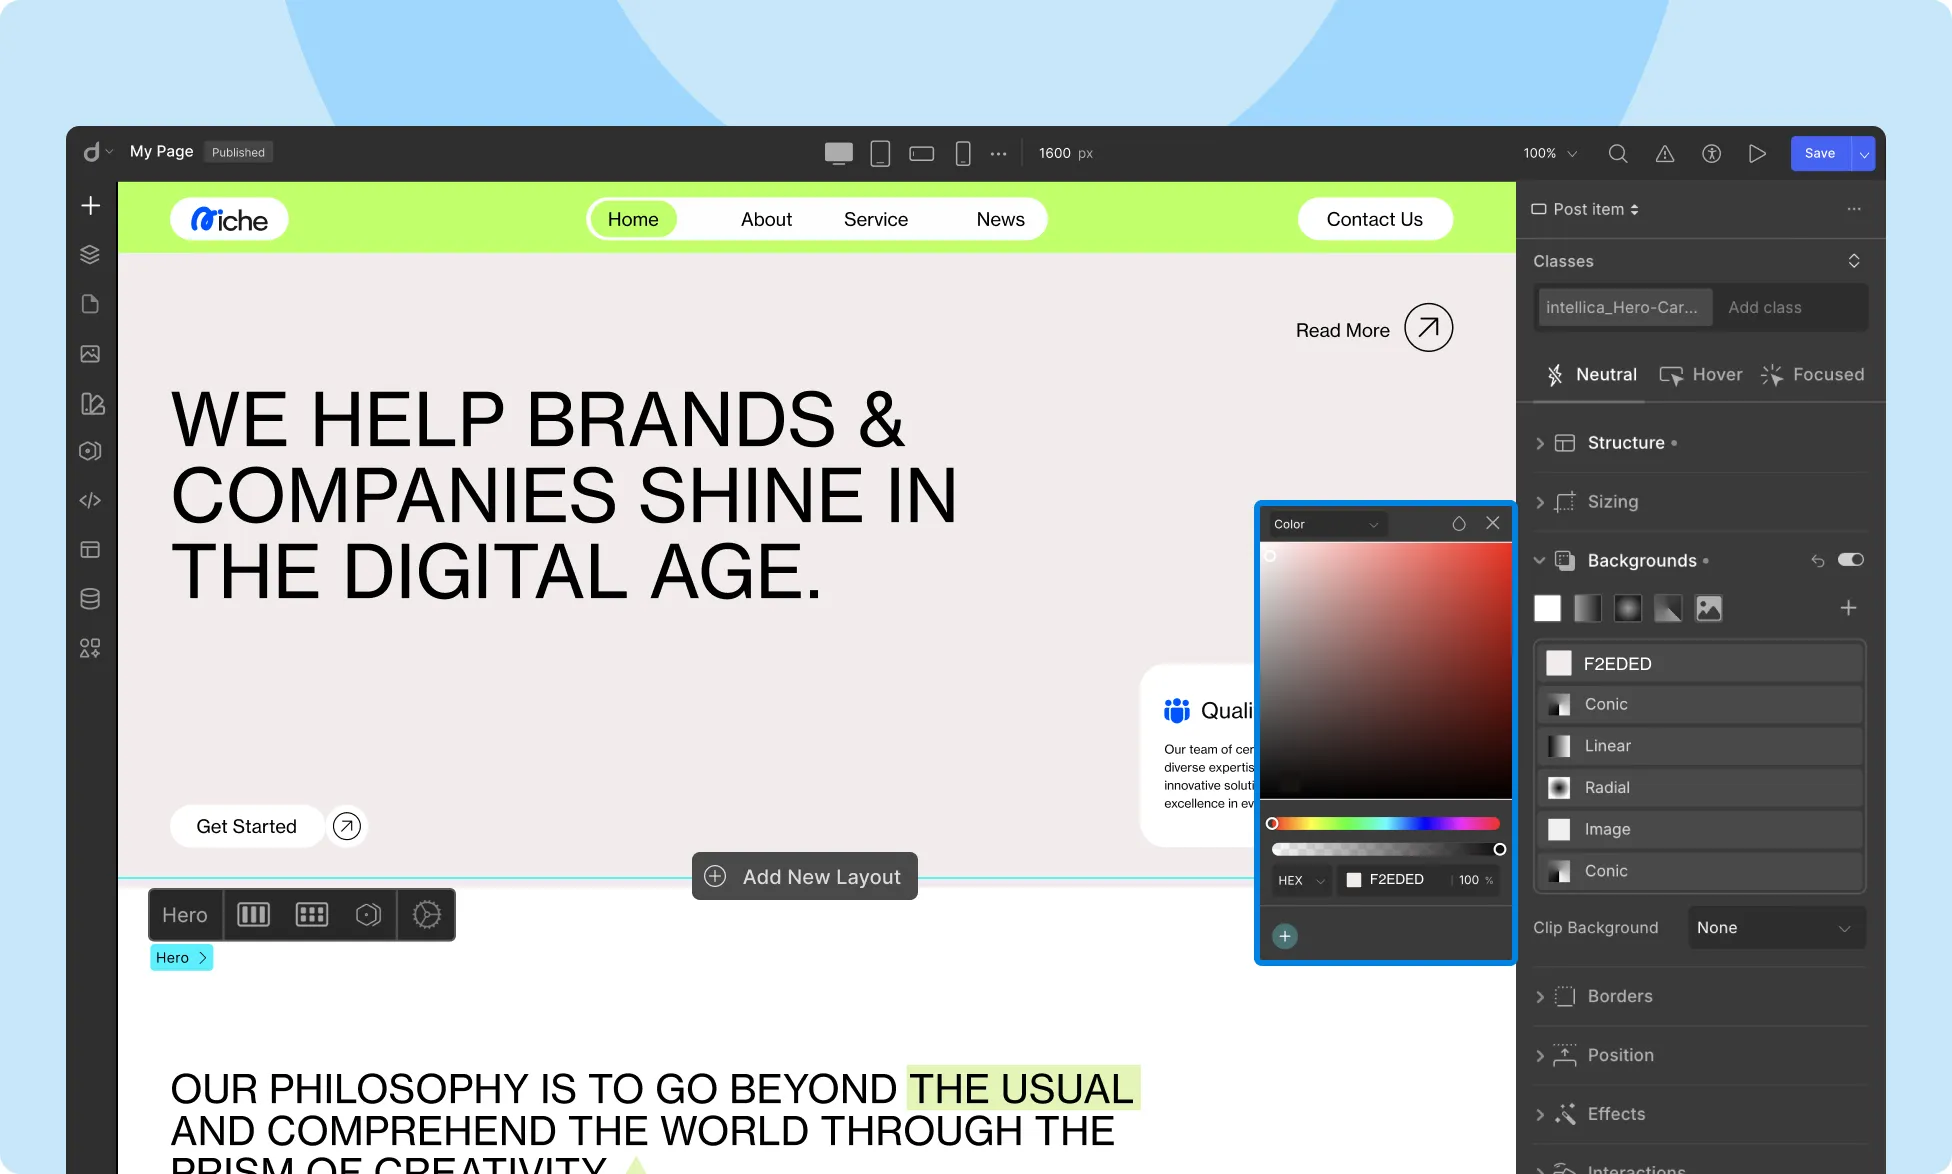
Solid Color applies a single color as the background.
How to Apply:
- Select your element.
- In the Background section, choose Solid Color from the background options.
- Or, click the + icon to add it.
- A color picker will appear. Choose your desired color or manually input a HEX or RGB value.
Note: You can also adjust opacity for solid color using the alpha slider in the color picker.
Linear Gradient Background

Linear Gradients create a transition between two or more colors along a straight line.
How to Apply:
- Choose Linear Gradient as the background type.
- The Gradient Settings panel will open.
Gradient Settings:
- Add Color Stops: Click along the gradient bar to add stops. Use the color picker to select individual colors.
- Adjust Position: Drag stops or enter precise percentage values.
- Set Angle: Define the gradient direction in degrees (e.g., 0° for top to bottom, 90° for left to right).
- Opacity: Control individual color stop transparency.
Radial Gradient Background

Radial Gradients transition colors outward from a central point, forming a circular or elliptical spread.
How to Apply:
- Choose Radial Gradient from the background type dropdown.
- Configure your gradient in the Gradient Settings panel.
Gradient Settings:
- Color Stops: Add, remove, or reorder as with linear gradients.
- Position: Set the center of the gradient.
Conic Gradient Background
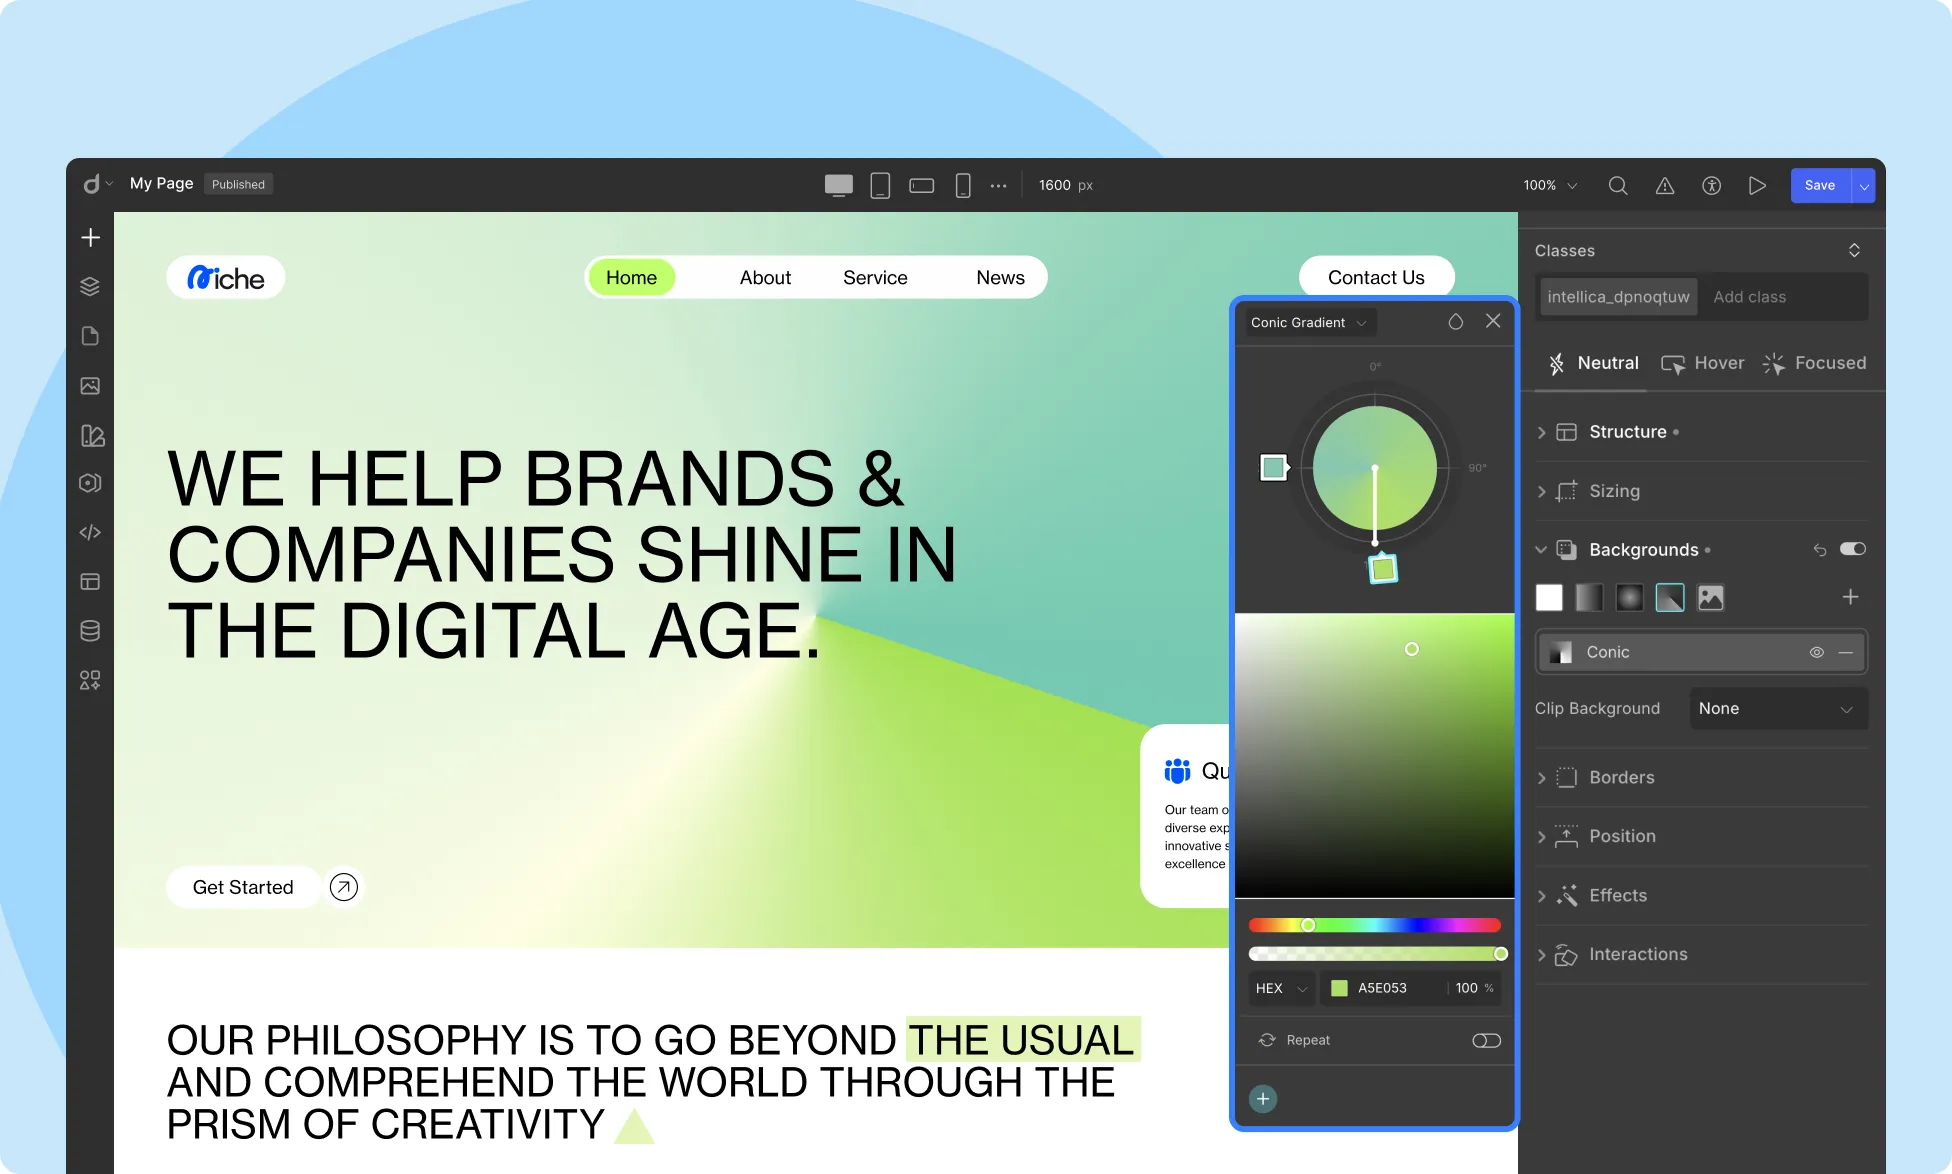
Conic Gradients rotate color transitions around a central point, creating a sweeping, circular effect.
How to Apply:
- Select Conic Gradient from the background type dropdown.
- Customize using the Gradient Settings.
Gradient Settings:
- Color Stops: Define the sequence of colors around the circle.
- Start Angle: Adjust where the gradient rotation begins (in degrees).
- Center Point: Specify the rotation origin.
This type is ideal for dynamic visuals like pie chart effects or artistic backgrounds.
Learn more about Color Settings.
Image Background
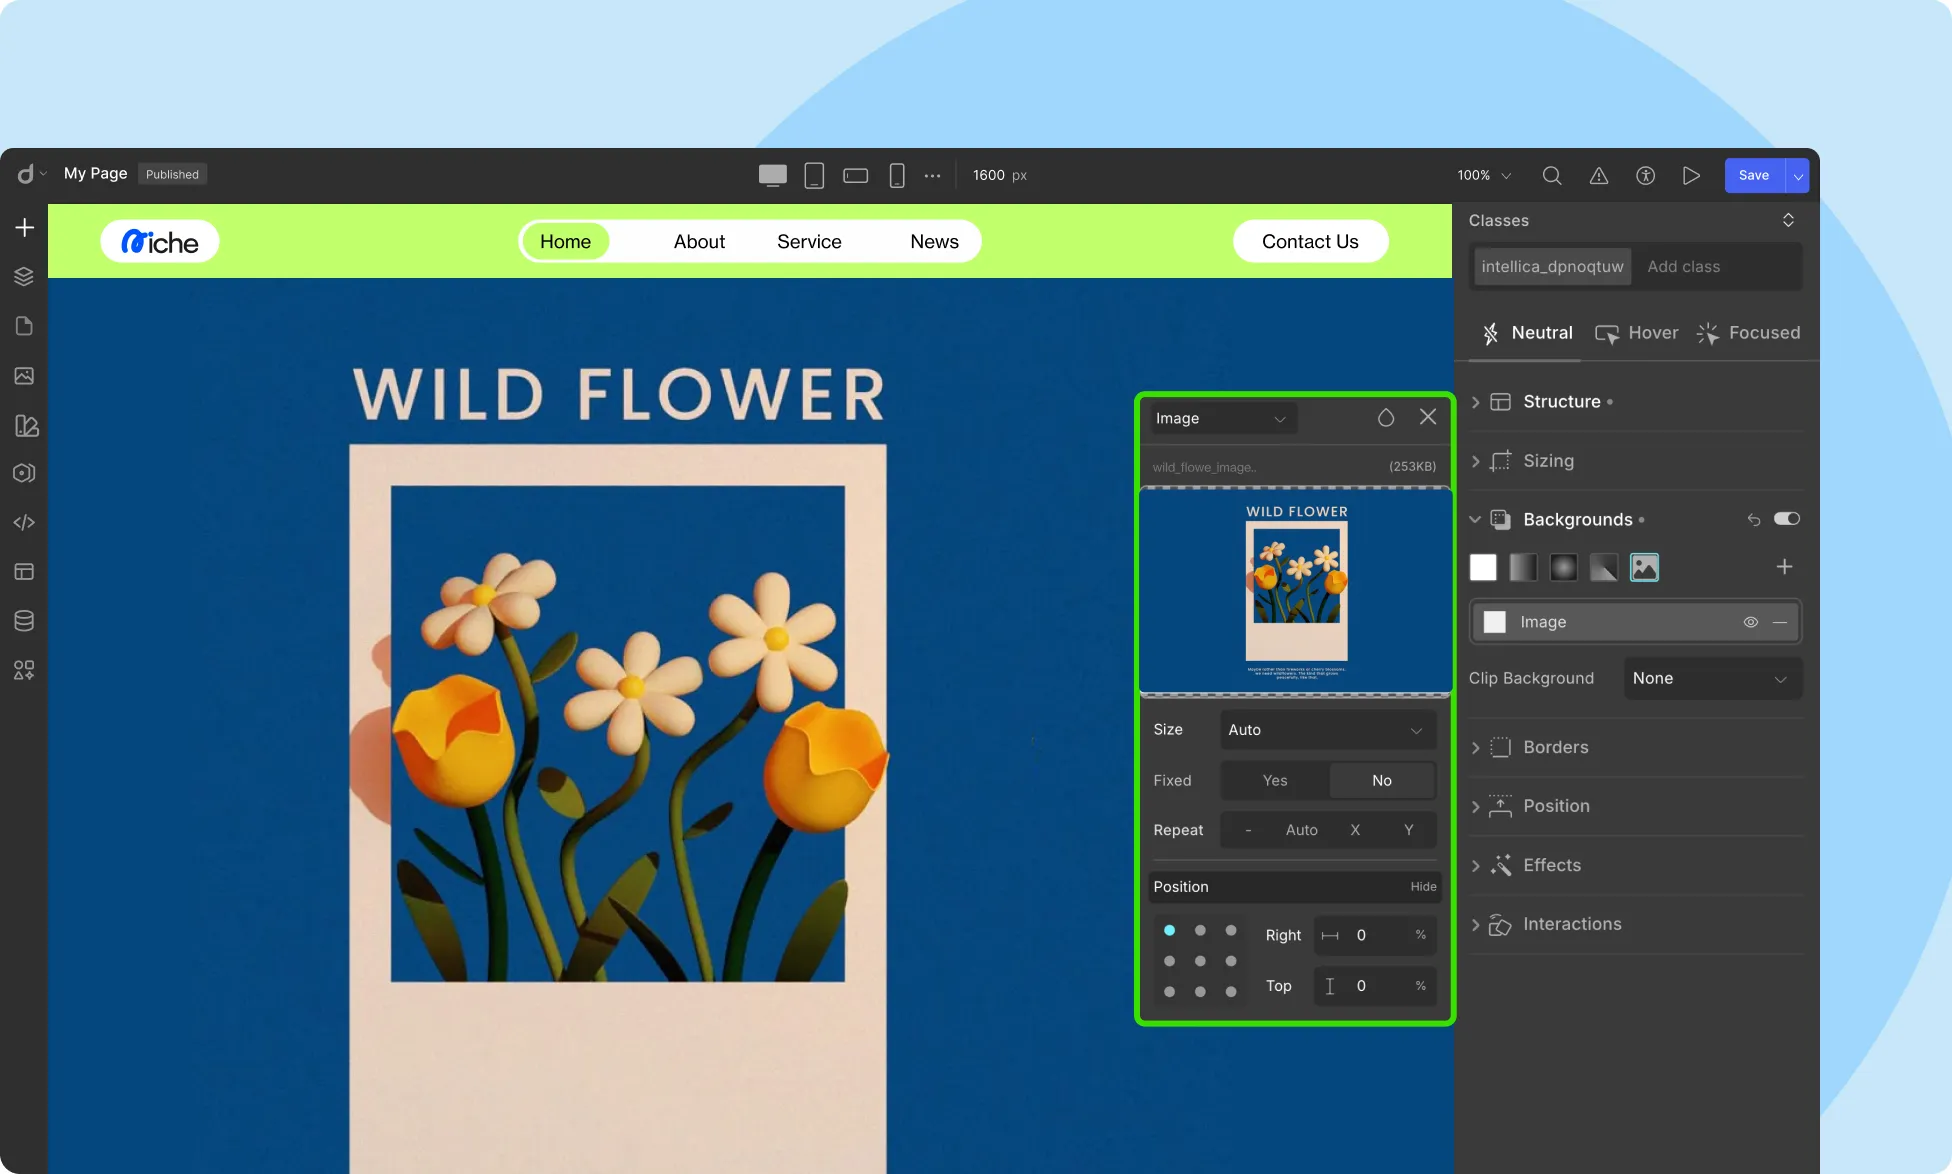
The Image background lets you upload and configure images as element backgrounds.
How to Apply:
- Select Image as the background type.
- Open Background Image Settings to configure it.
Background Image Settings:
Add Image: Use the Media Manager to upload or select an image.
Size:
- Auto: Displays image at its original size.
- Cover: Scales the image to completely cover the element.
- Contain: Scales the image to fit inside the element without cropping.
- Initial: Uses the browser’s default setting.
Attachment:
- Scroll: The image scrolls with the page.
- Fixed: The image remains static as the page scrolls.
Repeat: Toggle repetition and choose direction: horizontal, vertical, or both.
Position: Precisely align the image using top/left/right/bottom or center positions.
Read detailed documentation on Position settings.
Managing Multiple Background Layers
You can stack multiple background layers of different types for advanced designs.
Available Layer Controls:
Reorder: To adjust the stacking order of multiple background layers, click and drag the (≡) icon next to each background. This allows you to move a layer up or down in the order, which changes how backgrounds are layered visually.
The topmost item in the list will appear above the others on the actual element.
Toggle Visibility: Click the eye icon to show/hide a background.
Remove: Click the dash icon (-) to delete a background layer.
Switching Background Types
You can change a background type without removing the existing layer.
- Open the dropdown in the top-left corner of the layer’s header.
- Select the new background type.
- The settings panel will update accordingly.
Background Blend Mode
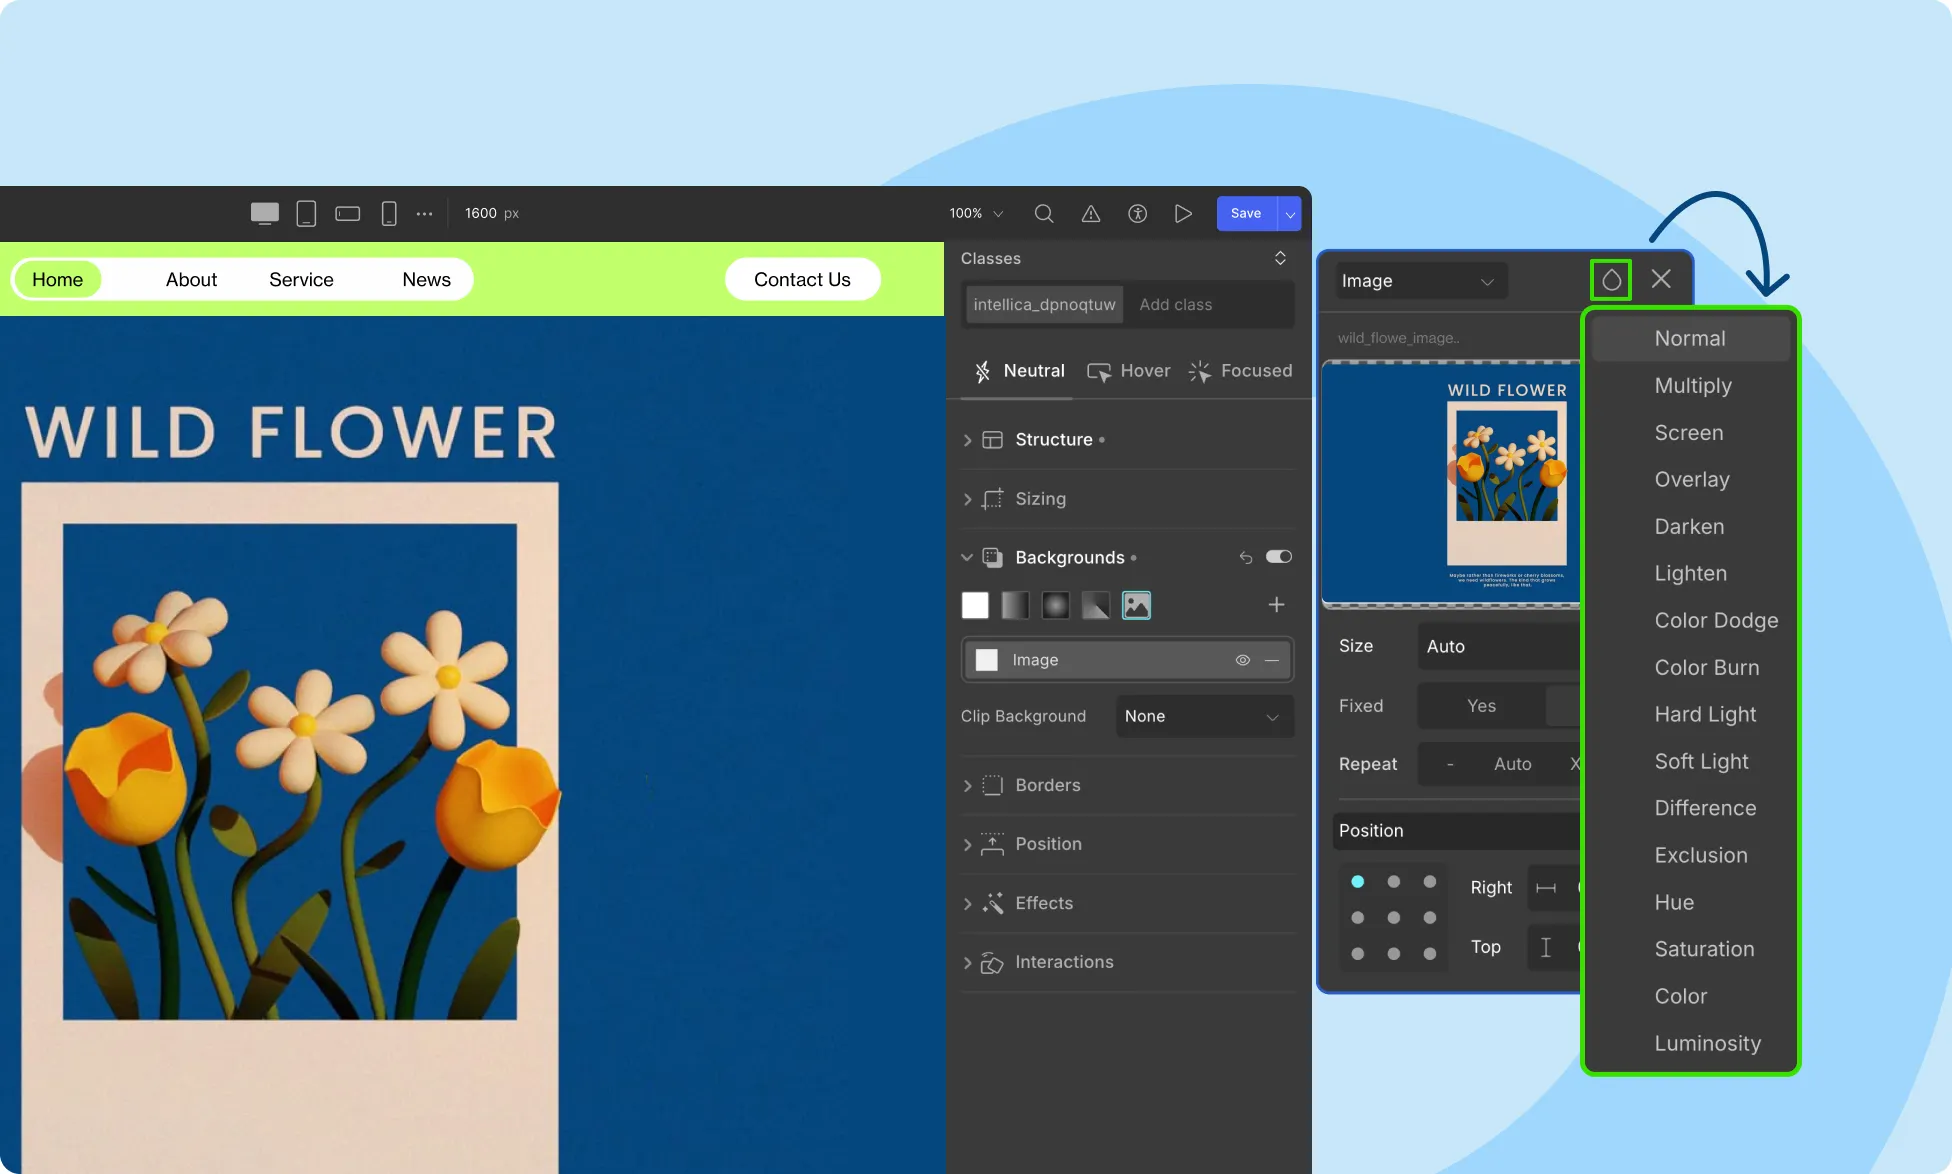
Blend Modes define how a background layer interacts visually with layers below it.
How to Apply:
- Click the drop icon in the top-right of the background layer panel.
- Choose a blend mode from the dropdown.
Available Blend Modes
- Normal: Default value. The layer below does not bleed through the current layer.
- Multiply: The current layer and the layer below are multiplied, so this usually means a darkened effect.
- Screen: The current layer and the layer below are both inverted, multiplied, and inverted once again.
- Overlay: The current layer and the layer below are mixed together to show their lightness or darkness.
- Darken: If the current layer is darker than the layer below then the current layer is replaced, else no changes are applied.
- Lighten: If the current layer is lighter than the layer below then the current layer is replaced, else no changes are applied.
- Color Dodge: The layer below is divided by the inverse of the current layer.
- Color Burn: The layer below is inverted, divided by the current layer, and then inverted once more.
- Hard Light: If the current layer is lighter than the layer below then the effect applied is Multiply else it is Screen.
- Soft Light: Similar to Hard Light but with a more diffused spotlight effect.
- Difference: Subtraction of the darkest color of the current layer and the layer below from the lightest one. The result is a high contrast effect.
- Exclusion: Similar to Difference but with lower contrast.
- Hue: The current layer’s hue is combined with the luminosity and saturation of the layer below.
- Saturation: Mixes hue and luminosity of the current layer and layer below while keeping saturation of the current layer.
- Color: Keeps the current layer’s hue and saturation and the layer below’s luminosity.
Each mode applies a different compositing method, often used to achieve visual effects or subtle overlays.
Clip Background
Use the Clip Background feature to define whether the backgrounds will extend underneath its padding, content, border, or text.
- Padding: Select this option to ensure the background extends up to the outer edge of the padding. (No background beneath the outer edge).
- Content: Choose the Content option if you want the background to be clipped to the content box.
- Border: Use this option to extend the background to the outer edge of the border. Note that the background will appear underneath the border but it’ll only be visible if the border has transparent sections or partially opaque sections (because of border style).
- Text: Select the text option to clip the background to the text element i.e. paint the background within the text.
Clip Images to Text
Droip provides a convenient way to clip images to text for contemporary design trends. To achieve this, follow these steps:
- Select your Text or Heading element.
- Go to Style > Backgrounds and choose Image type background.
- From the Image Background Settings, add your Background Image.
- Open the Clip Background dropdown and select the Text option.
- Go back to the image background settings to configure its placement.
And voila, you’ve successfully clipped your image back
Was this page helpful?