Think shapes in web design are just decorative? Think again.
Sure, they enhance your site’s aesthetics — but they also do so much more. Shapes can subtly evoke emotions, direct attention, and elevate the website experience in powerful ways.
If you’re ready to tap into their full potential, stick around with us as we explore the role of shapes in web design & how to add them to WordPress websites effortlessly!
More Than Just Pretty Lines: The Power of Shapes in Web Design
Why use shapes, you ask? Because they’re the dark horse in website design.
Shapes are powerful, and one of the biggest reasons to use shapes in web design is that they’re ridiculously versatile. Whether you’re aiming to impress, organize, or guide — shapes have your back!
Here’s how they work their magic:
- Add That Extra Pizazz: Instantly level up your visual game using shapes for websites. With the right tools that support shapes, they can be your creative best friend! Bonus points if you can find one that gives you access to a plethora of built-in options and the ability to customize them easily.
- Keep It Squeaky Clean: Shapes also make awesome content organizers and dividers! Hit two targets with one stone (or shape!) by using them to separate content and add structure — all while elevating the visual experience!
- Lead the Way: You can also subtly navigate your users through your site using shapes, making the visual journey feel smoother and more intuitive — like giving your website its very own GPS!
- Set the Mood: Shapes aren’t just decorative — they can spark emotions. Whether it’s sharp and structured, soft and curved, or unique and abstract, the right shape can evoke feelings and build a deeper connection between your audience and brand.
From Geometric to Abstract: Meet the Types of Shapes
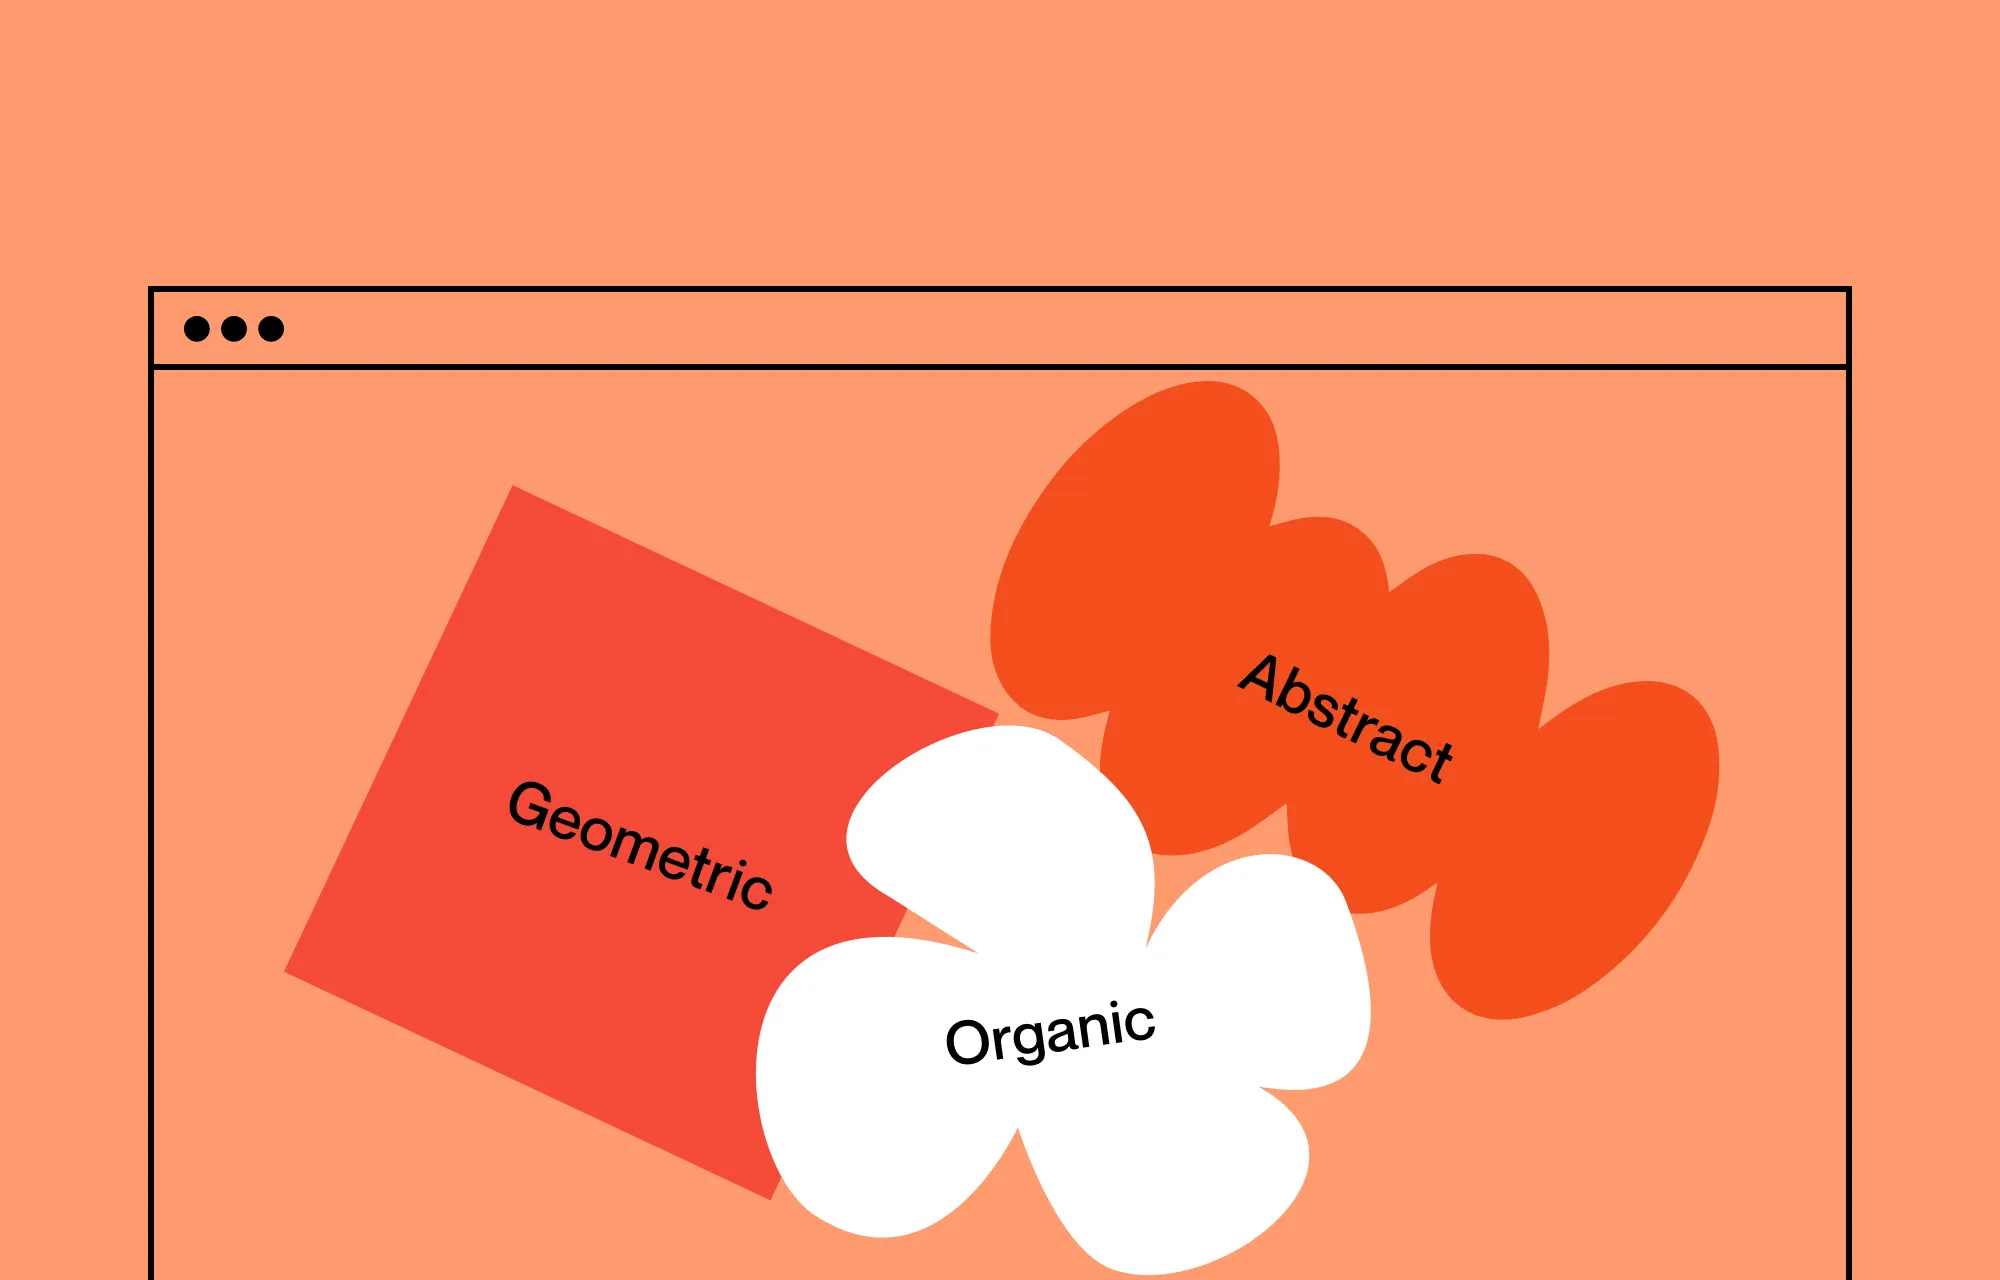
Shapes for websites are grouped in three main flavors: Geometric, Organic, and Abstract.
Each brings its own personality to the table, and knowing how to use them can seriously elevate your website to its full potential.
And picking the right type and sticking with it can help keep your site’s look consistent, build a visual identity, and make for a smoother website experience. So let’s break them down.
Geometric Shapes
Think of these as the rule followers: rectangles, triangles, circles, and polygons — all neat and tidy with straight lines or perfect curves. These closed figures are great for adding structure, organizing content, and more.
Organic Shapes
On the flip side, we’ve got organic shapes. These don’t follow strict formulas — instead, they mimic nature. Think leaves, flowers, trees, clouds, mountains, even animal silhouettes, and more.
These shapes add a sense of softness and can breathe life into your layout, making your design more approachable and alive.
Abstract Shapes
Abstract shapes are the free spirits of design. They’re either stylized/over-simplified versions of real-world things or completely made-up forms — perfect for adding an artistic twist or setting a modern tone.
Which Shape Is Right for You
Choosing the right shape for your website boils down to brand identity and purpose.
Want structure and professionalism? Geometric shapes are your answer.
Desire to showcase a natural or human touch? Organic shapes are where it’s at.
Need to stand out or show off your creativity? Abstract shapes are your best friend.
Think hard, mix and match wisely, and your design will speak volumes even without a single word being read.
Psychology of Shapes: What Your Website Shapes Are Saying
Since we’re on the topic of shapes speaking volumes, let’s dive into their secret language — or as it’s more commonly known, the psychology of shapes.
Did you know shapes can actually influence your perception? It’s true — studies show that different shapes can trigger different emotional reactions! And no, it’s not just your brain making random connections. It’s deeply rooted in psychology.
When used with intention, even a simple square or blob can shape (pun intended) how visitors perceive your website and brand!
So if you want your website to look good, say the right things visually, and connect — you need to know what your shapes are saying.
The Go-to Shapes: Squares and Rectangles
Clean lines, sharp edges, and consistent proportions make squares and rectangles the ideal choice for adding structure to your websites and keeping content organized.
You’ll spot them everywhere — content cards, buttons, image frames, even backgrounds, and more!
Their simple and uniform nature brings clarity, keeps things tidy, and helps declutter your layout effortlessly.
Triangles
Triangles are synonymous with direction — they literally point to places.
Need to highlight a particularly important CTA or key message? Throw in a triangle to naturally guide your audience!
Alternatively, you can also use upward triangles to signify growth and downward triangles to suggest the opposite, easily invoking a sense of excitement or urgency.
Circles, Ovals, and Ellipses
Perfect and endlessly round, these shapes give off a sense of continuity, wholeness, and trust.
They’re a favorite for logos and icons because they feel timeless, stable, and inclusive. Plus, they’re perfect for softening sharp layouts, easily bringing an approachable vibe to more rigid designs.
Abstract Shapes
As mentioned earlier, abstract shapes are your wild cards — they’re irregular, artsy, and often quirky.
Because they’re non-literal, they’re open to interpretations. Incorporating them can invoke an imaginative and artistic feel to your website. Add one to your WordPress site, and just like that — things feel more modern, creative, and unique from the rest.
By understanding the emotional pull of these shapes, you’re not just designing — you’re communicating!
Shape It Up: How to Add Shapes to a WordPress Website
Now that you’ve got a rundown of all things shapes — from why they matter, the types out there, to what they’re saying — it’s time to put that knowledge to work and actually get them onto your WordPress website.
Here are some of the ways & formats of adding shapes to your website:
- CSS Shapes: Think lightweight, fast-loading, fully responsive, and customizable — but only if you’re familiar with code and even then, only limited to a few basic options.
- Image-based Shapes: Want to use something more intricate? Image-based shapes — typically in PNG, JPG, and the like — are great for complex designs. But fair warning: they’re not scalable, can’t be customized, and may load slowly due to larger file sizes.
- SVG Shapes: Now we’re talking! SVGs (Scalable Vector Graphics) are lightweight, fully scalable, and highly customizable. The right tools can give you access to a wide variety of shape options — plus the flexibility to tweak their style visually!
So, with all that in mind, SVG shapes clearly steal the show — but how do you actually use them without designing from scratch or falling into a never-ending shape-hunt?
Enter Droip — your one-stop WordPress website builder packed with everything you need from a ready-to-use Shape Library to visual customization tools and beyond!
How to Add SVG Shapes to Your Website With Droip
Ready to harness the power of Shapes? Choose from a wide range of SVG shapes available in Droip!
With Droip, easily access shape options that are fully scalable and customizable, and elevate both your design and website experience to the next level.
From classic geometric shapes like squares and rectangles to unique abstract blobs that scream creativity, Droip lets you design what fits your brand best.
So let’s dive in and explore all the fun ways you can work shapes into your web design using Droip!
Get Abstract With Your Background
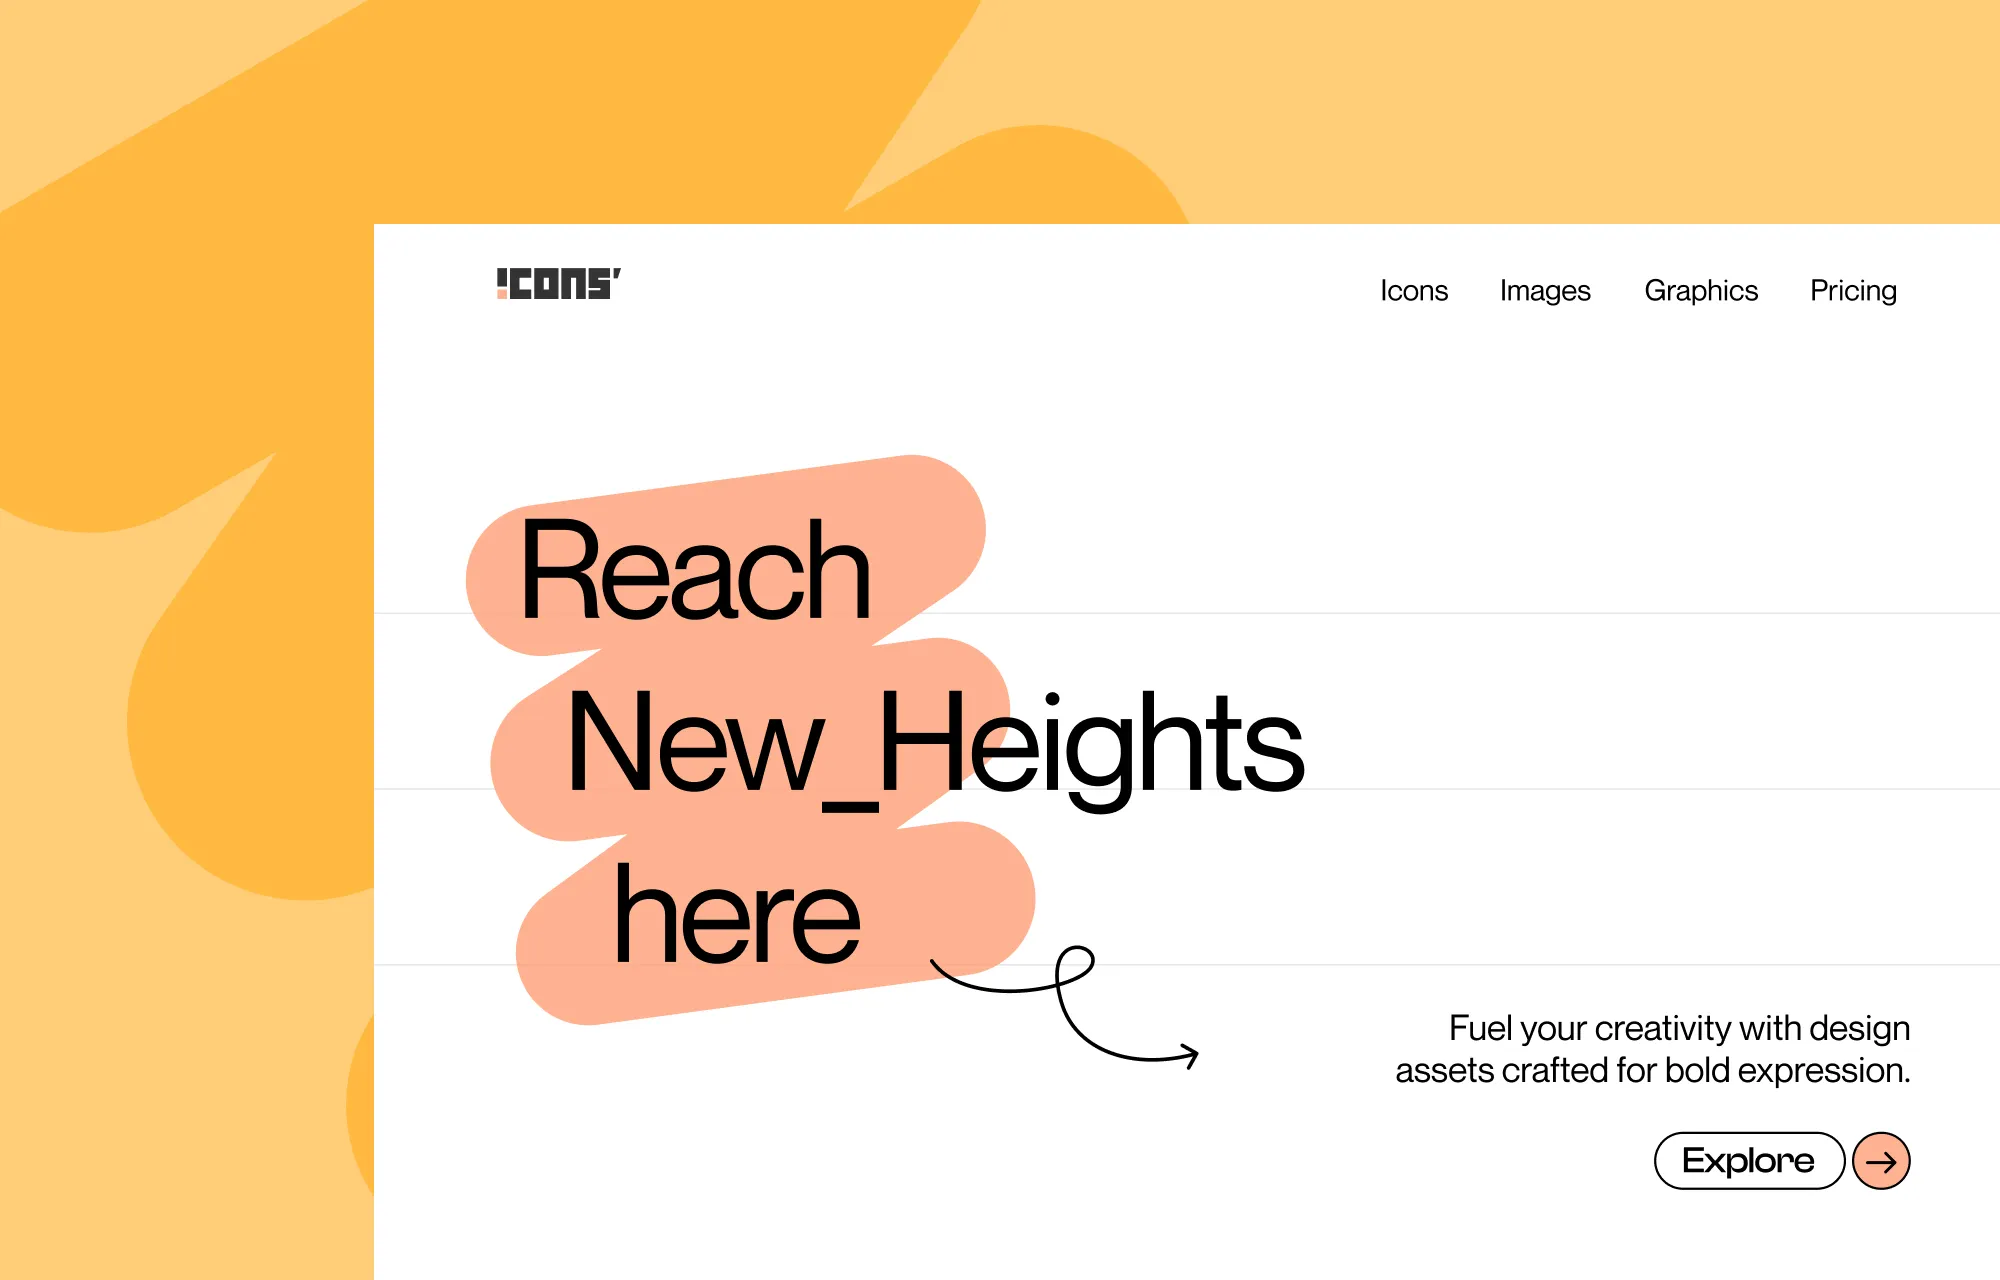
Let’s kick things off with a simple but snazzy abstract shape background — perfect for when you want your content to pop and grab attention!
Here’s how you can pull it off with Droip:
Step 1: Head to Insert > Shapes to open the Shape Library. Choose any shape that sparks your fancy or click Browse all Shapes for more!
Step 2: Next, add your chosen shape to the element containing the content you want to highlight.
Step 3: Set the shape’s Position to Absolute and its Z-Index to -10 — and voila, it’s layered behind your content. Then fine-tune its position using offset values and define its size in the Size panel.
Step 4: Finish off by changing the shape’s color to match your design.
- Using shape from Shape Editor? Click on the Edit icon and set the Fill color.
- Using shape from the Shapes Library? Open the Typography panel and set Font Color.
And just like that, you’ve just elevated your design and made your content stand out by adding an abstract shape background!
Shape Up Your Content Cards
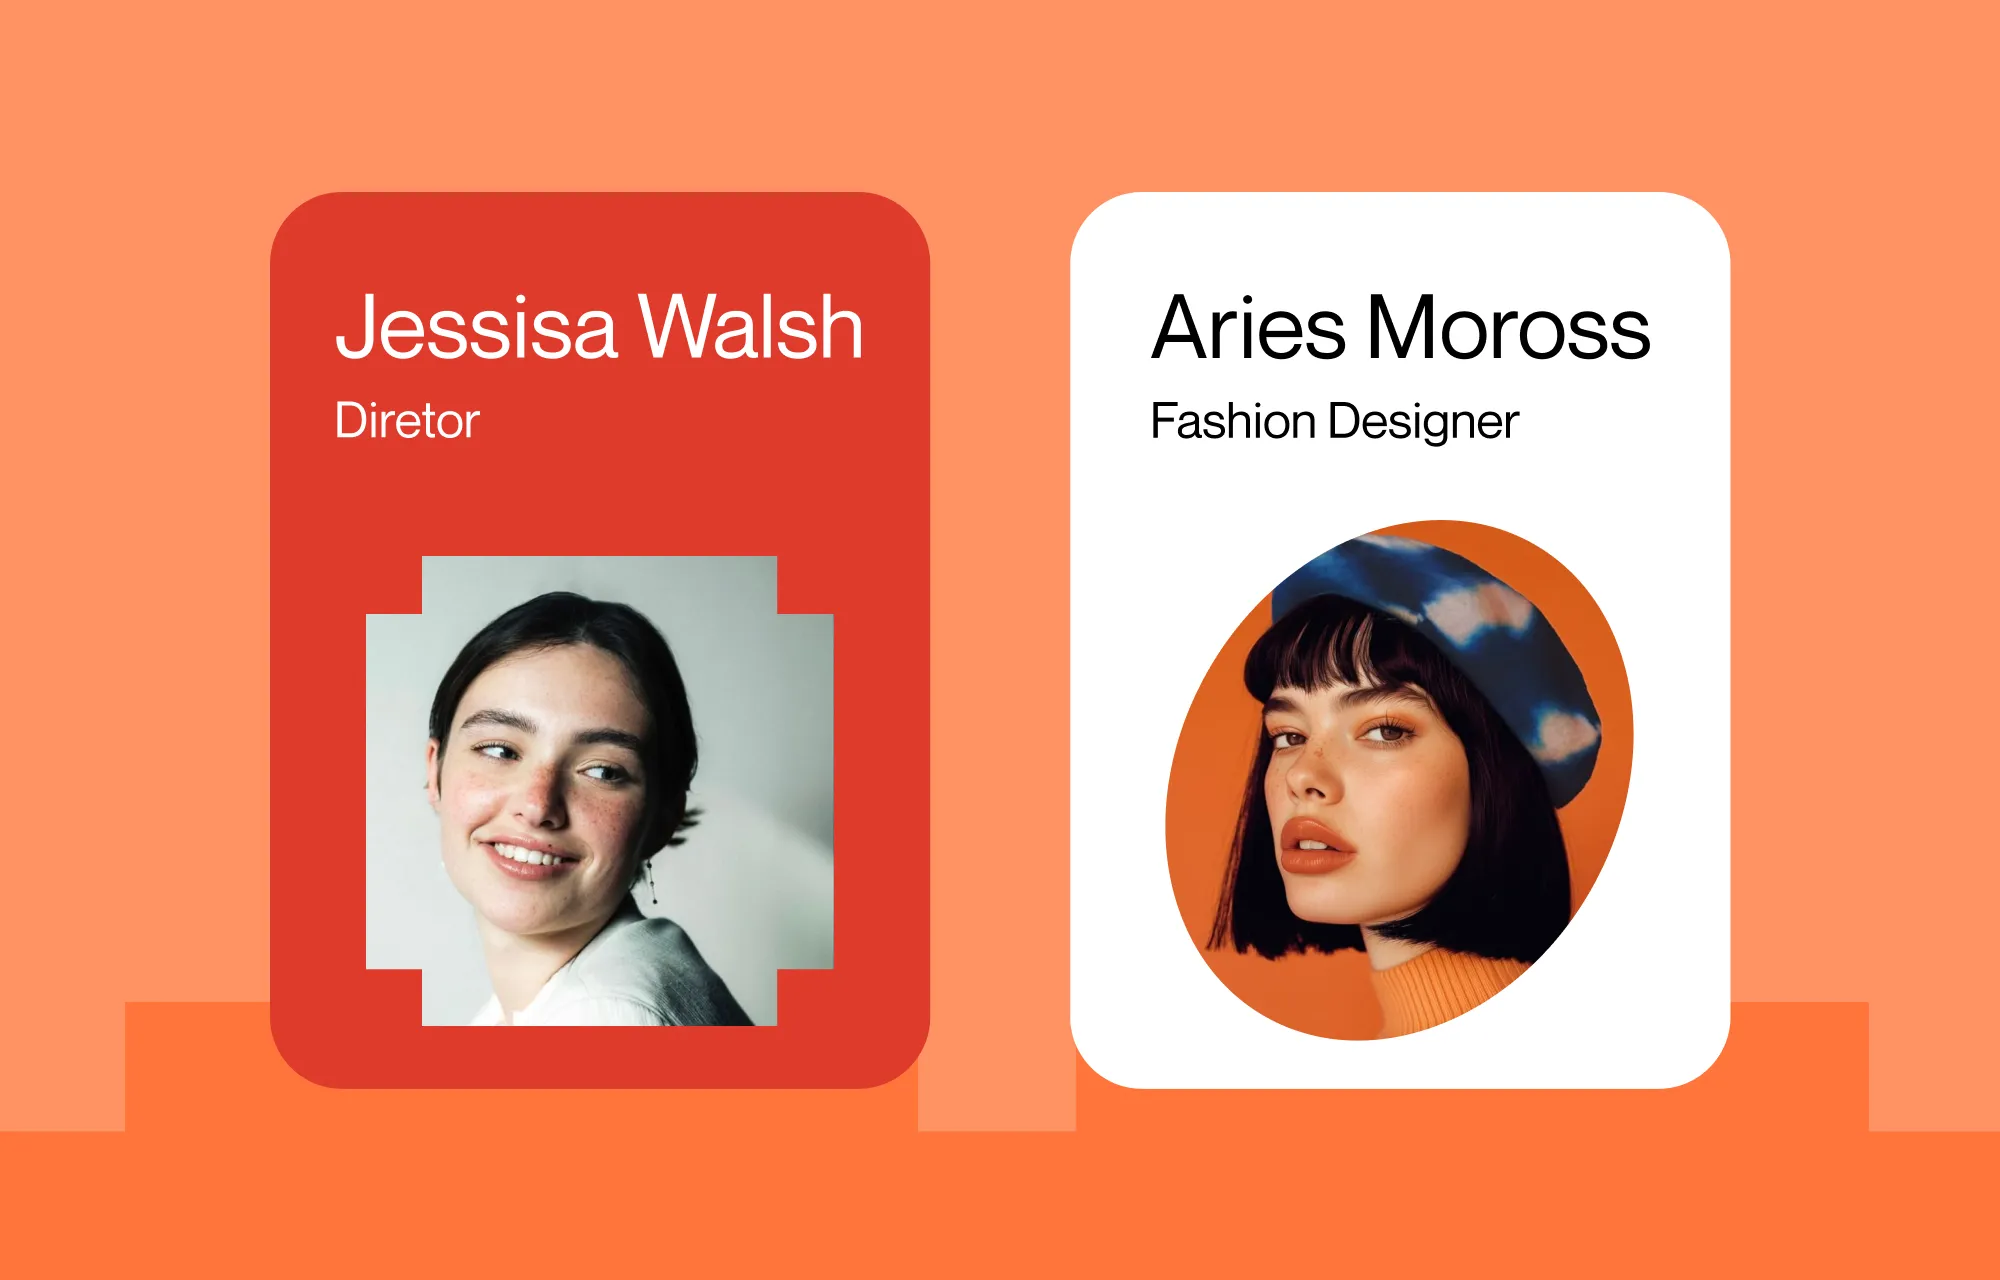
Next we have Content Cards! Not only do they keep your content neat & organized but also help you make key information more readable while keeping the overall layout sleek.
To create Content Cards, follow the instructions below:
Step 1: From Insert > Elements, add a new Section to your layout. Then, nest a Container and a Flex element inside it. Need more Flex Items? Select the Flex, click on the Settings icon, and add as many as you like.
Step 2: Create your card shape, add a Div element. Play around with its Size, give it a Background, and turn it into a rounded rectangle by increasing the Border Radius under the Borders panel.
Step 3: Now turn the div into a vertical Flex from the Structure panel and set its Alignment to Center.
Step 4: Next, it’s time to add your content elements like Heading, Paragraph, etc. And for the main highlight i.e. adding an image frame shape — go to Media > Clip-path & Shapes > Image Clip, choose a shape, add or upload your image.
Step 5: Finally, duplicate your Div to each Flex Item, swap your content, and you have your content cards all done — to add an extra flair, change the image mask shape to add an extra bit of twist to your design!
💡 Tip: Save time by using Droip’s native Dynamic Content Manager & Collections — design your card just once and automatically display content for each item in the same way.
Navigate in Style With Shapes

Want to guide your audience like a wiz? Shapes can lead the way!
Here’s an example of how you can use triangular shapes to direct user attention to important CTAs and key messages:
Step 1: From Insert > Elements, add a new Section to your layout and then drop in a Flex element.
Step 2: Go to Media > Clip-path & Shapes > Image Clip, and select an image mask shape that points right to your first flex item. Then, add or upload your image.
Step 3: Now, turn the second Flex Item into a vertical Flex from Structure, add your content like Heading, Paragraph, Button. Finally, adjust the Size and other styling bits and you’re done!
How to Edit SVG Shapes in Droip
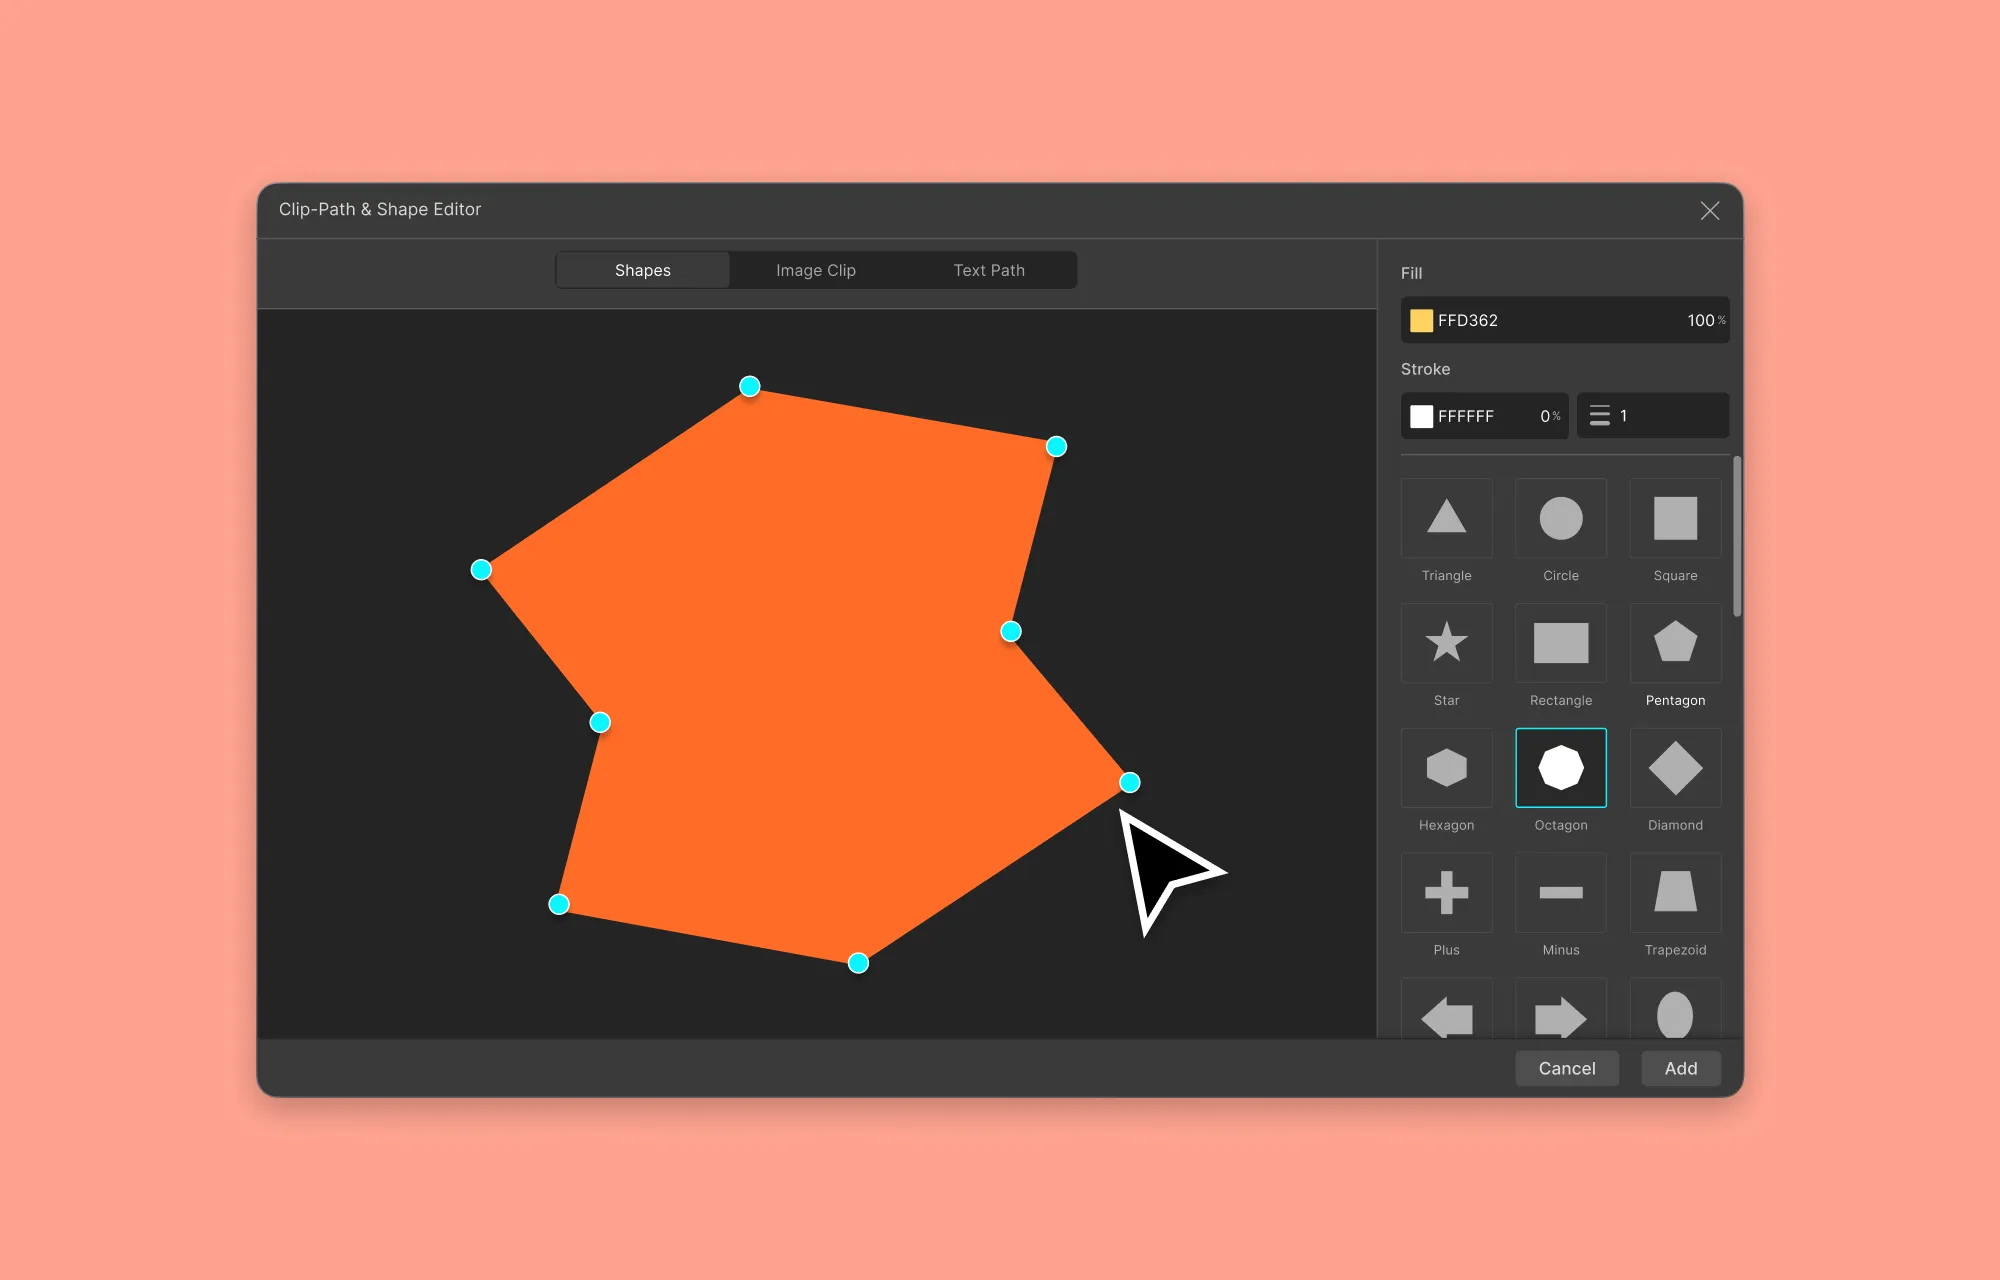
Did you know that you can edit the form of shapes in Droip?
That’s right! Most shapes in the Shape Editor are fully customizable and can be altered visually with built-in options!
Here’s how:
Step 1: Head over to Media > Clip-path & Shapes and pick your desired shape. You can also click the Edit icon in the shape’s inline editor to access this panel.
Step 2: Then, grab the control points to reshape its form however you like. You can also tweak the shape’s Fill Color, Stroke Color, and Stroke Weight from here.
Step 3: Once you’re happy with your shape, click Add to and voilà — your customized shape is now part of your design!
Shape Your Vision: How to Add Custom Shapes in Droip
Want to bring your own flair to the design? Droip lets you add custom shapes to WordPress effortlessly! Here’s how to make it happen:
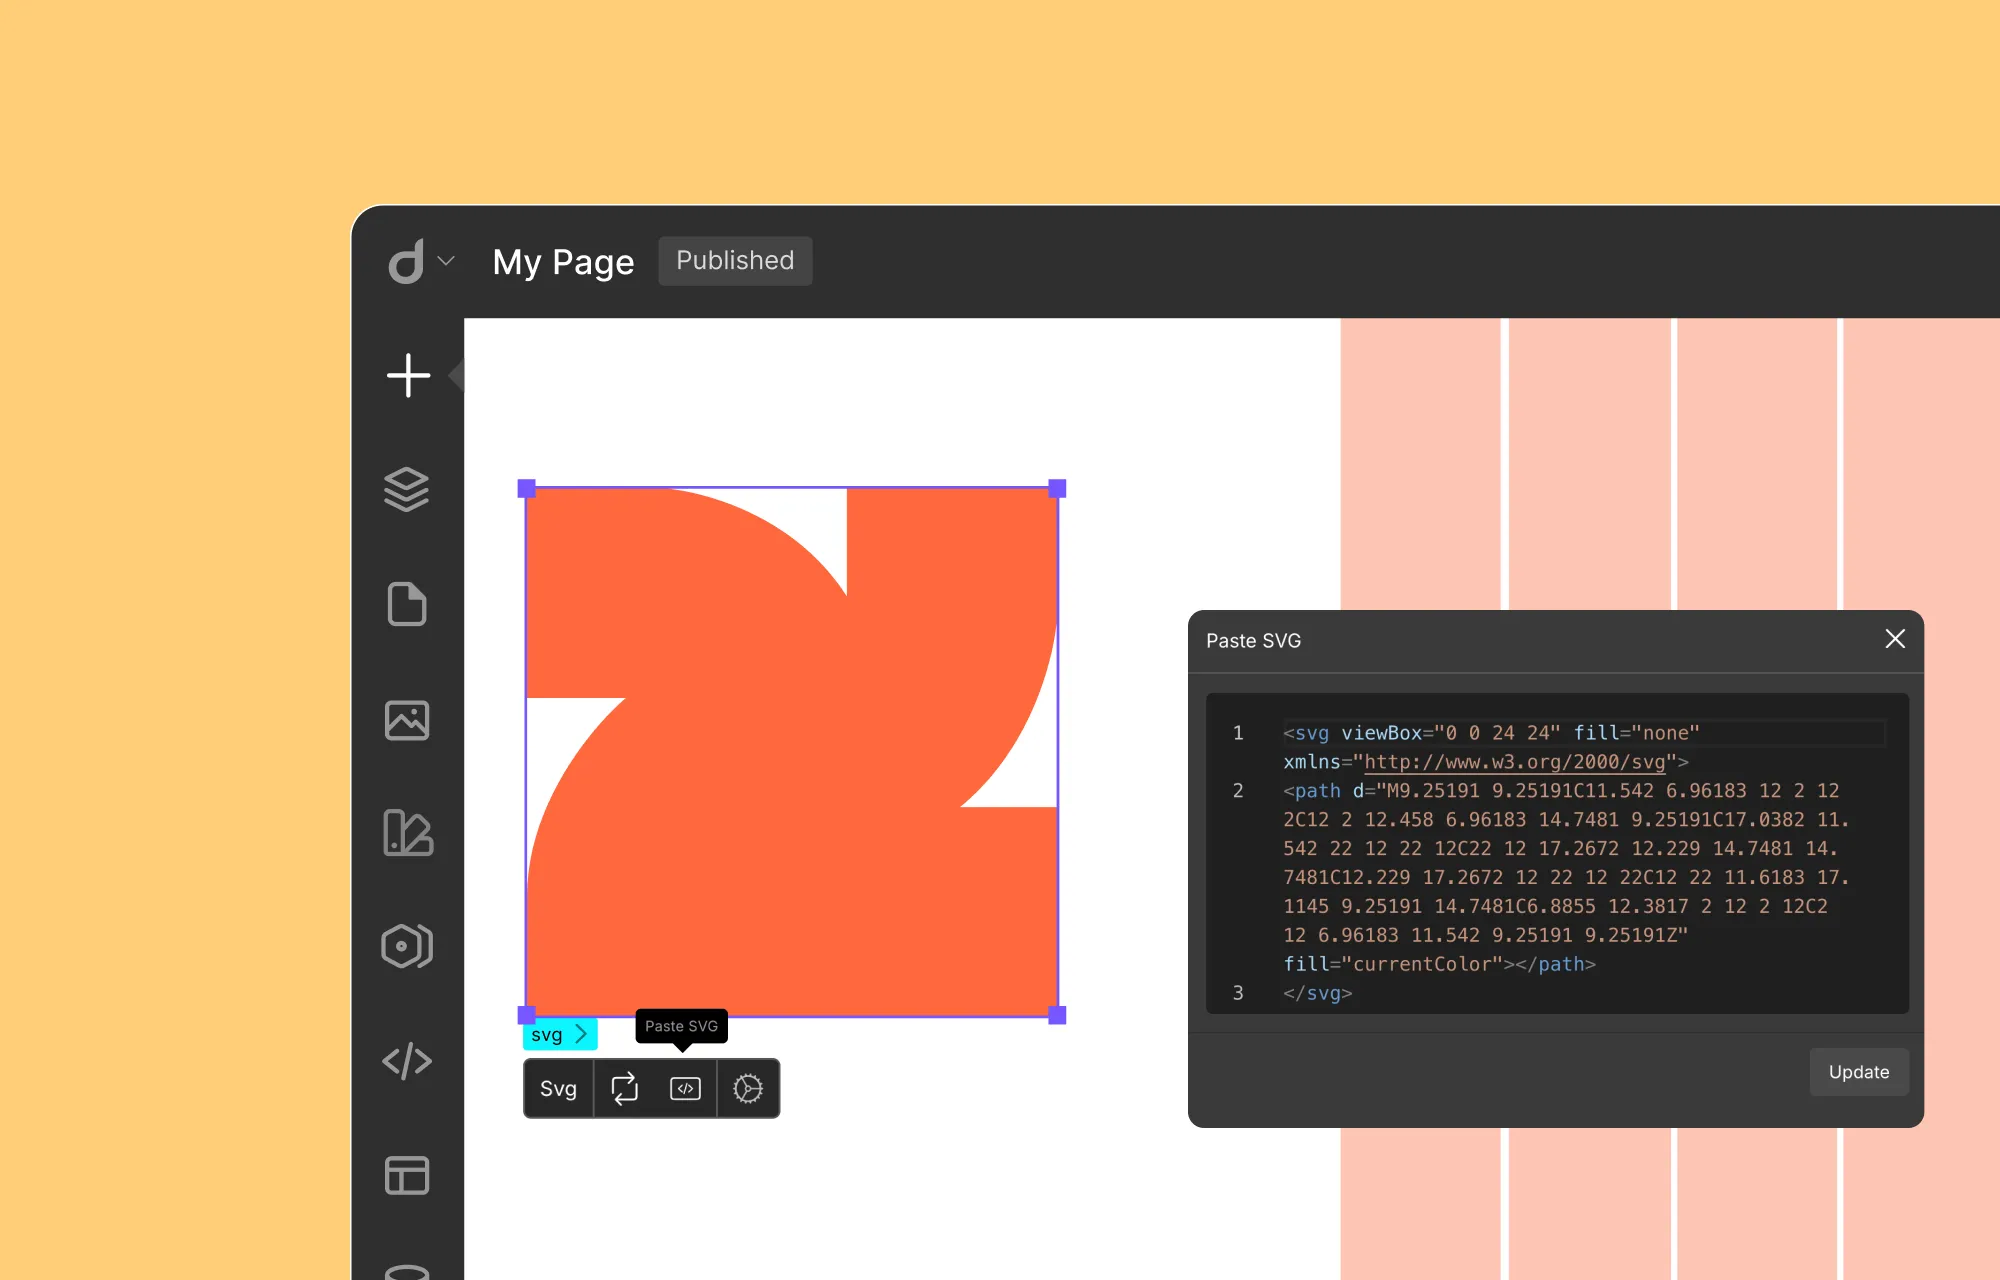
Step 1: Head over to Insert > Elements and drop in a Shape element.
Step 2: Select the Shape element and open up the Paste SVG panel.
Step 3: Copy your custom SVG code, paste it in, and hit Update. Boom — your custom shape is now on your WordPress website!
Shape Your Website with Ease
That was everything you needed to know about shapes in web design & how to add them to WordPress websites using Droip!
From organizing content to guiding attention — shapes can do it all. And with a one-stop website builder like Droip, you can not just add shapes but also add custom shapes to WordPress, visually customize shapes, and more!
So what are you waiting for? Shape your website with ease using Droip!