Building your first WordPress website can feel daunting — but we’re here to help.
You may have seen this title before, but if you want a clear, step-by-step guide on how to build a WordPress website from scratch, this is it.
By the end of this guide, you’ll know exactly which tools to go for, how to customize your design, how to add functionality, and how to launch your website, all without breaking a sweat.
So let’s dive in!
Step 1: Plan Your Website
A little planning goes a long way.
Before diving into building a website, take the time to figure out some key aspects, such as:
- Purpose of This Website: What is your website for? A blog, portfolio, business site, or something else?
- Target Audience: Who is this site for, and what do they need from it?
- Website Pages: Decide what pages you need — Home, About, Services, Contact, Blog, etc.
- What Actions Visitors Should Be Able to Do: What do you want visitors to do? Read blogs, sign up for a newsletter, or fill out forms?
- Functionality to Be Added: Identify the features your site needs based on the desired actions of your visitors.
- Types of Content Needed: Identify the types of content you need, like text, images, videos, etc.
Defining these details first will make the actual website-building process smoother and more efficient.
Step 2: Choose Your WordPress Plan

Once you’ve nailed down the basics, it’s time to choose the right WordPress plan for your website.
There are mainly two types: WordPress.com or WordPress.org.
WordPress.com is a fully-managed service that provides both the free WordPress software and hosting in one convenient package.
It does have a free plan, but customization is very limited. You’ll need to upgrade to higher-tiered, paid plans to install plugins and get access to all themes, which can get quite expensive.
So, it’s not the best choice if you want more control, need advanced functionality, or are working within a tight budget.
WordPress.org, on the other hand, provides the same free WordPress software, but you’ll need to arrange your own hosting and domain.
In return, you get complete control over your website, the freedom to install any plugins or themes, and full ownership of your content.
In short:
- WordPress.com is simple and beginner-friendly, perfect if you want an easy, secure setup with built-in maintenance and don’t need to dive into deep customization or advanced features.
- WordPress.org, which powers over 43% of all websites worldwide, is ideal if you want flexibility, scalability, and total control over your site’s design and functionality.
Step 3: Get Your Domain & Hosting Ready
If you went with WordPress.com, you can skip this step, as your hosting and domain name are already taken care of.
However, if you choose WordPress.org, you’ll need to set up your own domain name and hosting.
These are key to your website’s success, so it’s worth knowing how to choose them wisely.
Choose a Domain Name:
Find and purchase your domain through providers like GoDaddy, Namecheap, Bluehost, and others.
When choosing a domain name:
- Keep it short, easy to spell, and memorable.
- Make sure it’s relevant to your brand or niche.
- Avoid using numbers and symbols if possible.
- Choose the right domain extension (like .com, .net, .org, .edu, etc.)
Pick a Secure & Flexible Hosting:
Your hosting will determine how fast and reliable your website will be, so go for a plan that offers strong performance, reliable support, and good security at a good value.
💡 Tip: You can also simplify things by looking for bundled solutions that offer both domain and hosting in one combined package to make things easier and more feasible!
Step 4: Install WordPress
For WordPress.org users, now that your hosting and domain are all figured out, it’s time to install WordPress and set up your website.
Install WordPress
Installing the WordPress software is quick and easy. You can either install it automatically through your hosting provider or run a manual installation:
- Step 1: Download WordPress.
- Step 2: Create a database.
- Step 3: Upload, unzip, and save the downloaded WordPress files to your server’s root directory.
- Step 4: Finally, access your domain on a browser to run the WordPress installation script.
- Step 5: Follow the on-screen prompts to set your language, database details, site title, username, password, etc, and complete the process.
Initial Setup
Once you’ve installed WordPress, it’s important to configure a few key settings, such as:
- Site Title & Tagline: From your domain, go to WP Admin > Settings > General and set your title and tagline to make it more understandable for users and search engines alike.
- Time Zone & Language: Also set basic things like your time zone, language, date format, etc.
- Membership: Enable this option if you want users to be able to register on your website.
- Permalinks: Set SEO-friendly URLs from Settings > Permalinks. The “post name” option is a recommended choice.
Finally, secure your website by using strong passwords for all accounts, enabling SSL to encrypt data and authentication, and performing regular backups.
Step 5: Choose a Website Builder
After your WordPress website is set up, it’s time to start actually designing it.
Now, while the WordPress platform comes with a default editor and a wide array of website-building plugins, many of them are limited in capability.
To build modern websites, you need a modern website builder that lets you:
- Visually design your website with ease
- Customize every granular detail
- Adapt seamlessly to any screen size
- Work with dynamic content
- Collaborate in real-time with your team
- And more
Most traditional WordPress builders fall short here, often relying on add-ons or extra plugins just to get things done.
But not Droip.
Built as a one-stop solution, the Droip WordPress website builder lets you craft contemporary WordPress websites with no code and no extra plugins.
With Droip, you can:
- Choose from an extensive WordPress theme library at no extra charge
- Visually design your site with full control
- Collaborate, co-edit, and communicate with your team in real-time
- Display and manage dynamic content
- Craft complex interactions and animations effortlessly
And more, with a level of control never before seen in WordPress.
And the best part?
All of this comes at a fraction of the cost of traditional website builders that are bogged down with limited functionality and add-on dependency.
What’s more, no matter which Droip plan you go for, you get access to the full Droip toolkit and template library; the only differences are the number of sites you can create and the plan duration.
So with Droip, you basically get everything you need to build a WordPress website, hassle-free and budget-friendly.
How to Install Droip
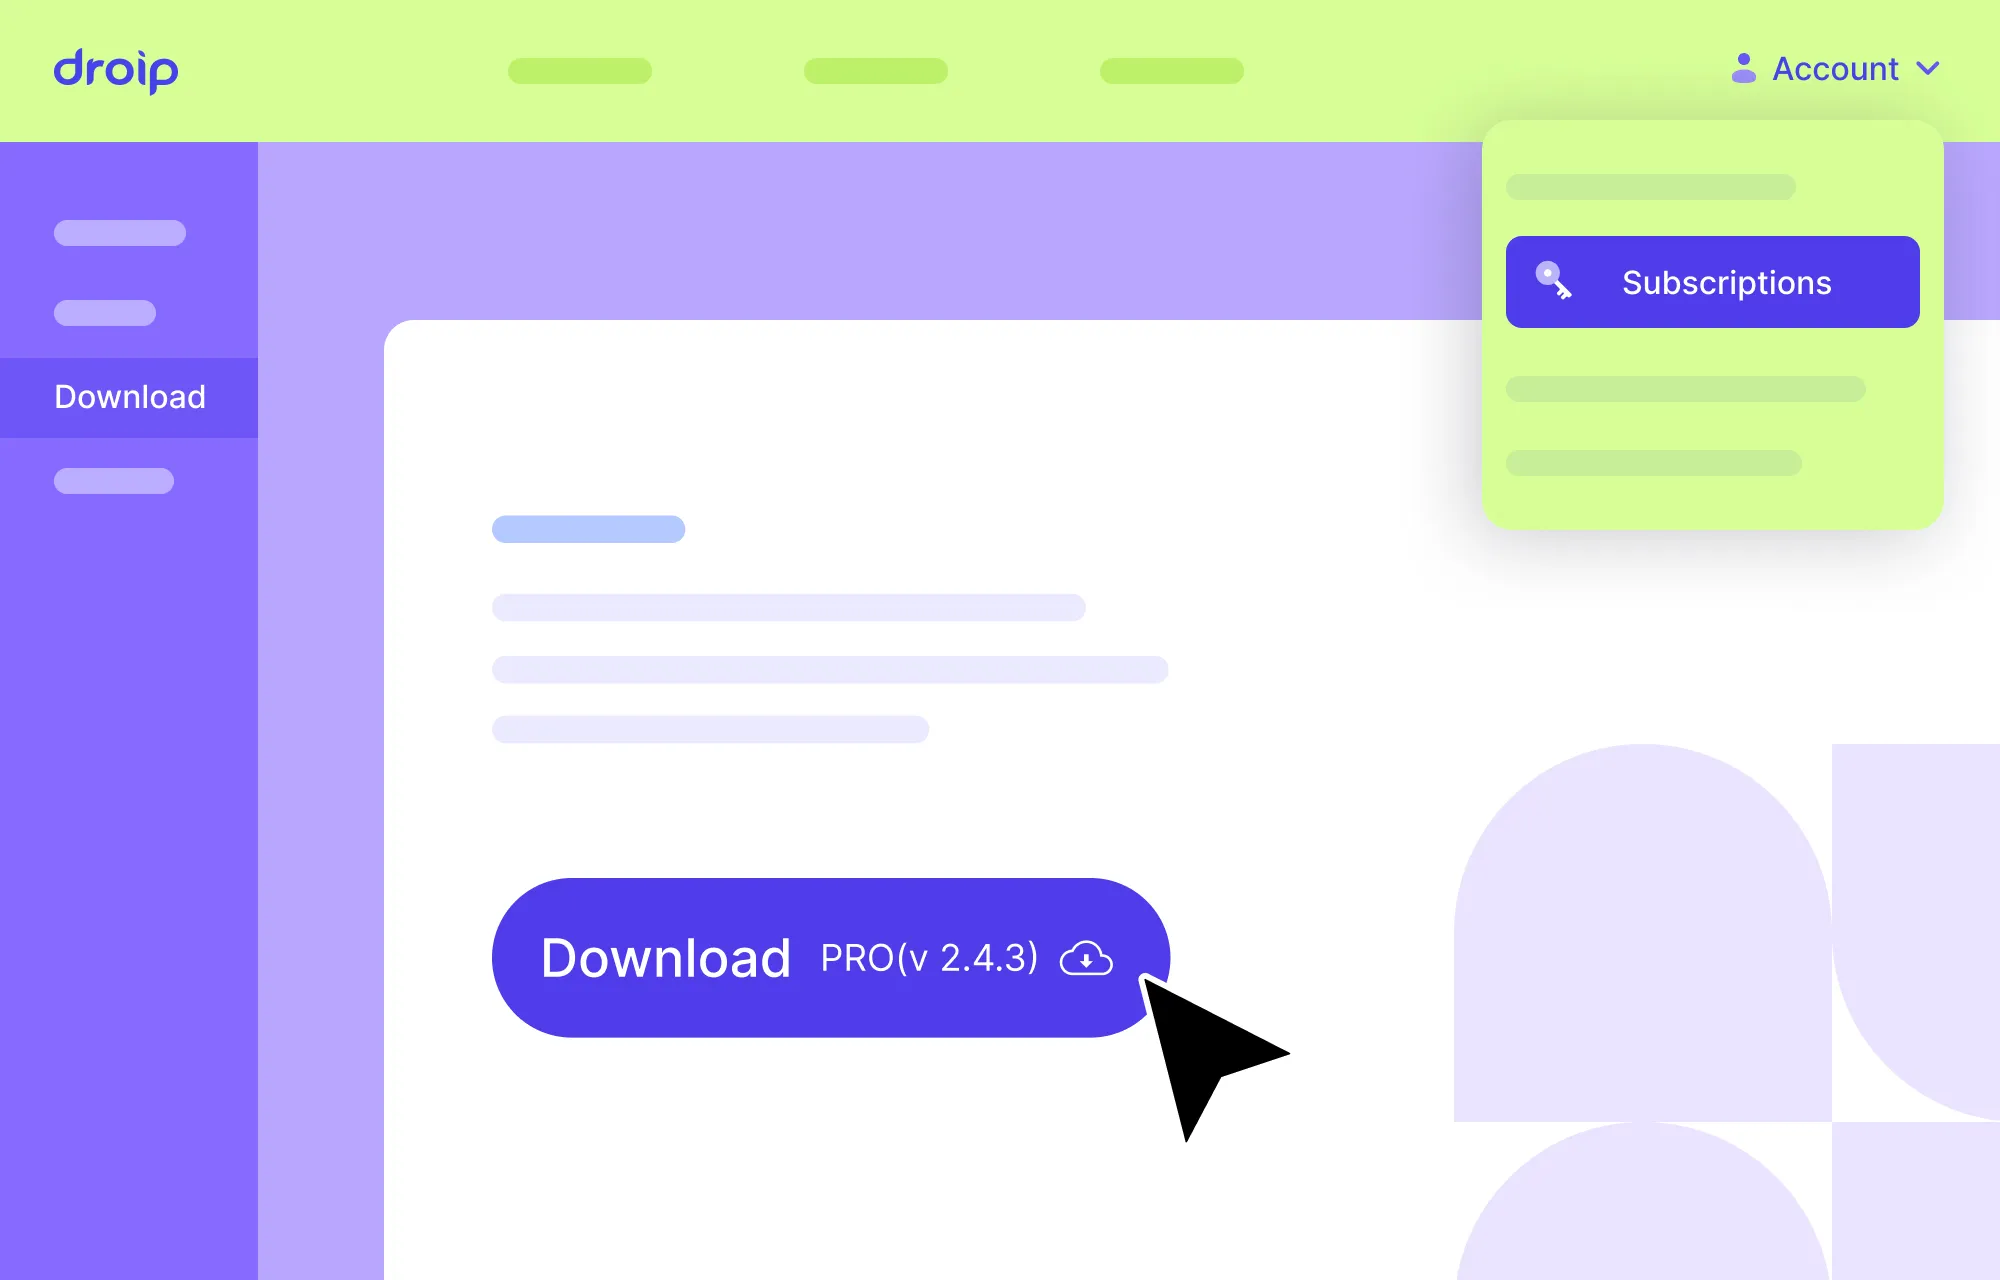
Installing Droip is also super quick and straightforward. All you need to do is:
- Step 1: Create an account on the Droip website and purchase the plan that best fits your needs.
- Step 2: From your Droip account, go to Downloads, and save the latest version of Droip.
- Step 3: In your WordPress dashboard, navigate to Plugins > Add New > Upload Plugin and upload the file you just downloaded.
- Step 4: Click Install and then Activate.
- Step 5: Finally, go to the Droip Account > Subscriptions > Licenses, add your site, copy the license key, paste it under WP Admin > Droip Settings > License, and click Activate.
And that’s it — Droip is ready to use with no additional setup needed, giving you all the tools you need to build your website right away!
Step 6: Choose Your WordPress Theme
You’ve chosen and installed your website builder. Now it’s time to think about your WordPress theme.
Themes are a game-changer. They let you build professional-looking websites quickly without starting from scratch.
And like plugins, WordPress offers a huge variety of themes to choose from, but these can be very hit or miss and often come with a price tag.
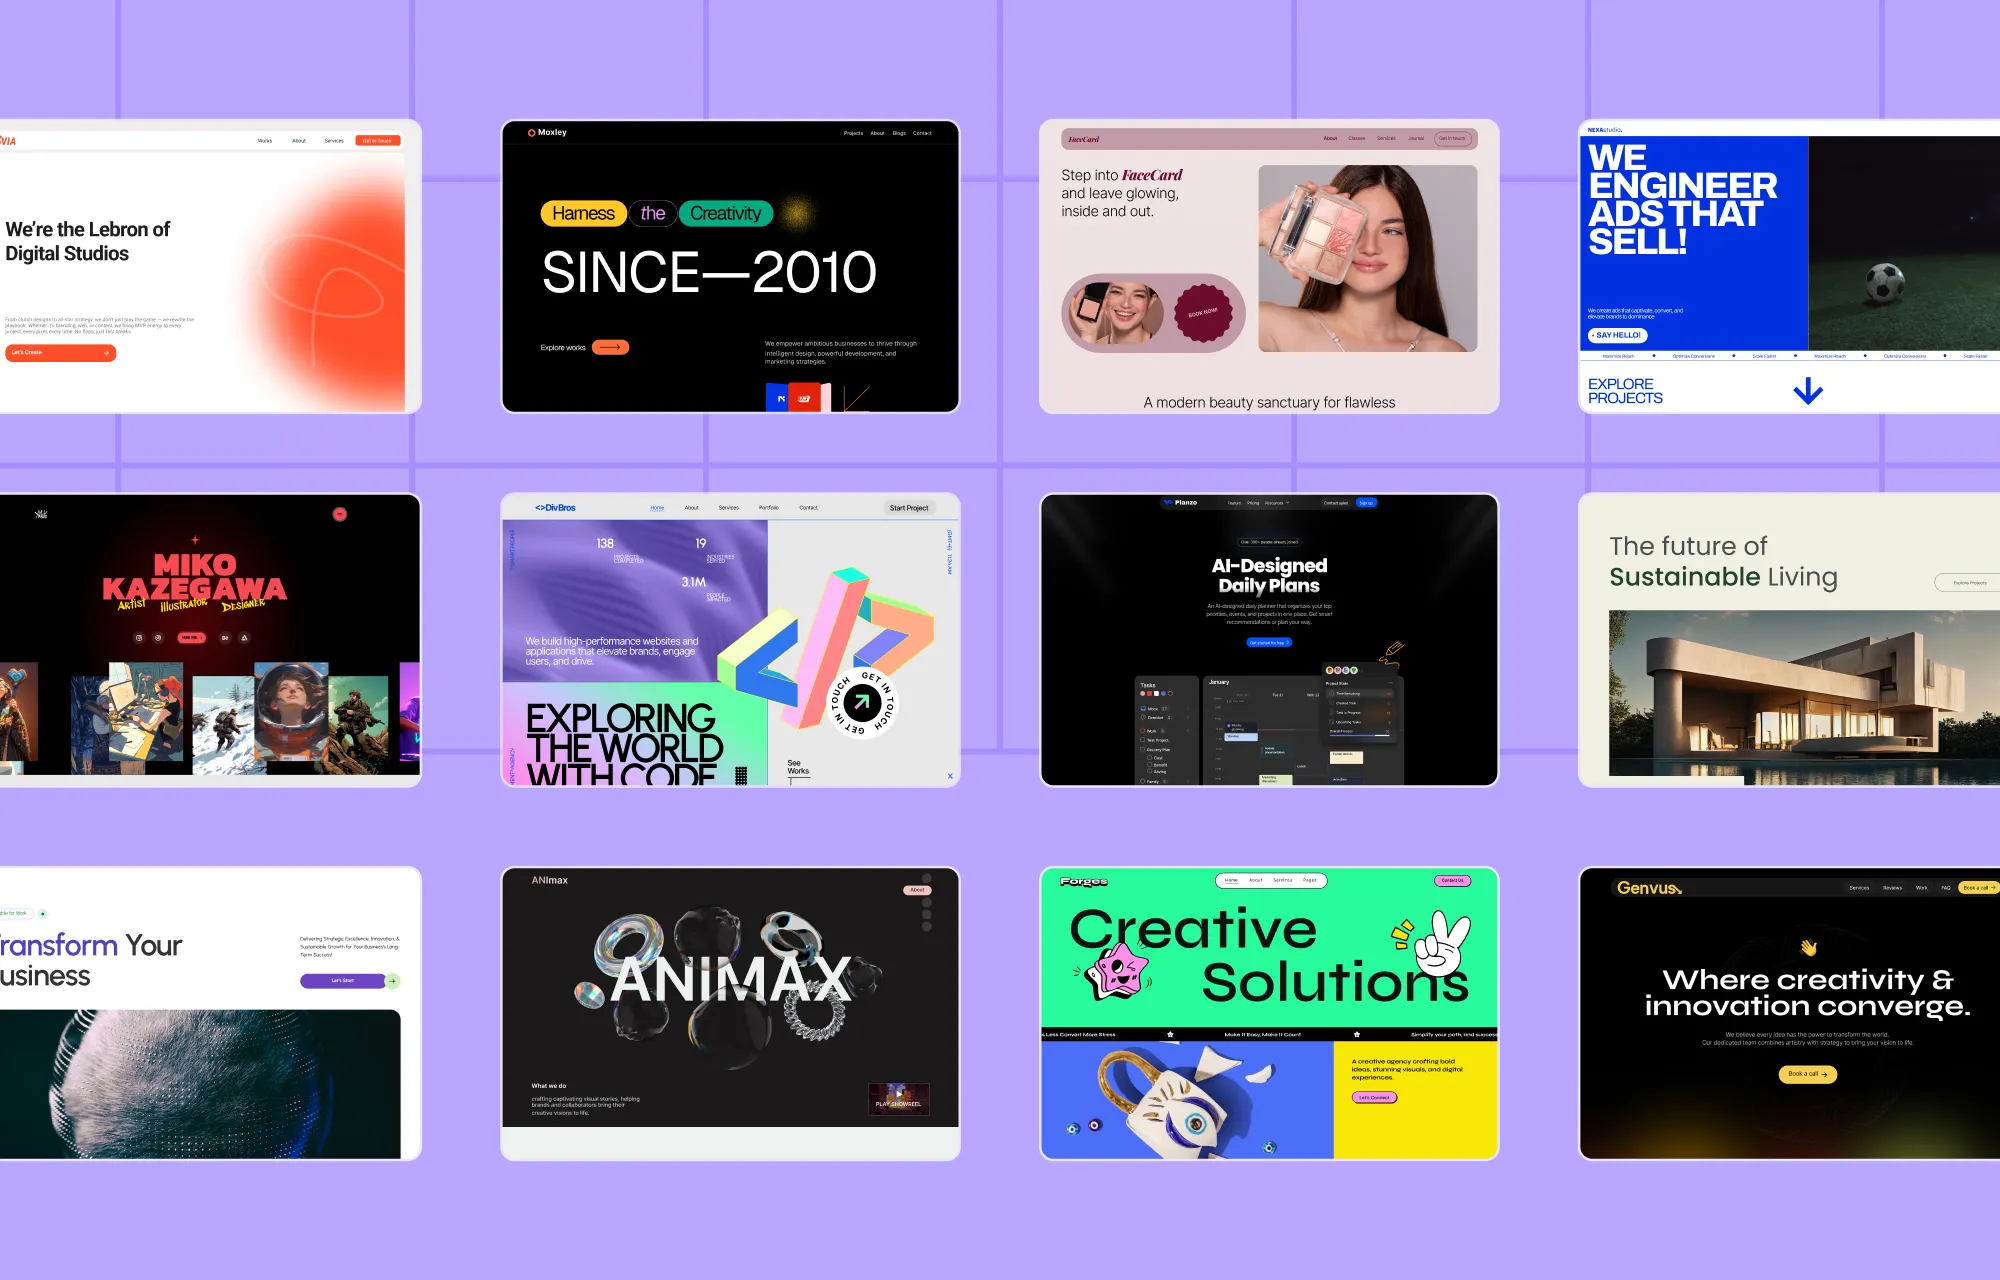
If you want to avoid the hassle or don’t have the budget, Droip has you covered with its free and extensive WordPress theme library.
Covering a wide range of niches, every template comes complete with all the essential pages, is fully customizable, and endlessly scalable with Droip.
From portfolios and agencies to apps, restaurants, and more, you’ll find an option for almost any type of website, ready to launch in just a few clicks.
How to Install a Droip WordPress Theme
Installing templates in Droip is a breeze. Here’s how it’s done:
- Step 1: Download the Droip Base Theme from your Droip account > Downloads, then upload, install, and activate it from WP Admin > Appearance > Themes.
- Step 2: In the Droip editor, click on the Templates icon located on the left sidebar and browse the library to find a template that fits your needs.
- Step 3: Click on a template to view its details, then hit Import to install, and click on Proceed to confirm.
And that’s it! Your template pages, their content, site settings, and more are now all in place.
From here, you can easily replace content, connect & display dynamic collections, customize the design, and put on the finishing touches, without having to start from scratch!
Step 7: Design Your WordPress Website
Next, it’s time to design your website.
Whether you’ve started with a template or are building from scratch, Droip offers some nifty design tools you’ll want to get familiar with to make the whole process a lot smoother. Let’s explore them.
Convert Instantly From Figma to WordPress
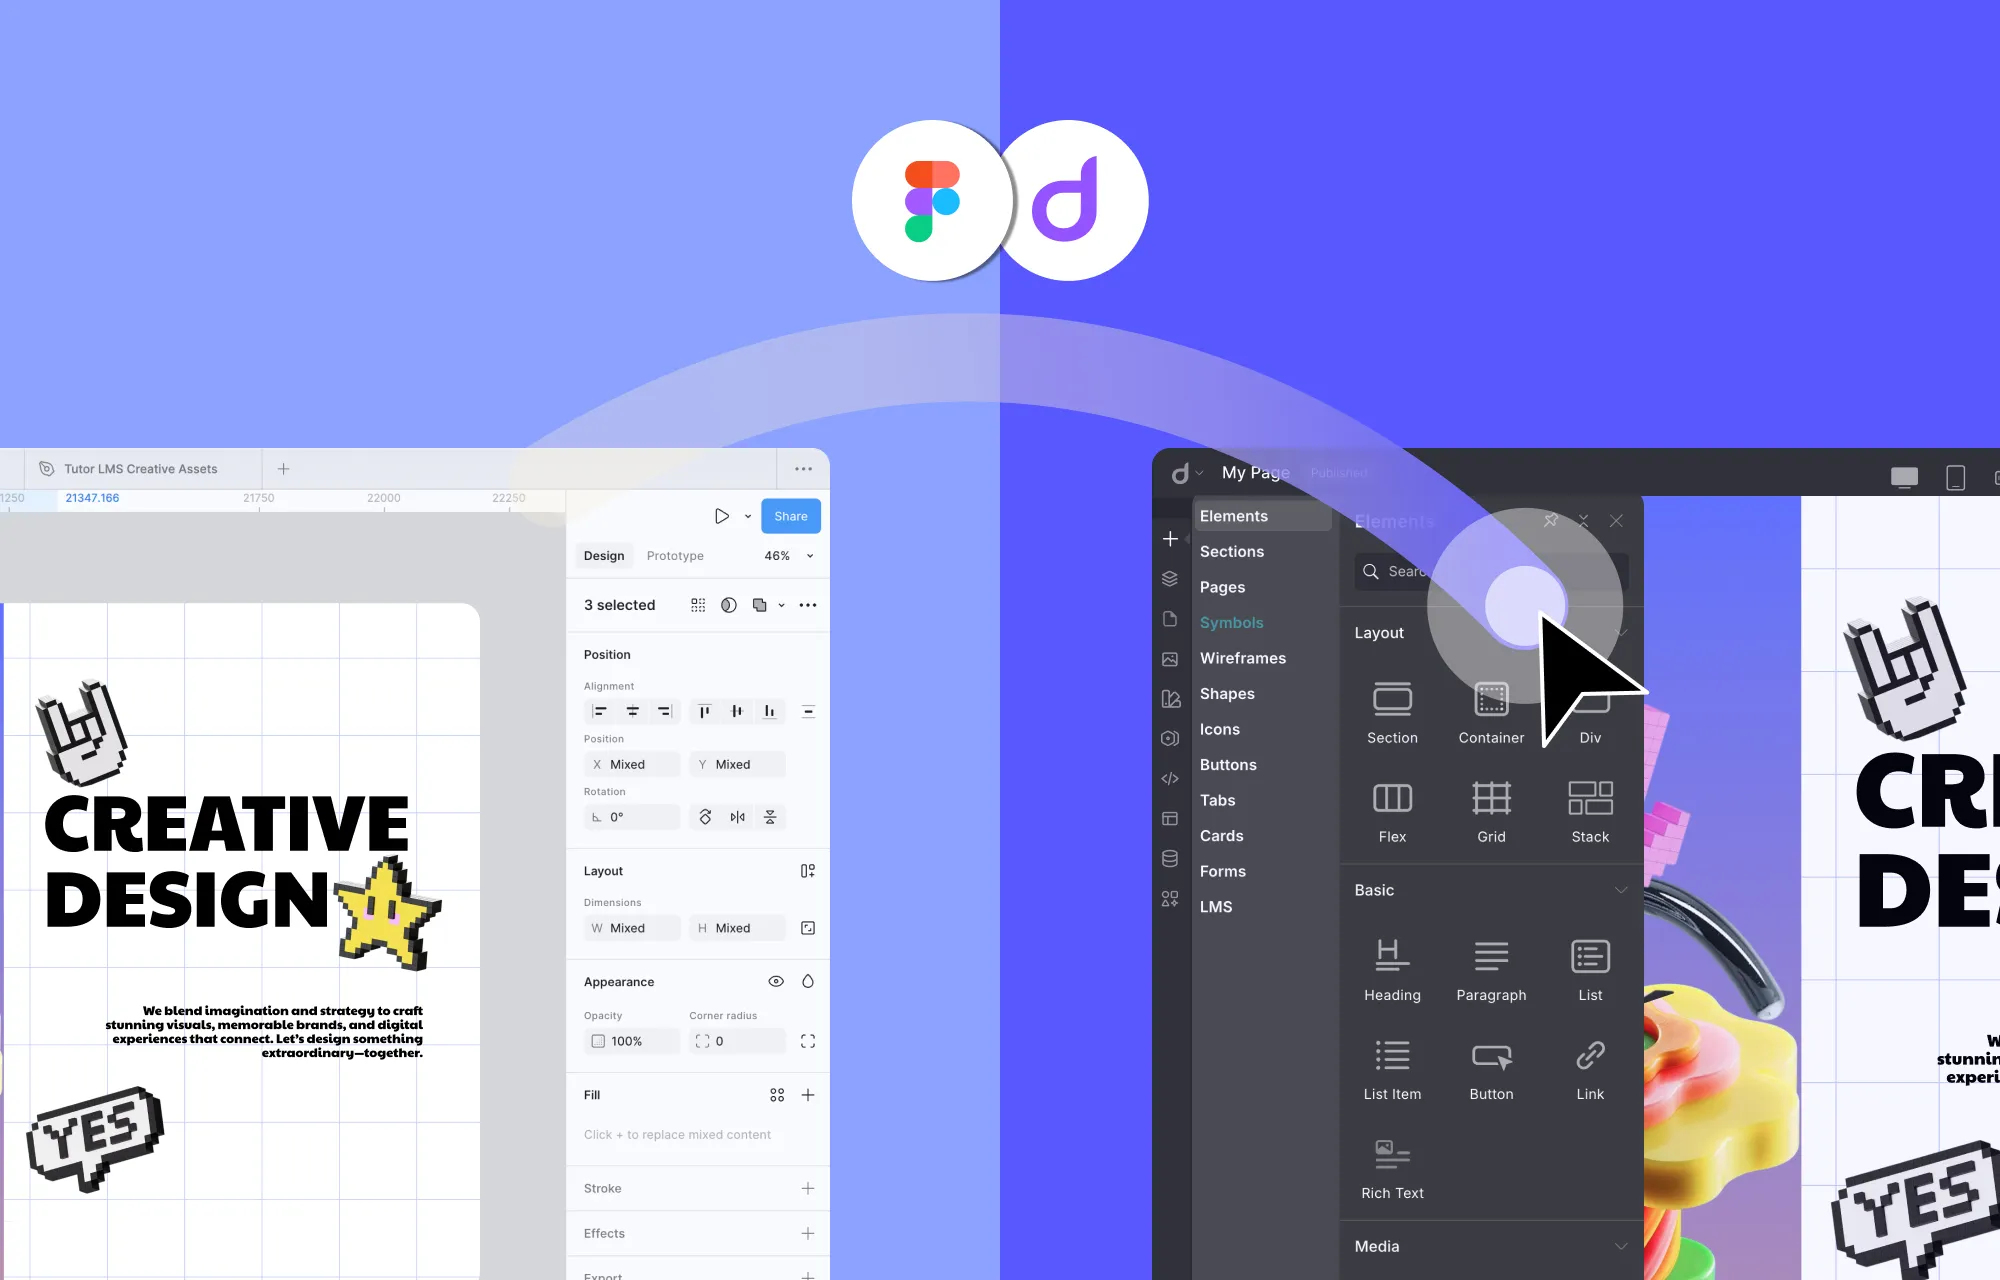
Already have a design in Figma that you want to incorporate into your WordPress website?
No problem!
With the Figma to Droip tool, you can import sections or even fully designed pages directly from Figma with pixel-perfect accuracy and auto-responsiveness, ready for publishing with just a few final touches.
No more developer dependency. No more manually converting designs to code. No more waiting days or weeks for results.
With Droip’s Figma to WordPress tool, you can go from design to development instantly!
Save & Reuse Styles Globally With Variables
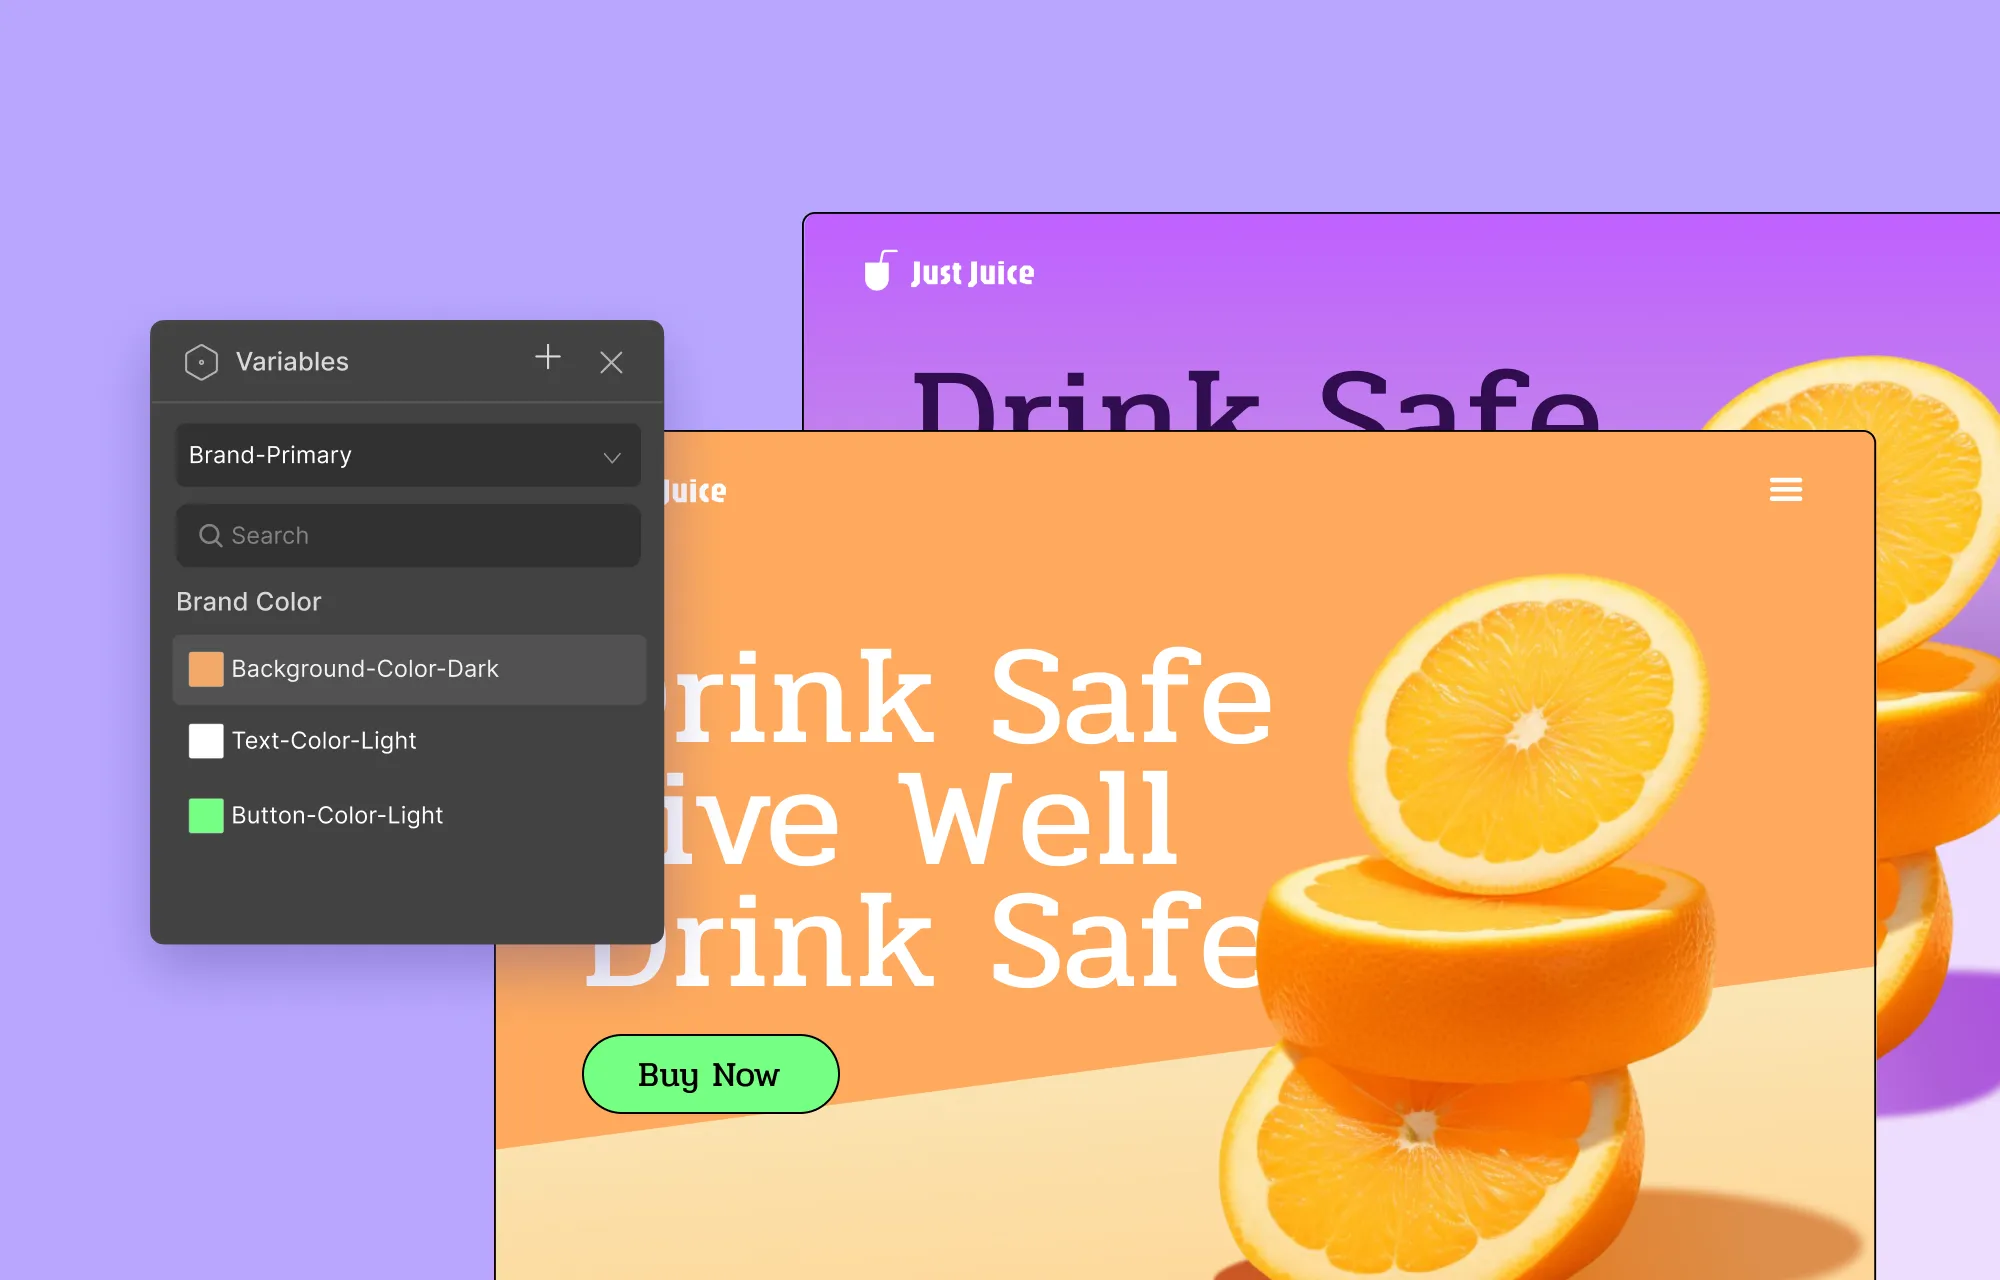
When it comes to website design, consistency is key.
This is where Variables in Droip come into play.
Instead of manually applying and reapplying colors, fonts, or sizes across every page, you can save them as Variables and reuse them across your site!
Need to make a change? Just update the variable once and watch it take effect everywhere it was assigned, in true global synchronous fashion.
Want to refresh your entire site’s look for a seasonal campaign, festival, or dark mode but without breaking your default design?
You can simply define Variable Modes, i.e., alternate values for every Variable.
This will let you switch between themes at the section or page level, or you can even let visitors do so on the front end using Interactions!
Design Cohesively Using Class Manager
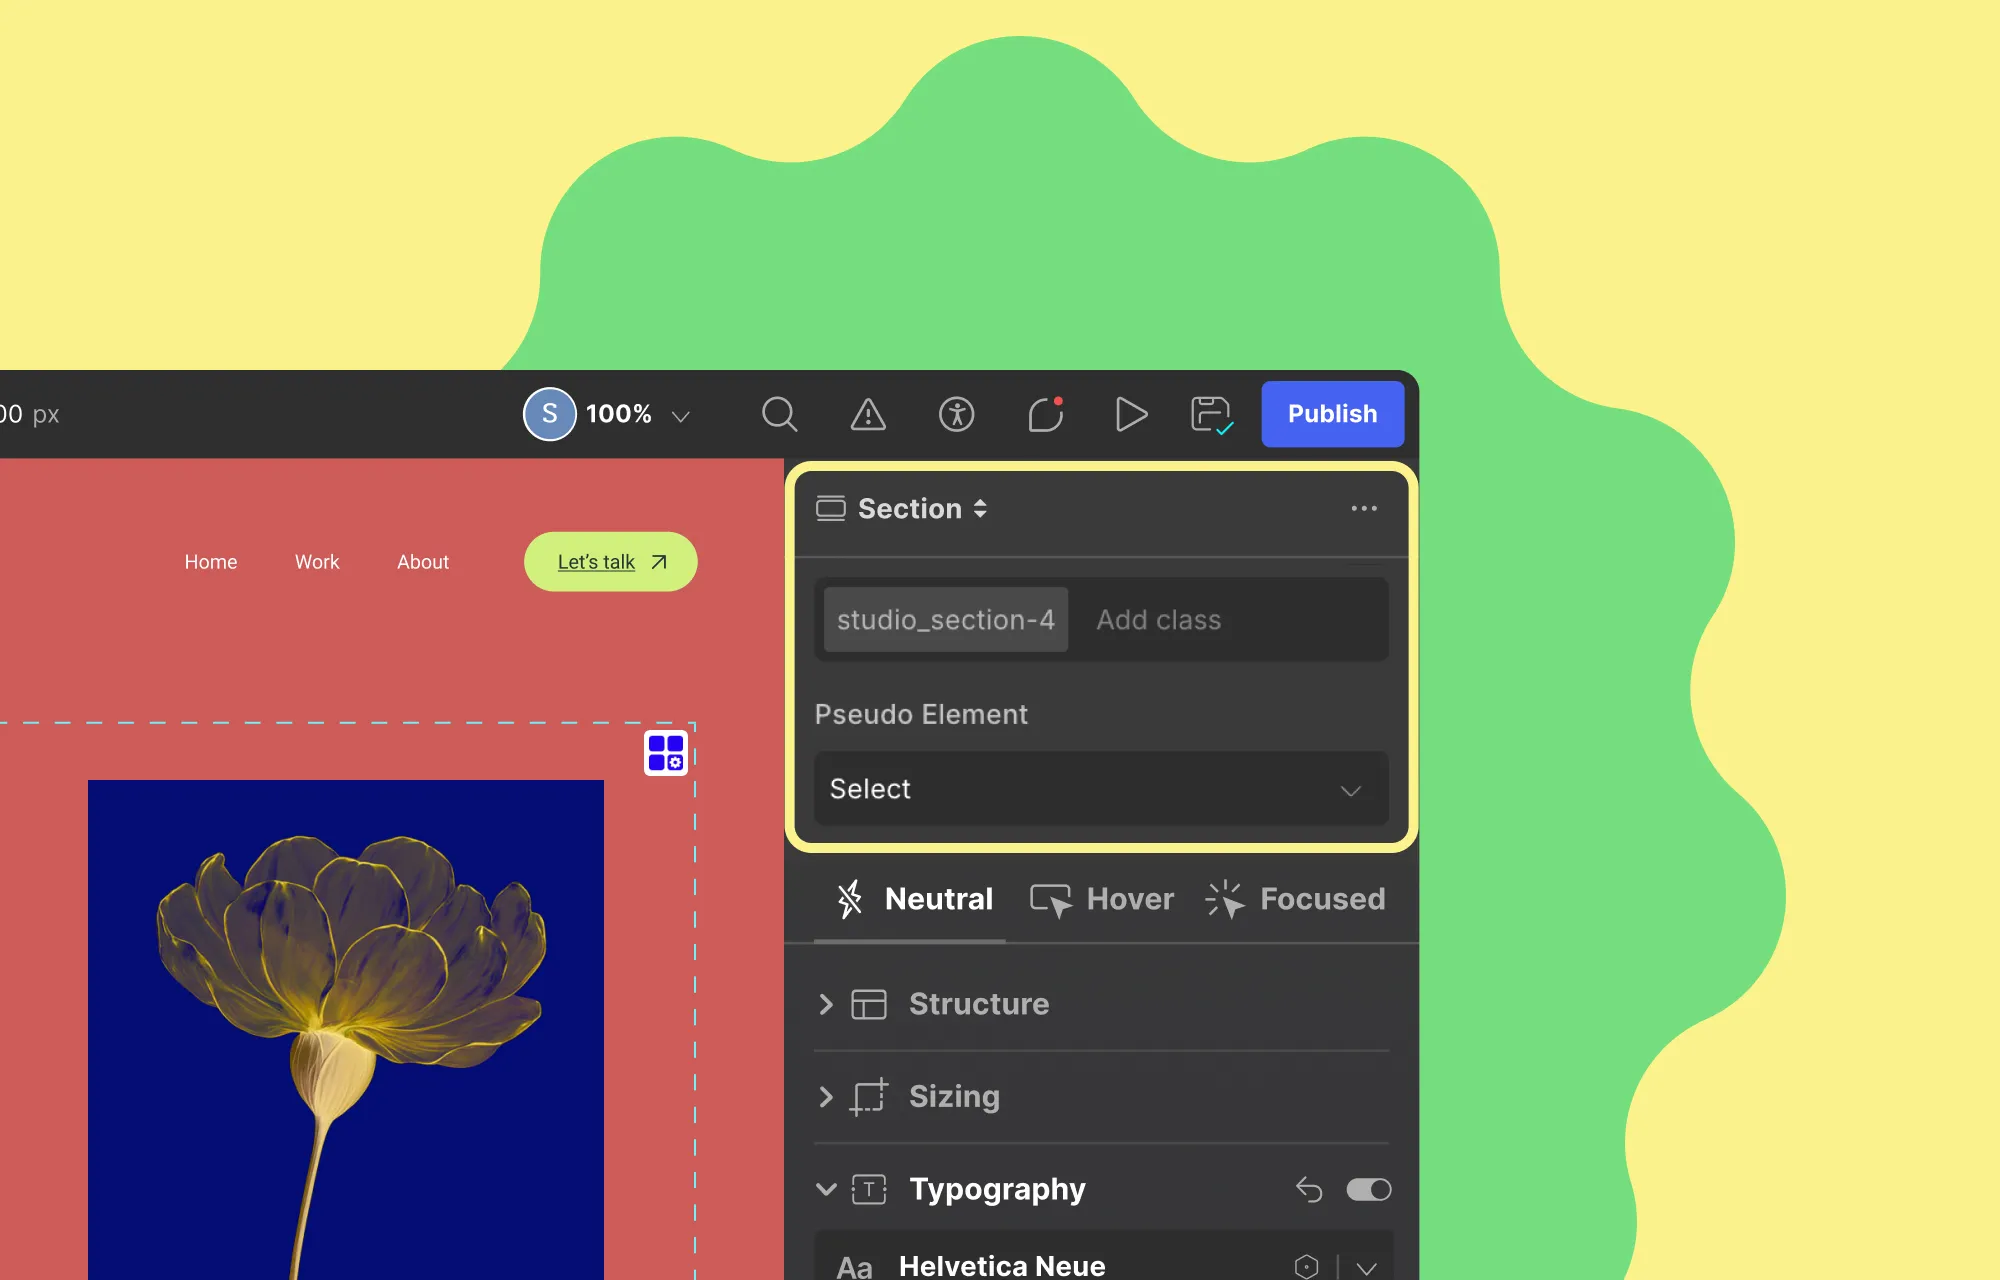
If you love consistency and efficiency, you’ll also be glad to know that Droip also supports CSS Classes!
If you’re new to the concept, think of classes as style cheatsheets.
Basically, Droip’s native Class Manager lets you visually create, organize, and apply CSS classes to elements across your website without having to recreate the same style over and over.
This again allows for synchronous styling, where changing the style of one element automatically changes the style of all other elements using the same class, instantly.
Droip lets you take it even further with Child Classes, which let you build on an existing CSS style on an element without altering the original CSS or changing the other instances.
Get Full Creative Freedom With the Extensive Style Panel
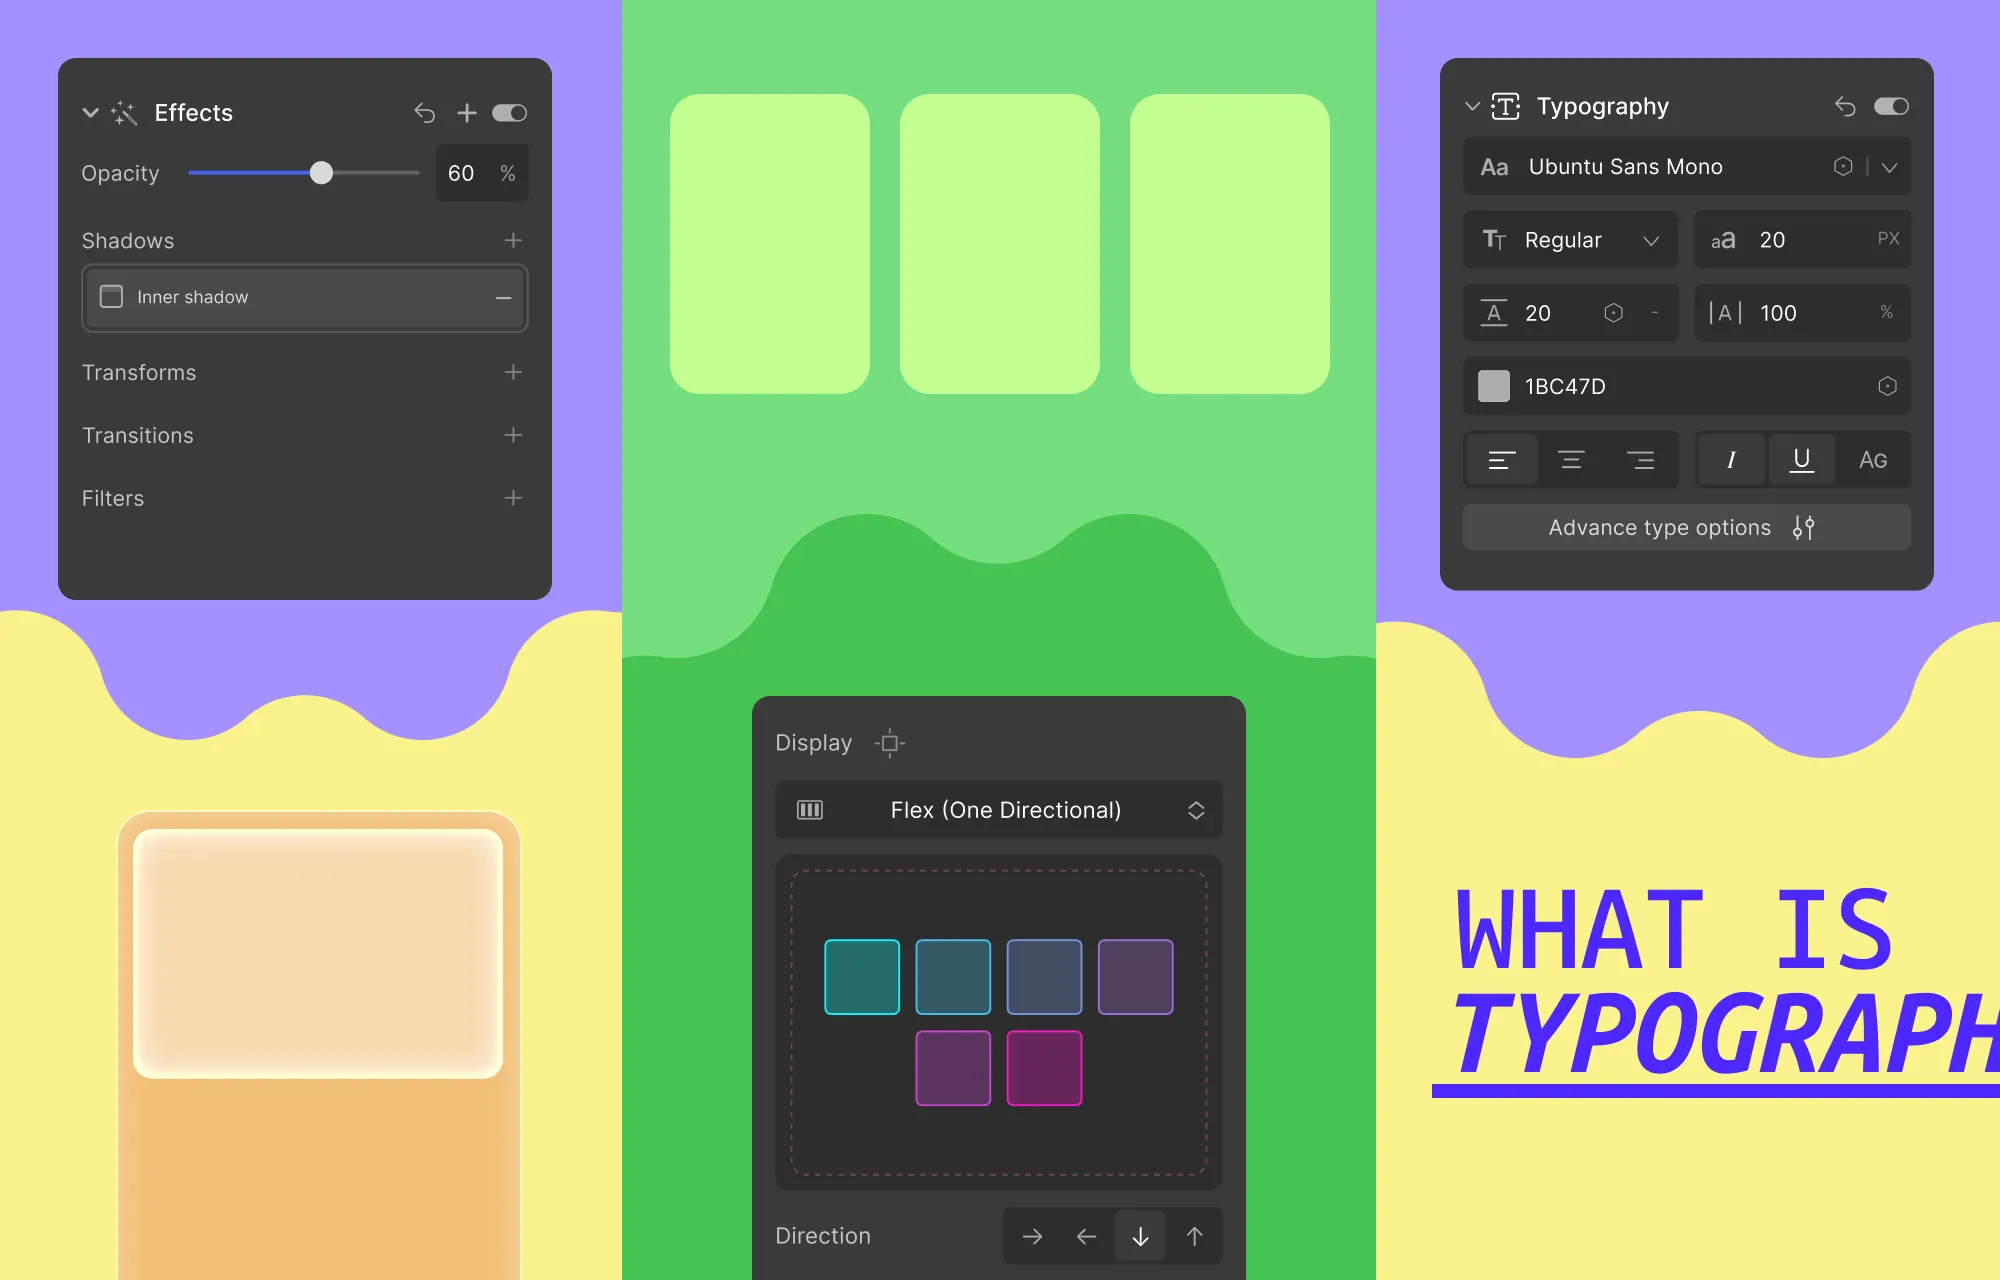
We’ve talked a lot about tools that make your web design more cohesive and efficient. But how do you actually design your pages?
Enter Droip’s pride and joy: the Style Panel.
Did you know 95% of CSS can be handled visually using this Style Panel without any custom code required?
That’s right.
With Droip, you get granular control over every aspect of design. From Typography and Backgrounds to Effects, Interactions, and more, you can customize every detail visually, precisely, and efficiently.
And it’s not just the usual options, either. From gradient backgrounds to glass effects, cursor trails, and more, the Style Panel lets you add unique, eye-catching touches that make your website truly stand out.
Step 8: Add Functionality
Once your website design is ready, it’s time to make it truly functional.
With Droip, this is effortless thanks to its built-in features. Here’s what you can do:
Display Dynamic Content in WordPress
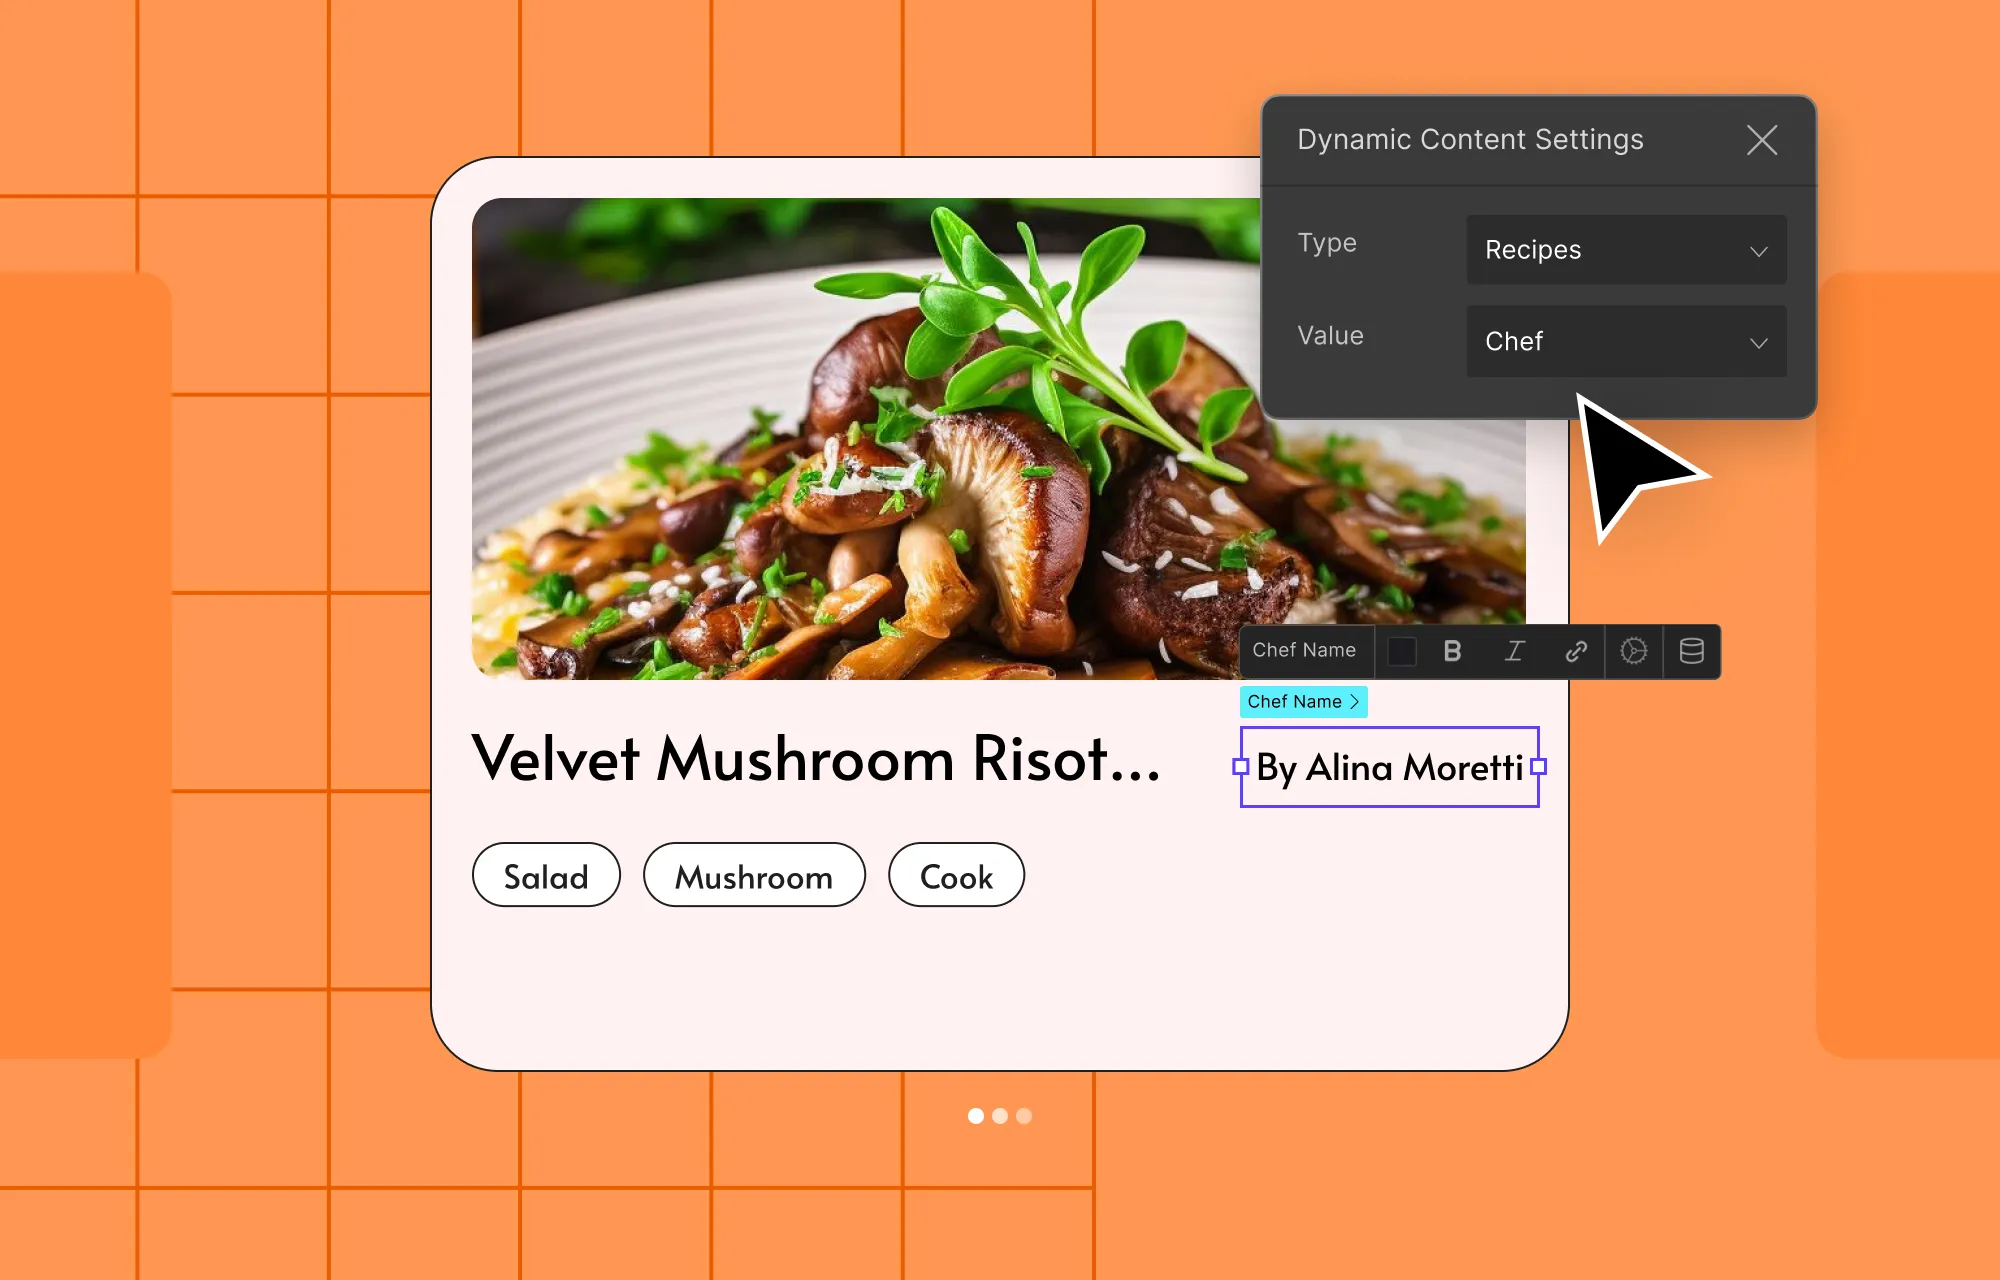
Not all content can, or should, be displayed statically.
Take items like works, services, blogs, testimonials, teams, etc, for instance. These follow a pattern and evolve constantly, making static display impossible to manage.
Fortunately, with Droip’s built-in Dynamic Content Manager, you can define custom content types in WordPress without the need for external tools like ACF.
Then you can simply add your data and display it dynamically through collection lists or dynamic templates.
This lets you update content directly from the Content Manager once and have it reflected automatically wherever that content is used without any repeated manual changes!
It also means you can expand your content effortlessly without worrying about changing the design, giving your website true scalability as it grows.
Visually Build Forms & Manage Form Data Natively
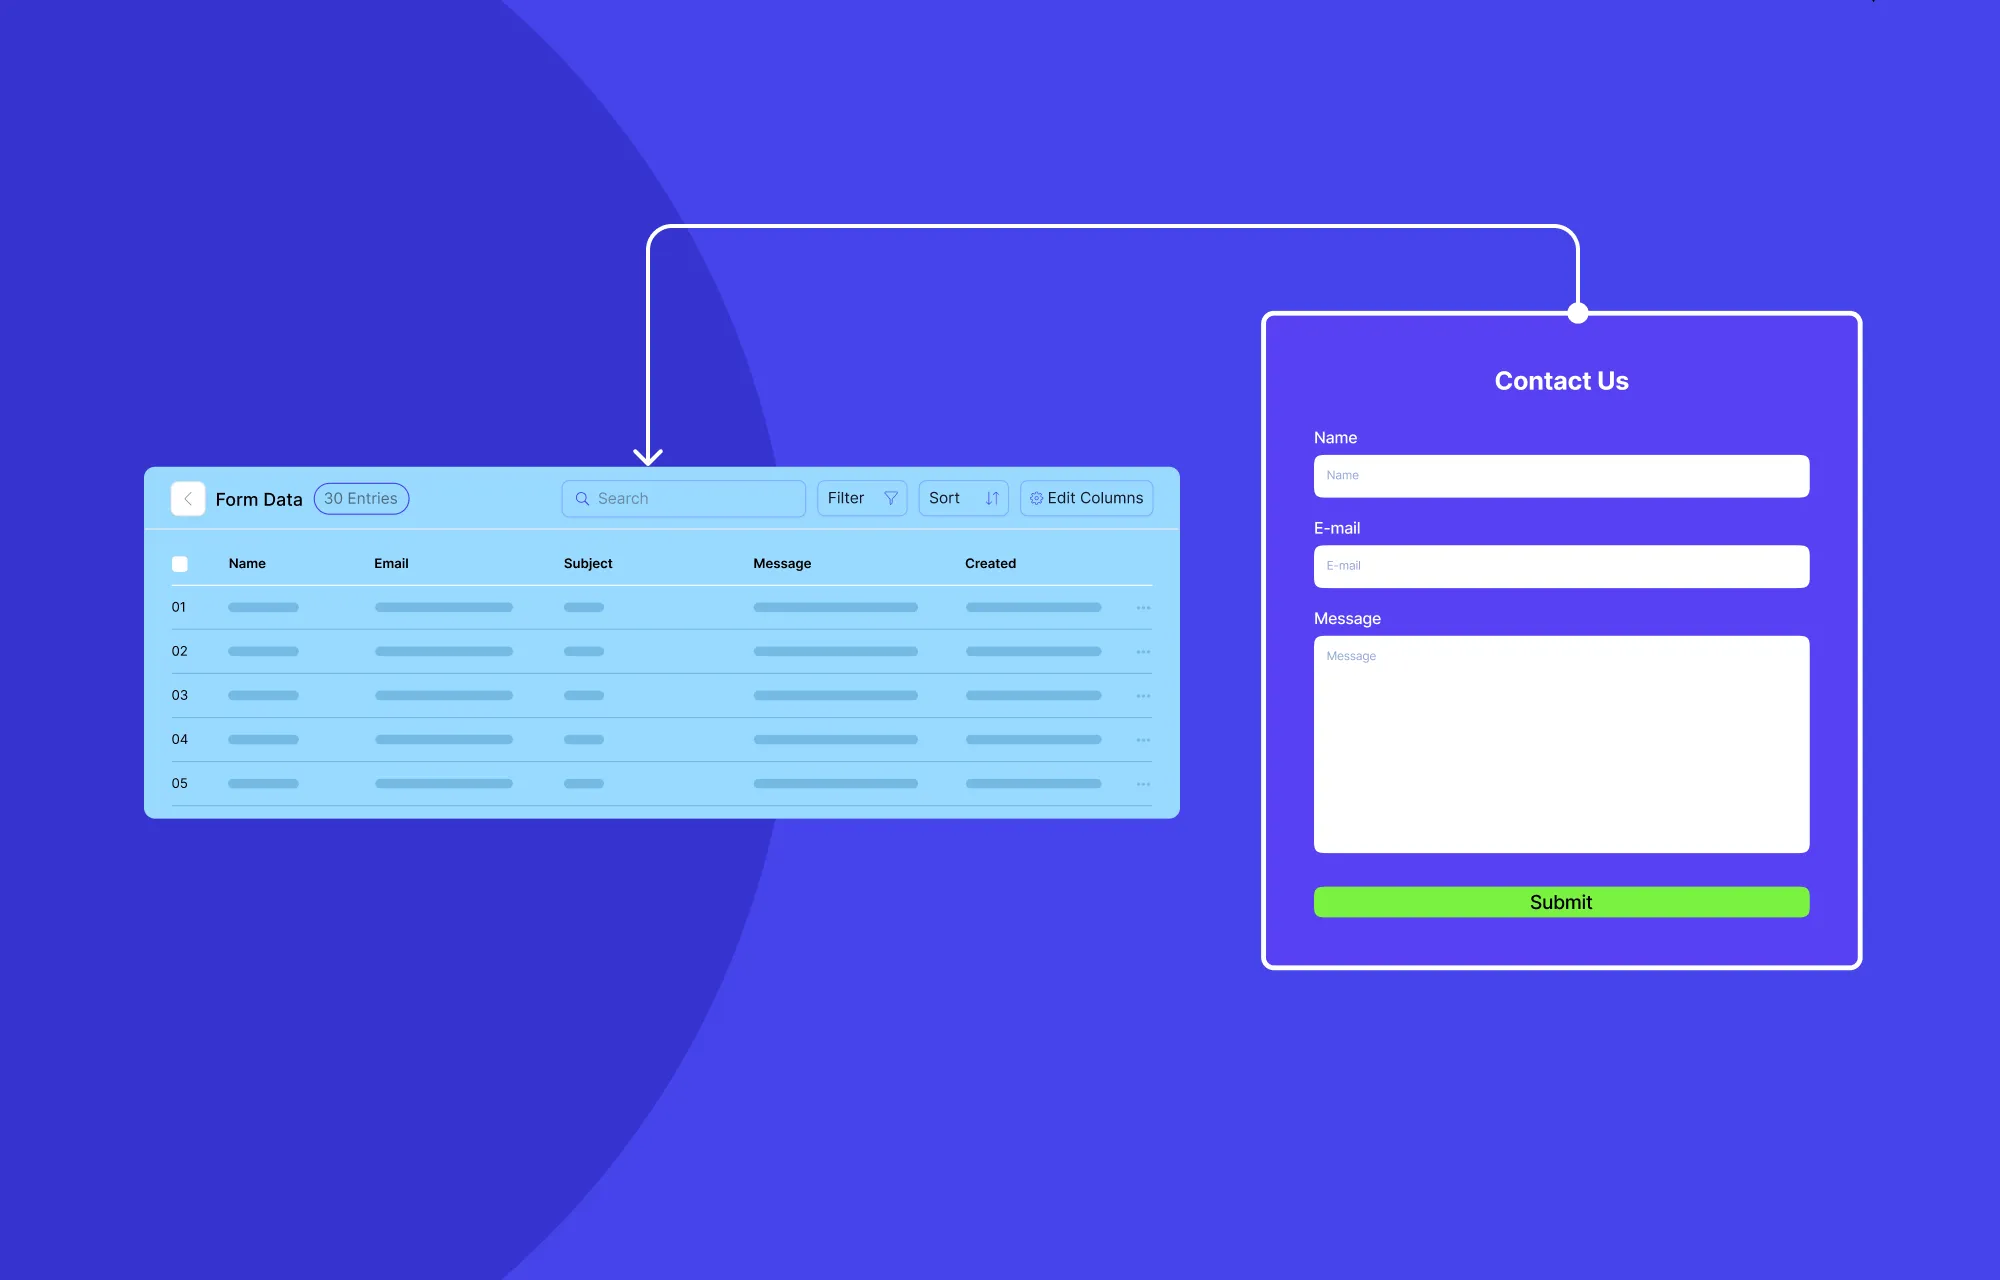
Forms are one of the most powerful features of any website, whether it’s for collecting data, capturing leads, or engaging visitors.
With Droip, you can build forms visually with ease, using either individual form elements or getting a head start through pre-built Form sections.
Depending on your website needs, you can create:
- Contact forms
- Newsletter subscription forms
- Booking forms
- Feedback forms
- And more
To secure your forms, Droip lets you limit submissions, restrict IPs, and even integrate easily with reCAPTCHA for spam protection.
Speaking of integrations, you can also connect with popular automated email marketing tools right from within Droip through Droip Apps, helping you grow your audience seamlessly.
And once your website is live and you can collect data through your forms, you can view, manage, and export submissions directly from the built-in Form Data Manager in Droip for easy tracking and analysis.
Create and Utilize Powerful Popups
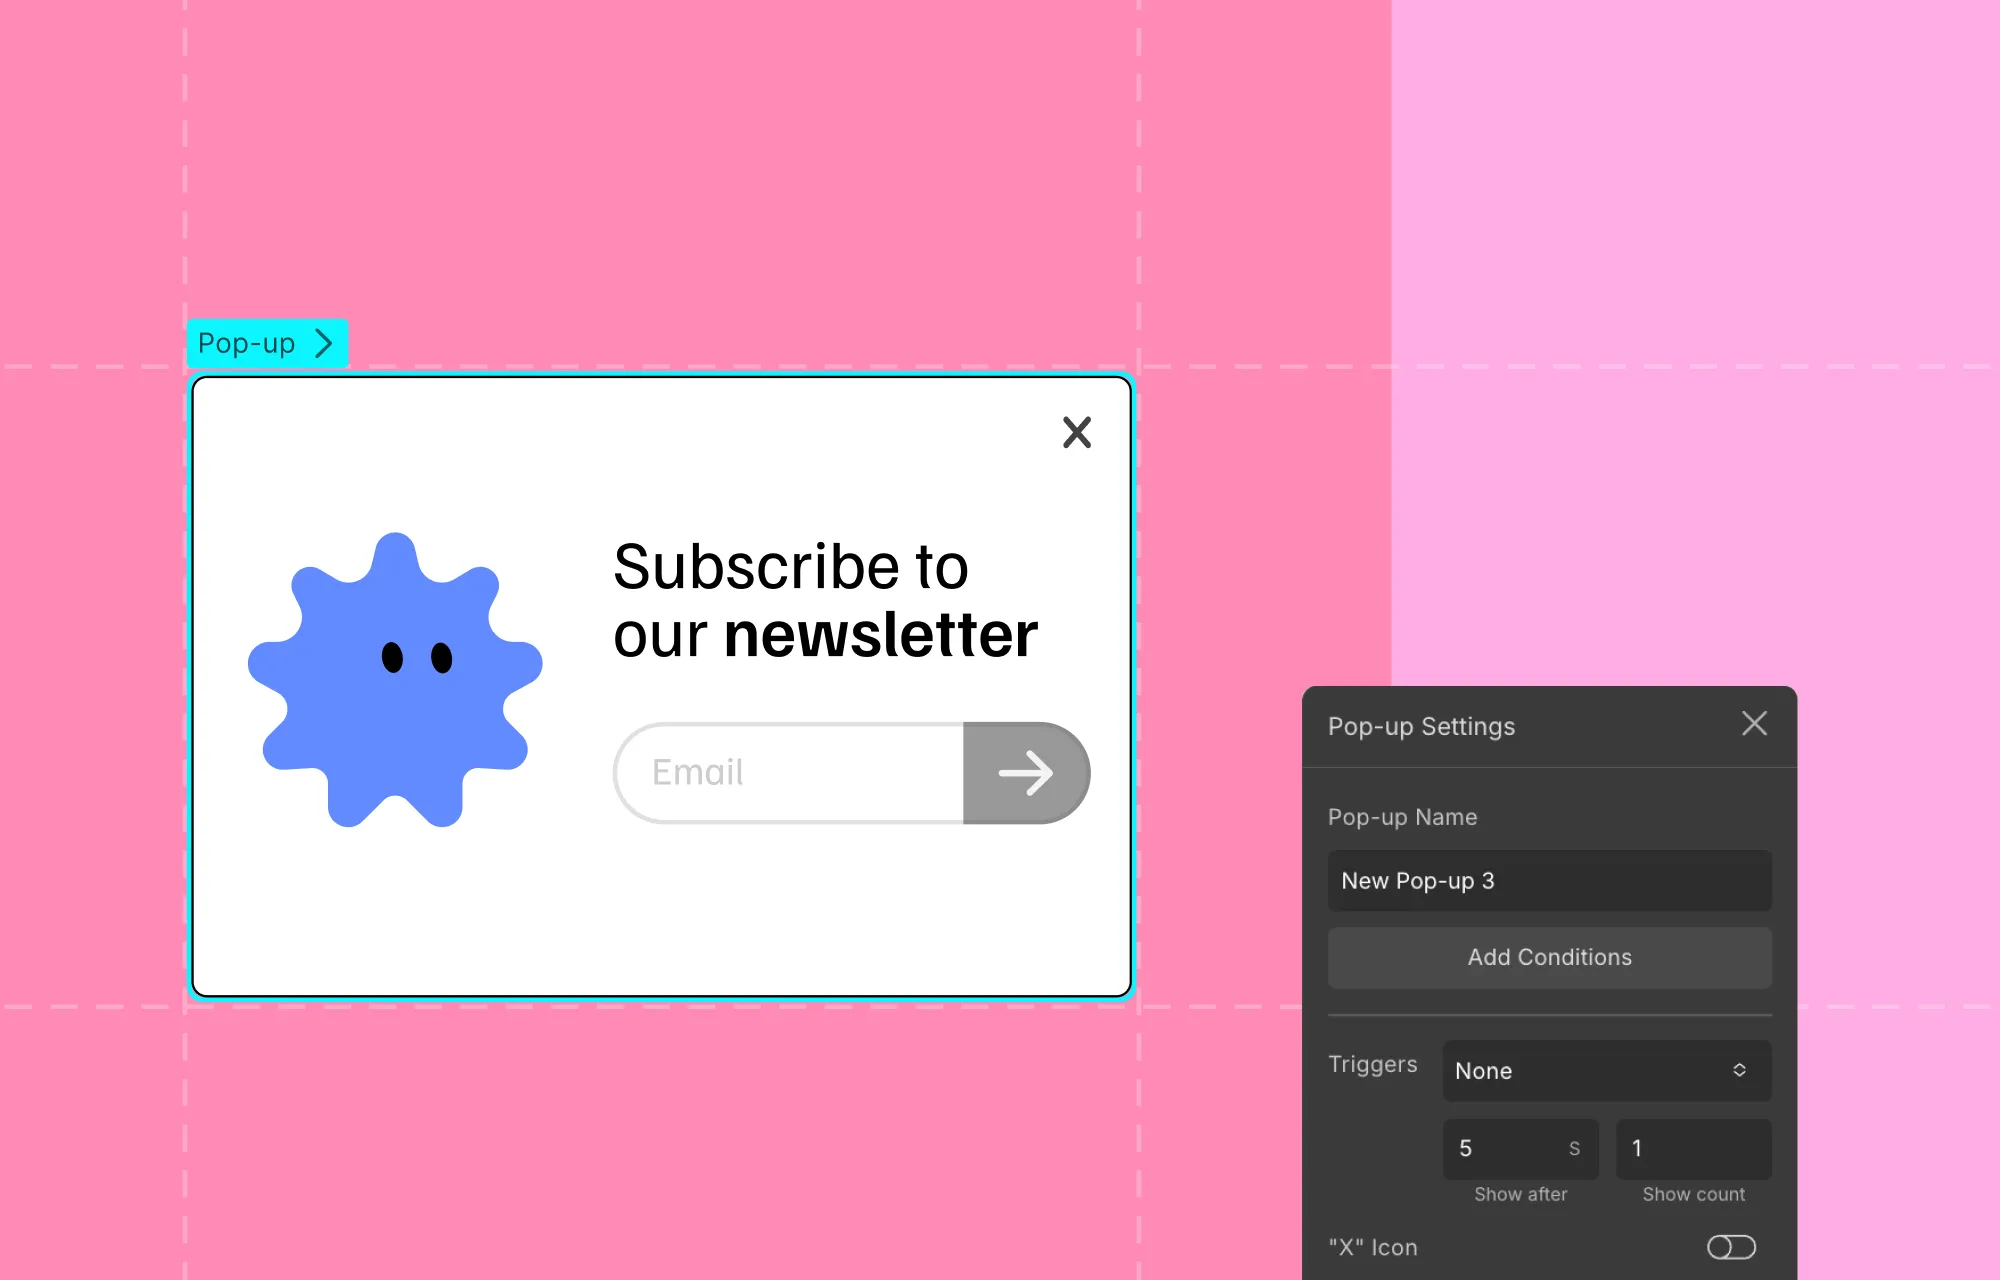
Popups are another tried-and-true way to grab attention, capture leads, and boost engagement.
But it needs to be done right — because there’s a thin line between engaging your audience and driving people away.
But they can be quite handy as you can use them to:
- Promote exclusive campaigns
- Grow your email list using a newsletter sign-up form
- Share important notices, ask for cookie consent, etc
- And more!
With Droip’s built-in Popup Builder, you can visually craft eye-catching modals with the same level of control you get in pages.
You can also choose when, where, and how your popups will appear, whether it’s after page load or before page exit, and more, giving you the control needed to maximize their impact.
Craft Complex Animations & Interactions
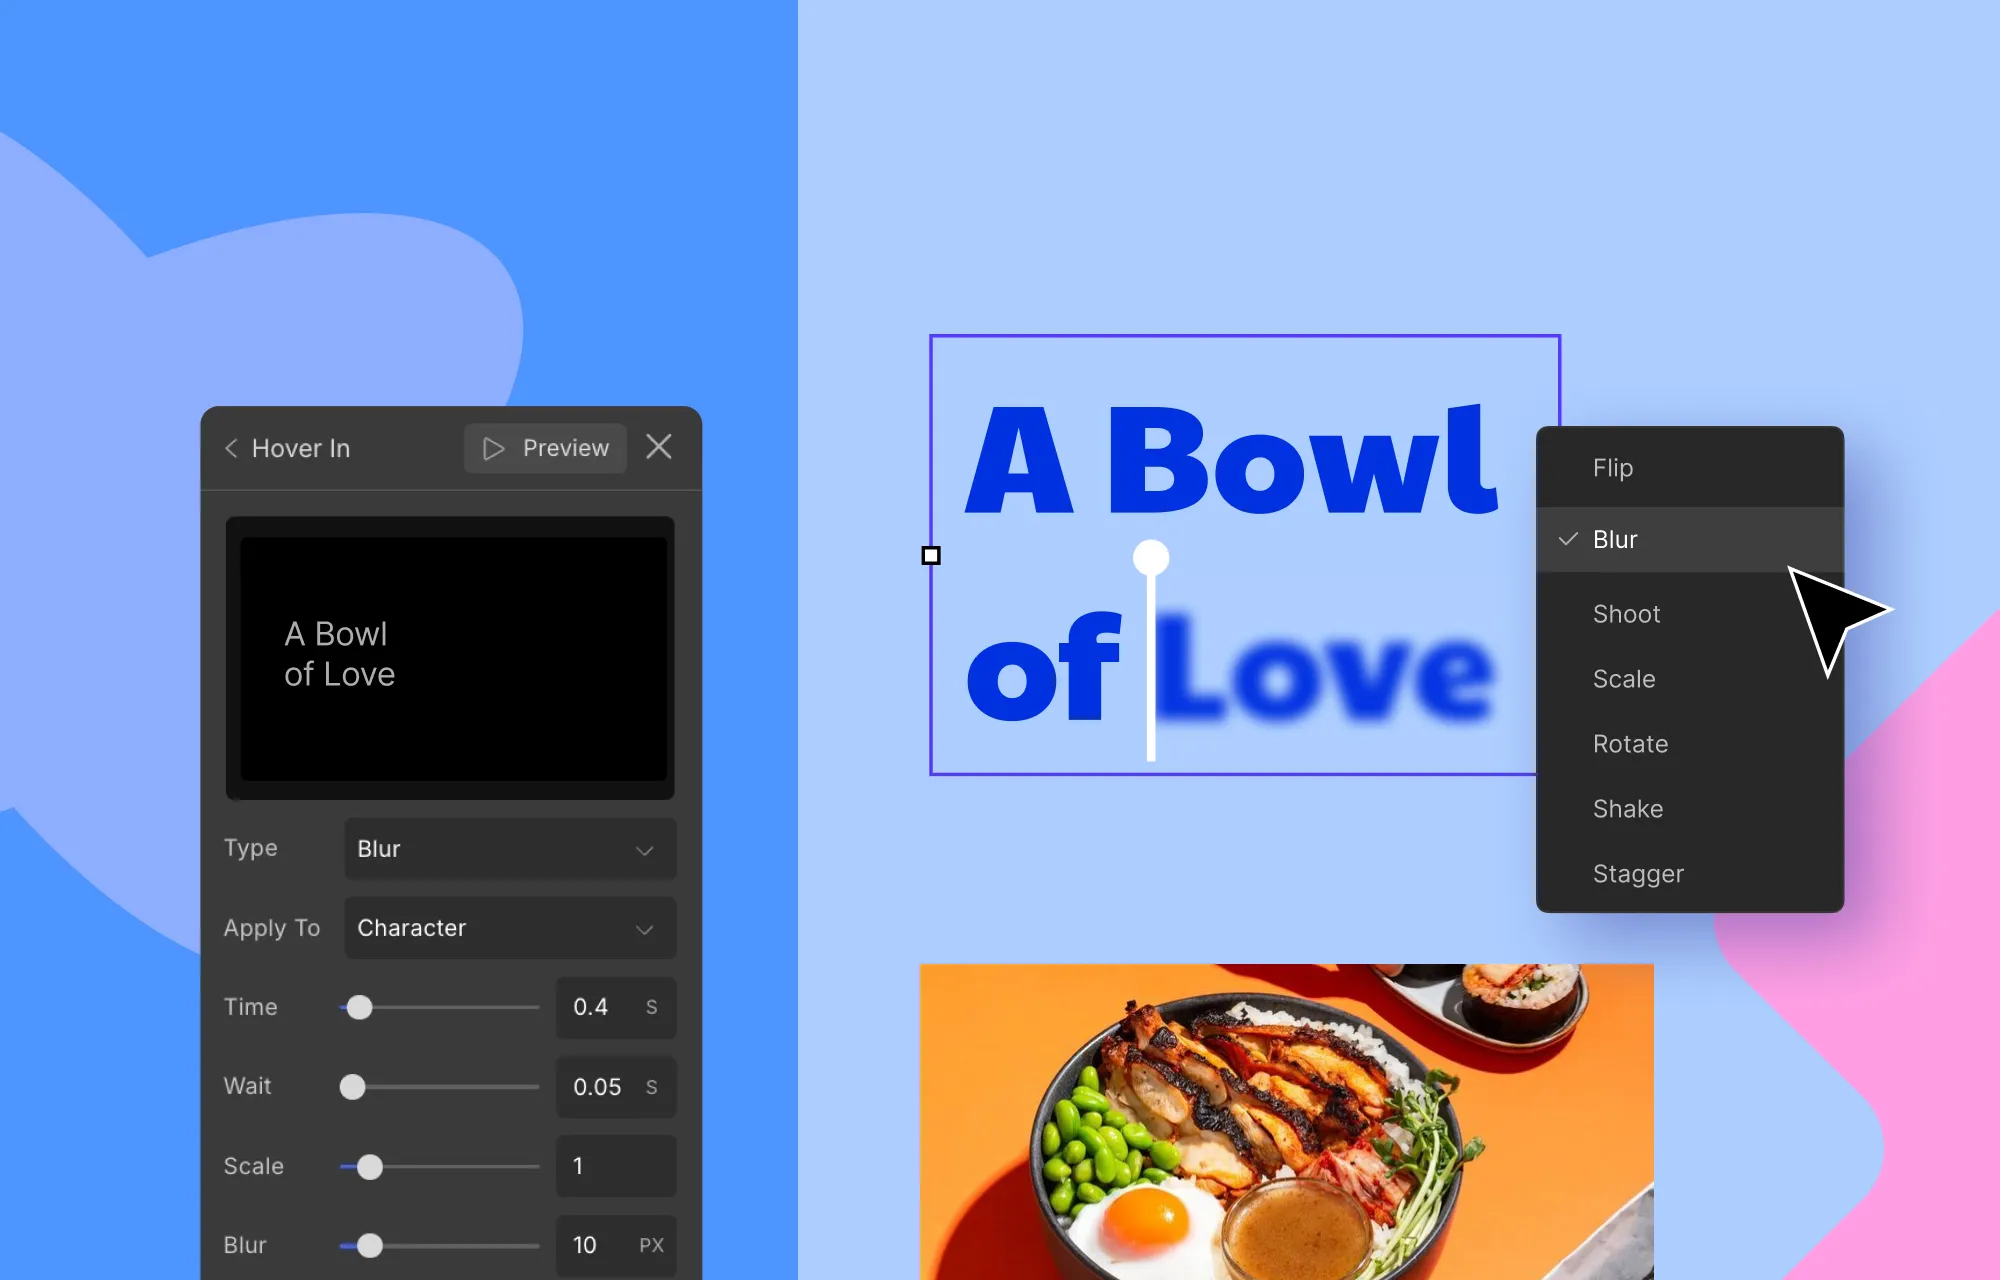
Ever gotten major design-envy after browsing a highly interactive website with eye-catching, complex animations and wondered how they pulled it off?
Think staggered animations, parallax scrolling, cursor trail, hover effects, all those impactful interactions that bring a website to life.
Lucky for you, in Droip, you too can create all of that once again, visually, with no code, using the:
- Animation Library: Apply quick, preset animations to elements for instant motion and visual flair without having to build them from scratch.
- Custom Response Editor: Visually craft intricate, multi-layered interactions entirely from the ground up with ease. For instance, you can:
- Trigger multiple actions with a single event
- Connect different triggers to different target elements
- Design staggered or sequential animations
- And much more
- Text Animation: Bring your text to life instantly! Animate them by character, word, or entire element, then customize the style by adjusting the timing, delay, and more to create the perfect effect.
Whether subtle or complex, with Droip, achieve professional-grade interaction and animations with no CSS, no coding, simply pure visual control.
Integrate With Droip Apps To Extend Capabilities
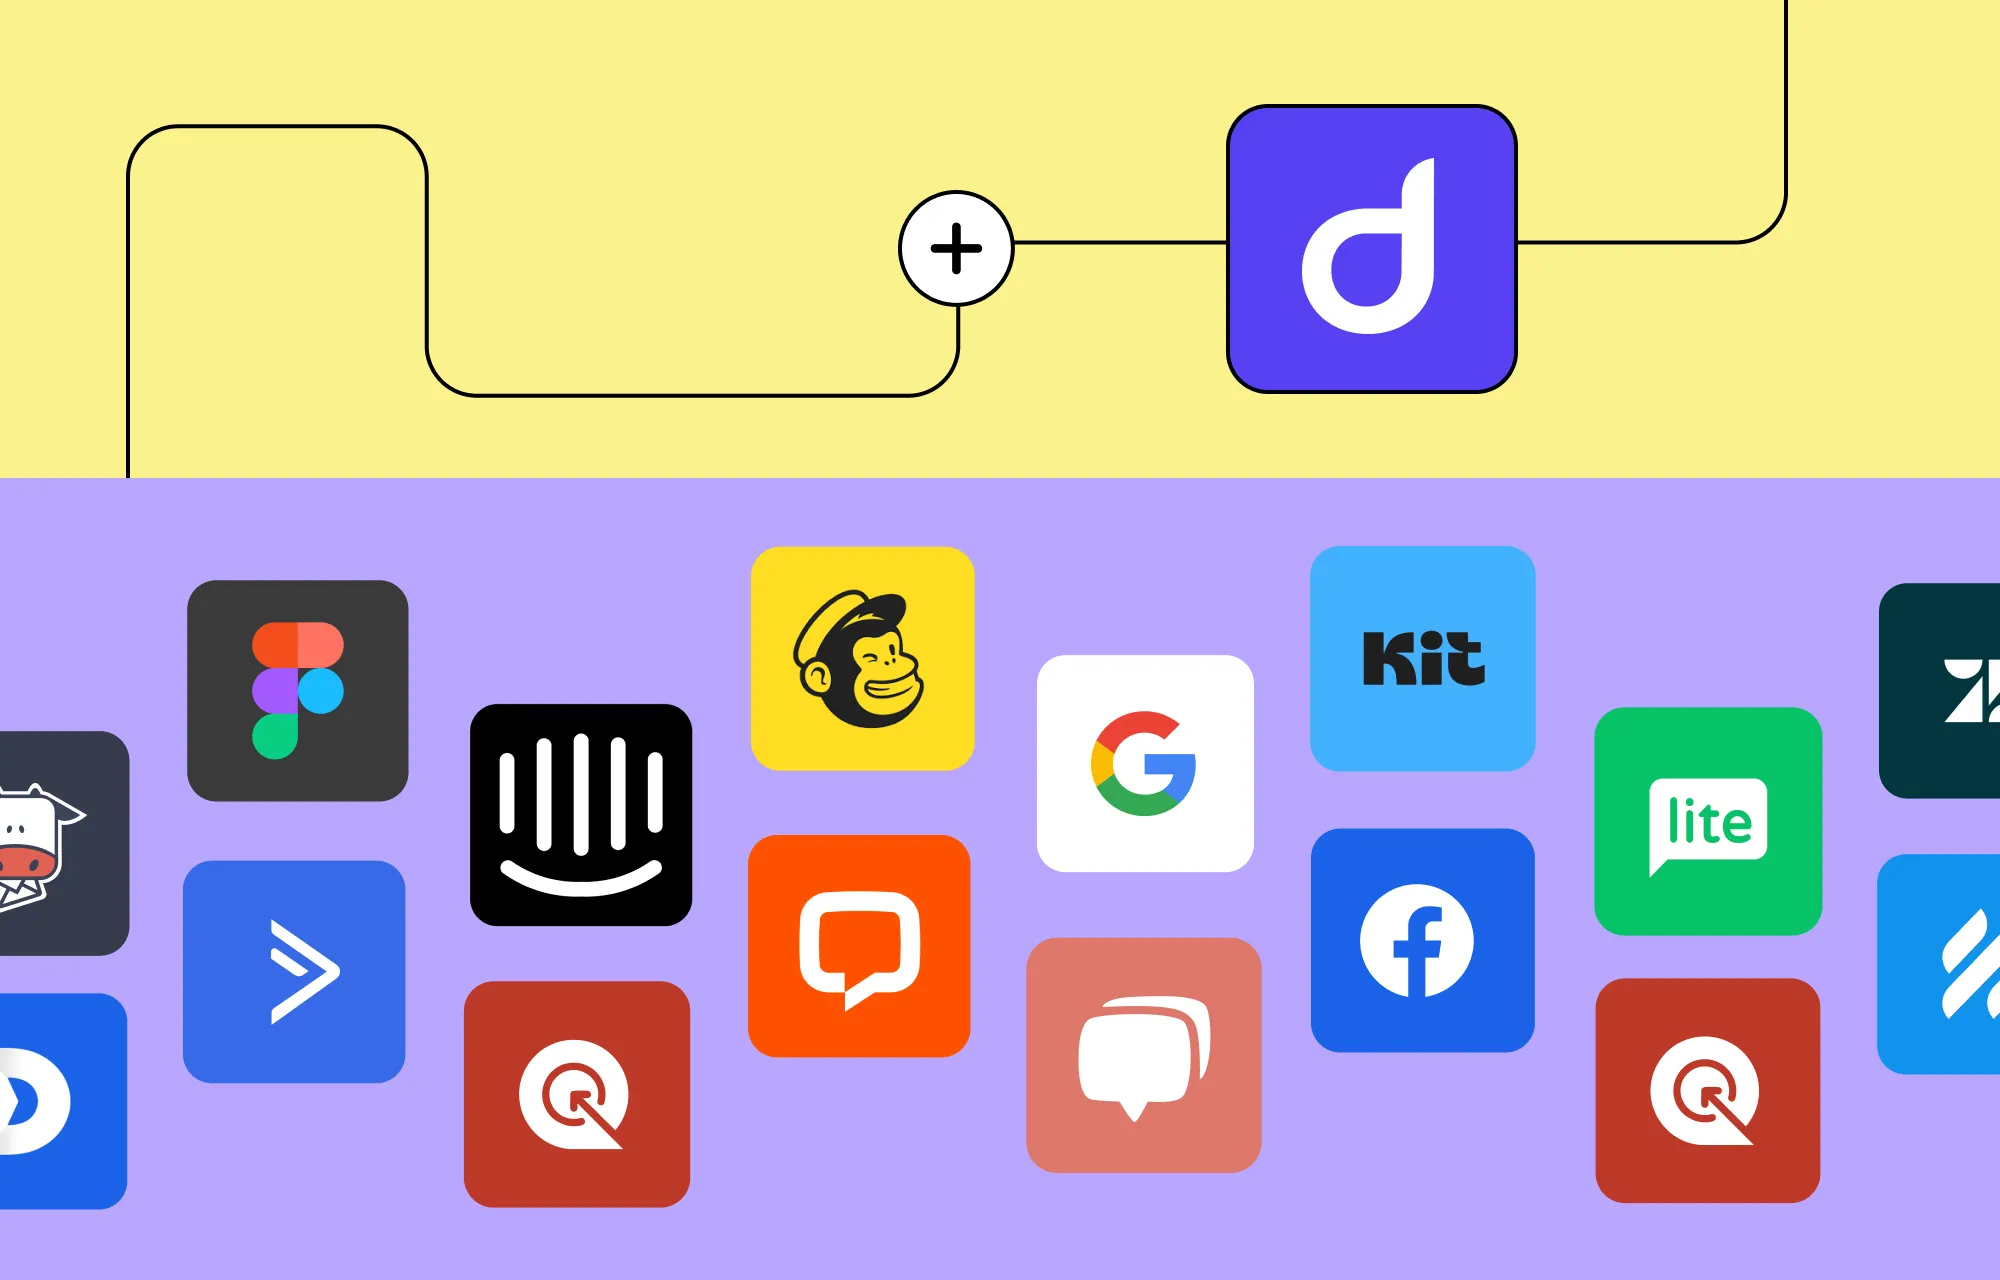
Don’t see a specific feature you need? Explore Droip Apps, the built-in hub that makes it easy to extend your website’s capabilities even further.
With a variety of tools for social logins, automated email marketing, and live chats, it lets you connect seamlessly with popular platforms, all without leaving the editor or manually installing plugins.
Some of the integrations available include:
- Google Login
- X (formerly Twitter) Login
- MailerLite
- Mailchimp
- Zendesk
- LiveChat
- And many more
Through Droip Apps and its seamless integrations, you can elevate the user experience and make your website truly powerful.
Step 9 (For Teams): Collaborate in Real-Time

In Droip, multiple users can also collaborate in real-time, making teamwork seamless and efficient.
With the complete collaboration suite built in, team members can:
- Co-edit the same page from anywhere, seeing changes live and labeled so no one overwrites another’s work.
- Communicate directly on the canvas, reducing miscommunication and forgotten tasks.
- Backup multiple versions of a page that can be restored at any time.
- Keep clients in the loop using a shareable view-only link of the design within the editor.
With everyone connected directly on the workspace, collaboration is faster, smoother, and far more streamlined.
Best of all, you don’t even have to do any special setup in Droip to access real-time collaboration, nor do you have to juggle multiple external tools or third-party plugins.
Step 10: Optimize Your SEO
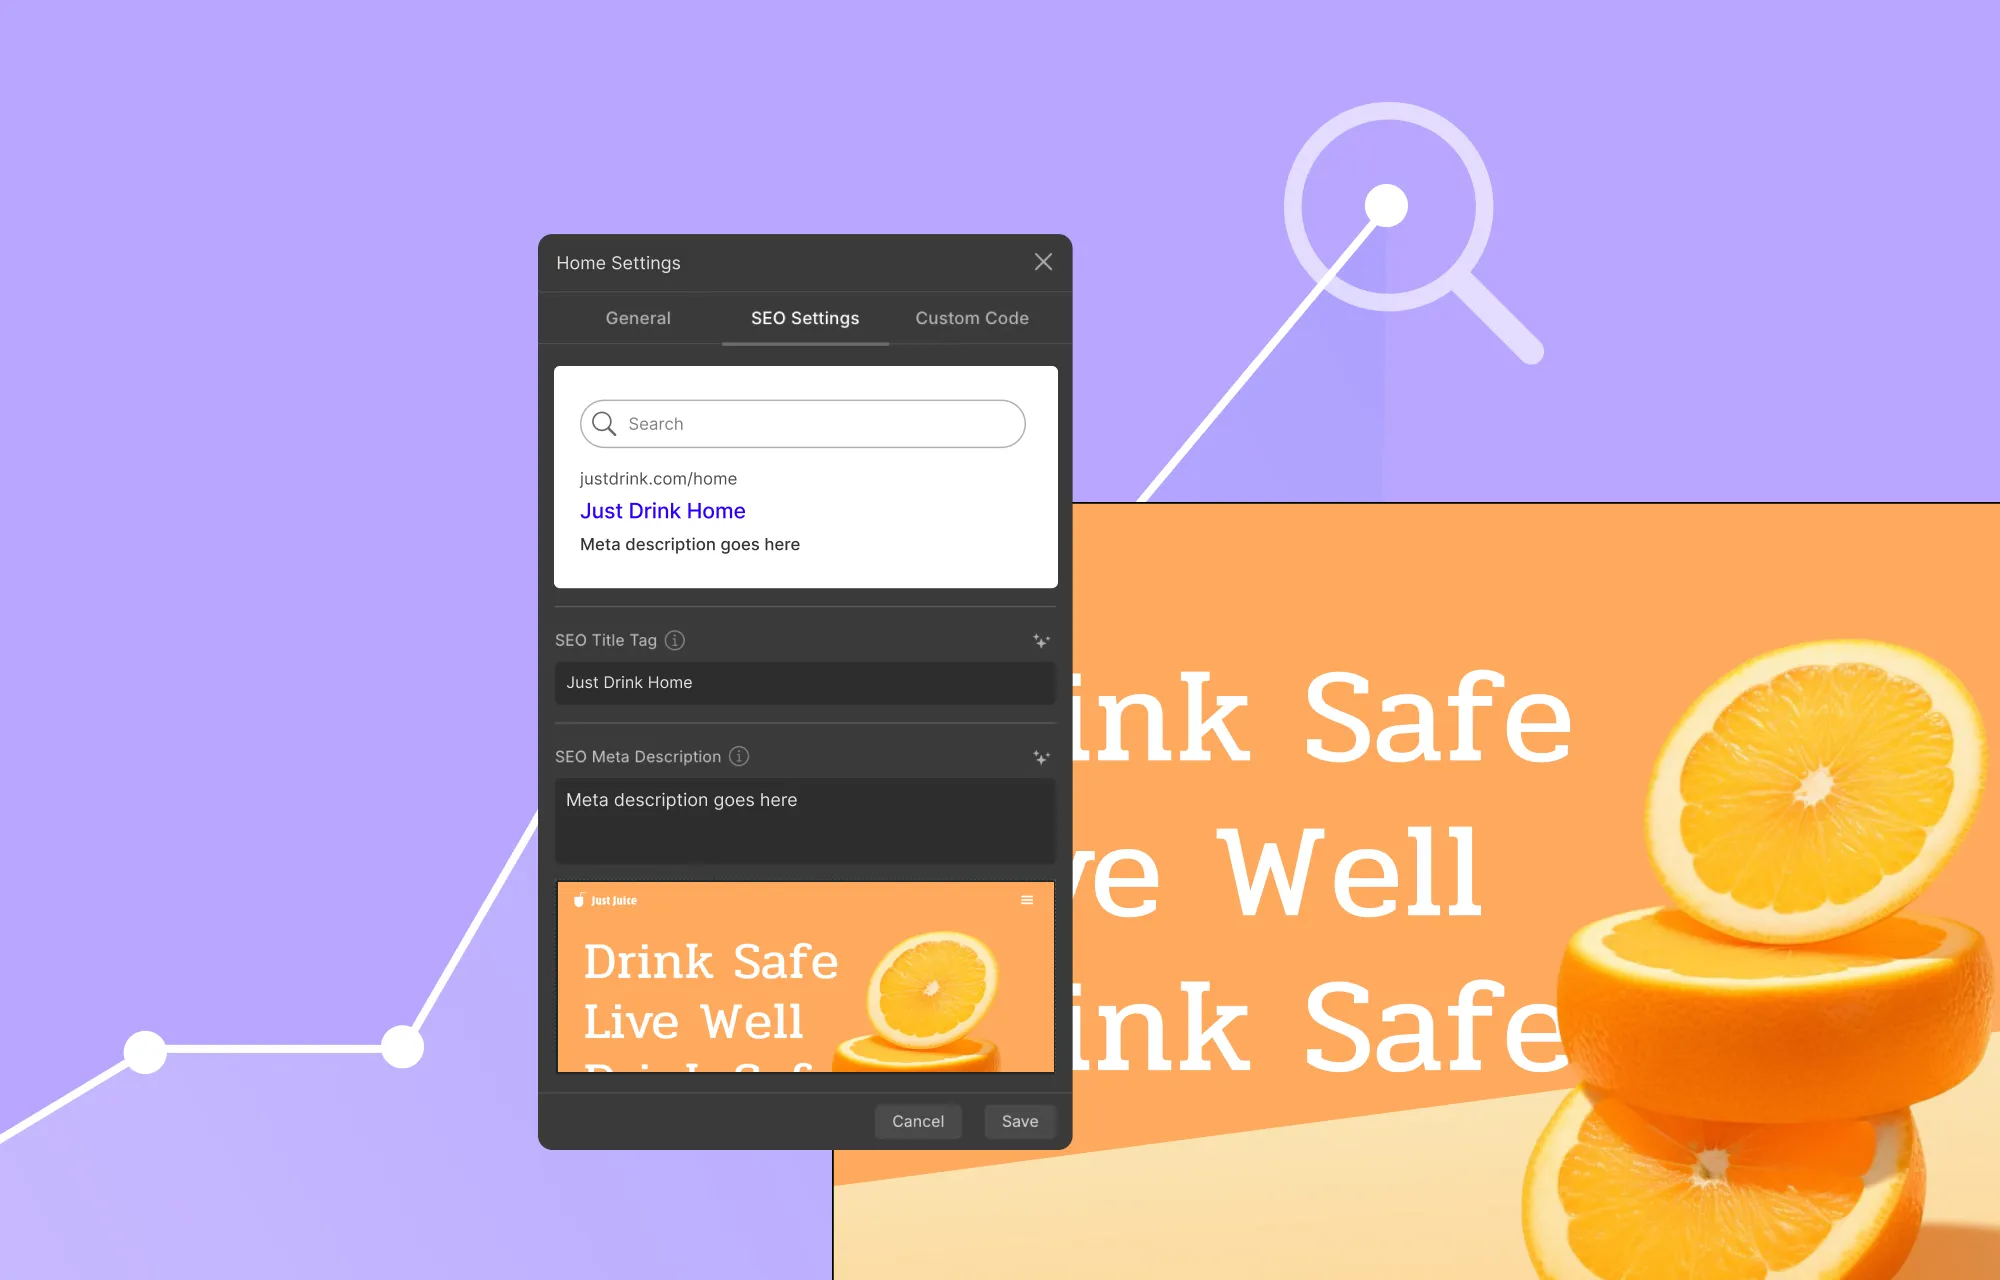
Your website is designed, and all the features are in place. The next crucial step is making sure people can find it, which means optimizing for SEO.
Here’s how you can do that:
- Use relevant keywords throughout your copy. Make sure to keep it natural and impactful — avoid keyword-stuffing.
- Further optimize page visibility using Droip’s built-in SEO tools. For meta titles and descriptions, you can use Droip AI for suggestions or to refine text directly in the editor. And for single-page templates, you can even define dynamic SEO using tags so each item has unique metadata.
- Add alt text for images to improve accessibility and help search engines understand your content. Enable lazy-loading for media to enhance performance.
By following these little steps, you can improve the website experience, the search engine’s understanding, and consequently boost visibility on SERPs and organic traffic.
Step 11: Audit Your Website
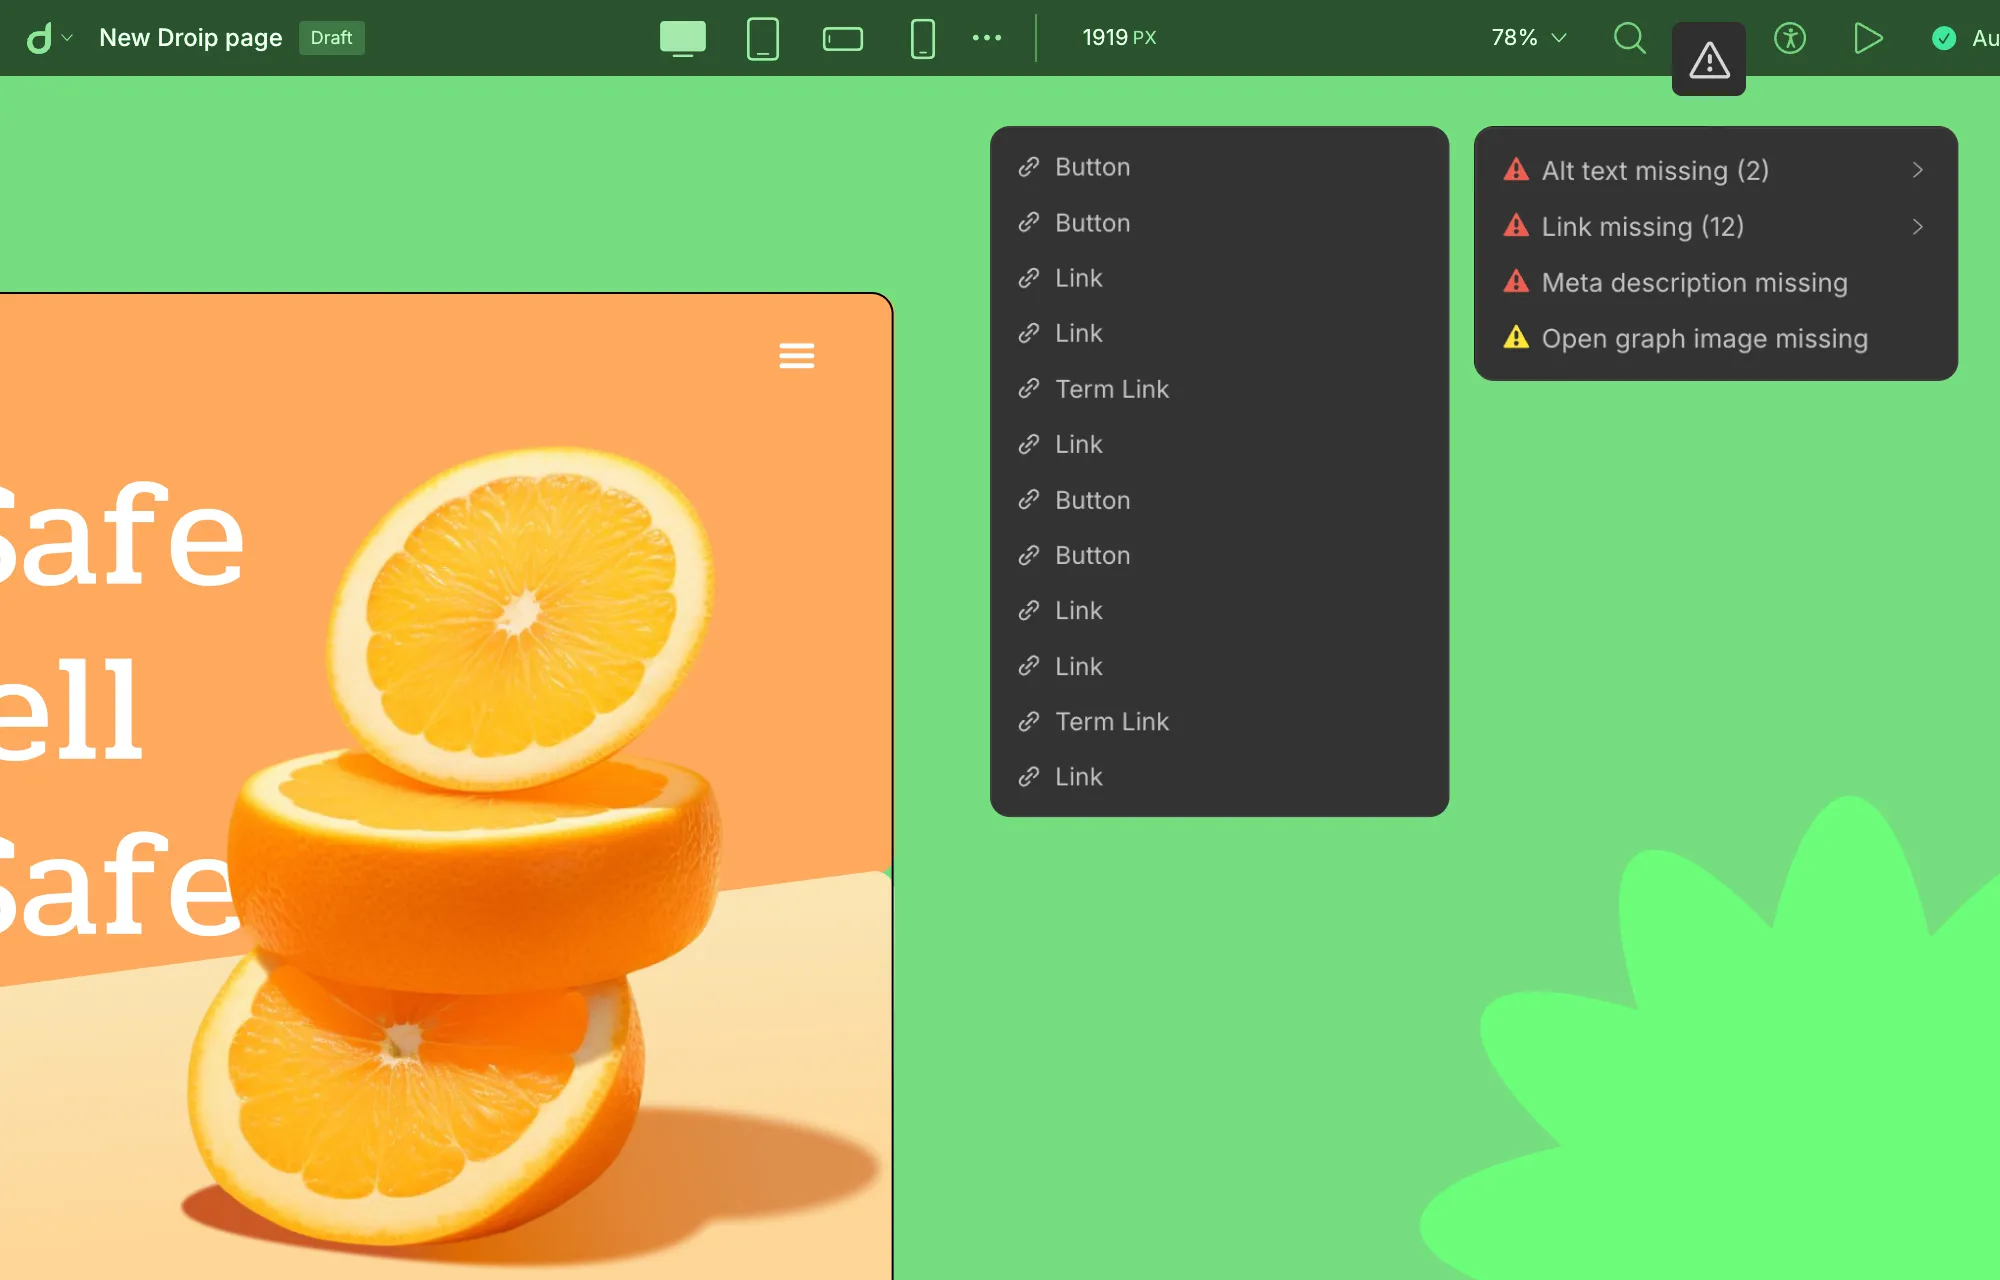
We’ve almost reached the finish line! But before you go live, make sure to test and optimize every aspect to ensure a flawless experience for visitors.
In Droip, this is easier than ever using the built-in Audit tool, which automatically detects missing links, metadata, alt text, and other issues that could impact performance or SEO.
Next, run user testing and cross-browser testing to confirm your website looks and functions perfectly across all devices and browsers.
You can also use popular speed and performance testing tools online to analyze your site’s loading times and overall efficiency.
Doing this will help you catch any design inconsistencies, usability issues, or performance hiccups and ensure your website is at its best when launched.
Step 12: Launch Your WordPress Website
Huzza, you’ve finally built your WordPress website!
Now comes the most exciting part — going live.
If you’ve been building on a staging site, there’s no need to stress about the transition.
With Droip’s Project Export & Import feature, moving your WordPress website from staging to live is smoother than ever. You can carry over your entire design, content, and settings in just a few clicks.
Once your site is live, celebrate your launch! Share the news on socials, start promoting your content, and grow your audience.
And remember to keep it thriving by running regular maintenance checks, updating your content to keep things fresh, and scaling as your brand grows.
Wrapping Up
And there you have it, everything you need to know on how to build a WordPress website from scratch!
From sketching your website blueprint and choosing the right WordPress setup to building your WordPress website with Droip, you now have a complete roadmap to get started.
And the right tools, like Droip, make the journey a whole lot easier, letting you design, customize, add functionality, launch, and grow without limits.
So what are you waiting for? Start building your dream website today!
