Wondering what splash pages are and why you might need one?
Well, splash pages aren’t for the faint of heart; they’re bold, attention-grabbing, and yes, often controversial.
But when used the right way, they’re more than just a flashy screen, serving a clear purpose while smoothly kicking off the user experience.
What Is a Splash Page

A splash page is an introductory screen that appears before visitors can access the main content of a website.
Typically bold and visually striking, splash pages were hugely popular from the late ‘90s through the mid-2000s. Back then, they were everywhere, packed with elaborate graphics, animations, and even background music, all designed to wow users the moment they landed on a site.
Over time, however, splash pages began to fall out of favor. They became overused and were often poorly executed, creating friction, slowing users down, and discouraging them from exploring the rest of the website.
With that said, splash pages never truly disappeared. Instead, they evolved.
Today’s splash pages are far more purposeful, used strategically to highlight important messages, guide visitors, or create focused entry points or tailored experiences.
Splash Pages VS Homepages VS Landing Pages
Splash pages might appear at the beginning of a user’s journey, but differ quite a lot from homepages or landing pages.
To start, splash pages are usually contextually minimal. They often just feature:
- An eye-catching visual element
- A concise message
- A single, focused goal
Their primary purpose is to capture attention and direct visitors toward one specific action.
Homepages, in contrast, are content-rich. They offer multiple navigation pathways and serve several objectives at once, encouraging users to learn, explore, browse, or convert in various ways.
And while Landing Pages share the singular focus of splash pages, they are also content-rich. They provide context, persuasive elements, and even some navigation, all designed to drive users towards that specific goal.
Splash Pages VS Squeeze Pages
Splash pages are also often confused with squeeze pages, another popular page type in the web design and marketing industry.
While they may seem similar at first glance, their intent and execution are worlds apart.
A squeeze page is built around one clear objective: capturing visitor information, most commonly their email address, to grow a brand’s mailing list. It strips away distractions and focuses entirely on persuading visitors to submit their details, often in exchange for exclusive deals.
A splash page, on the other hand, isn’t necessarily about collecting information. Its primary role is to greet visitors and tailor their experience before they enter the main site.
In short, squeeze pages are conversion-first while splash pages are experience-first, setting the stage for what comes next.
Why & When To Add Splash Pages to Your Site
Splash pages went out of style because, more often than not, they interrupted visitors, disrupting browsing flow and contributing to higher bounce rates.
So why are they still in use? And when does it actually make sense to add one to your site?
It all comes down to intent and purpose. Modern splash pages often fulfill a specific job before visitors enter the main site.
Below are a few examples:
Direct Users to the Right Experience
A popular use case, splash pages can be used to route visitors to the most relevant version of your site based on their preference, helping them start in the right place instead of having to hunt for it.
A great example of this is Dior, which lets users choose whether they want to explore their fashion & accessories line or their fragrance & beauty range.
Deliver Region-Specific Experiences
Similarly, splash pages also let visitors choose their preferred region or language upfront. This avoids disruptions after they enter the main site and ensures a more relevant, tailored experience from the start.
Handle Compliance or Access Restrictions
For age-restricted or gated sites or sites that require compliance agreement from visitors, splash pages offer a simple way to collect that information before entry.
Improve Perceived Load Times on Content-Heavy Sites
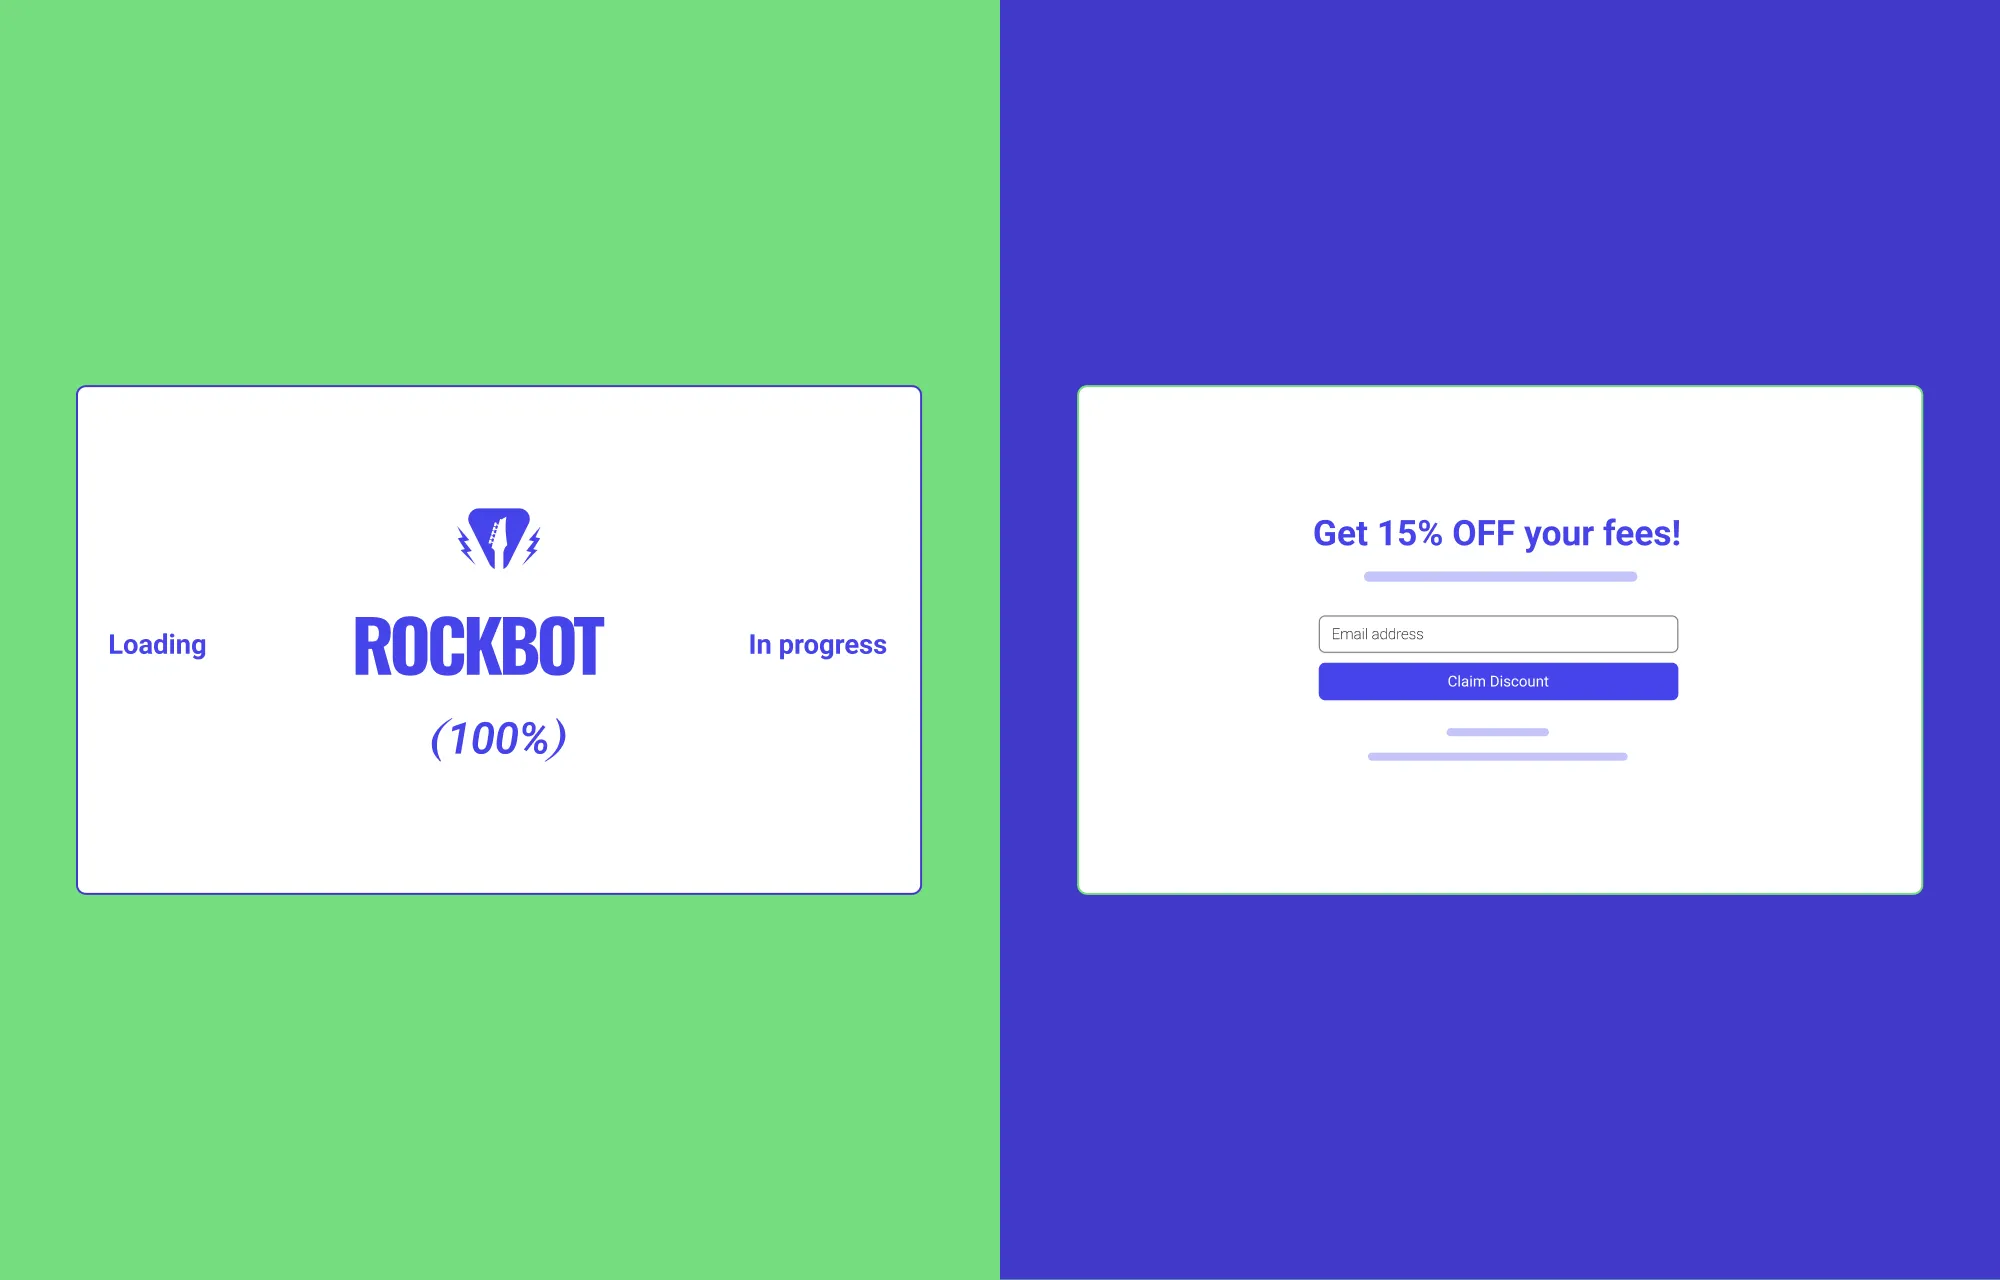
Splash pages can also act as a brief welcome mat, appearing for a few seconds while content-heavy sites load, often paired with subtle loading animations. This helps improve perceived load times and reassures visitors that the site is working, reducing impatience, frustration, and bounce rates.
And beyond pure necessity, when executed right, it honestly just looks cool, building anticipation and sparkling intrigue.
A great example of this is STR8FIRE, which features a 90s-inspired booting screen.
Creating Exclusivity or Hype
Last but not least, a well-designed splash page can also set the tone for your brand, giving visitors a premium first impression and creating hype. This works especially well for product launches, new campaigns, and high-end brands.
Creating Splash Pages in WordPress

The easiest way to create splash pages in WordPress is by choosing the right modern website builder.
A good no-code tool should give you the creative freedom and intuitiveness you need to design splash pages effectively and effortlessly.
And while WordPress offers plenty of options, when it comes to flexibility and intuitiveness, the Droip WordPress website builder stands out.
Not only does it deliver webflow-style creative freedom and advanced functionality, but it also comes with pre-made sections, pages, templates, and tools that make building splash pages faster and easier.
On top of that, features like Dynamic Content Manager, Real-time Collaboration & Coediting, Figma to WordPress handoff, and more, make Droip a true one-stop, cost-effective solution, designed to make building not just splash pages but entire websites accessible to everyone.
Step 1: Install & Set Up Droip
To build splash pages in WordPress with Droip, the first step is to install and set up the no-code tool.
This is super easy. Just do the following:
- Create an account on the Droip website and purchase the plan that fits your needs.
- From the Droip Account > Downloads, save the latest version of Droip.
- Visit your WordPress Site’s Backend Dashboard, go to Plugins > Add New, and click on the Upload Plugin button.
- Then, click on the Choose File button and select your plugin zip file. Once the file is uploaded, hit Install Now.
- After it’s successfully installed, activate your plugin.
License Activation
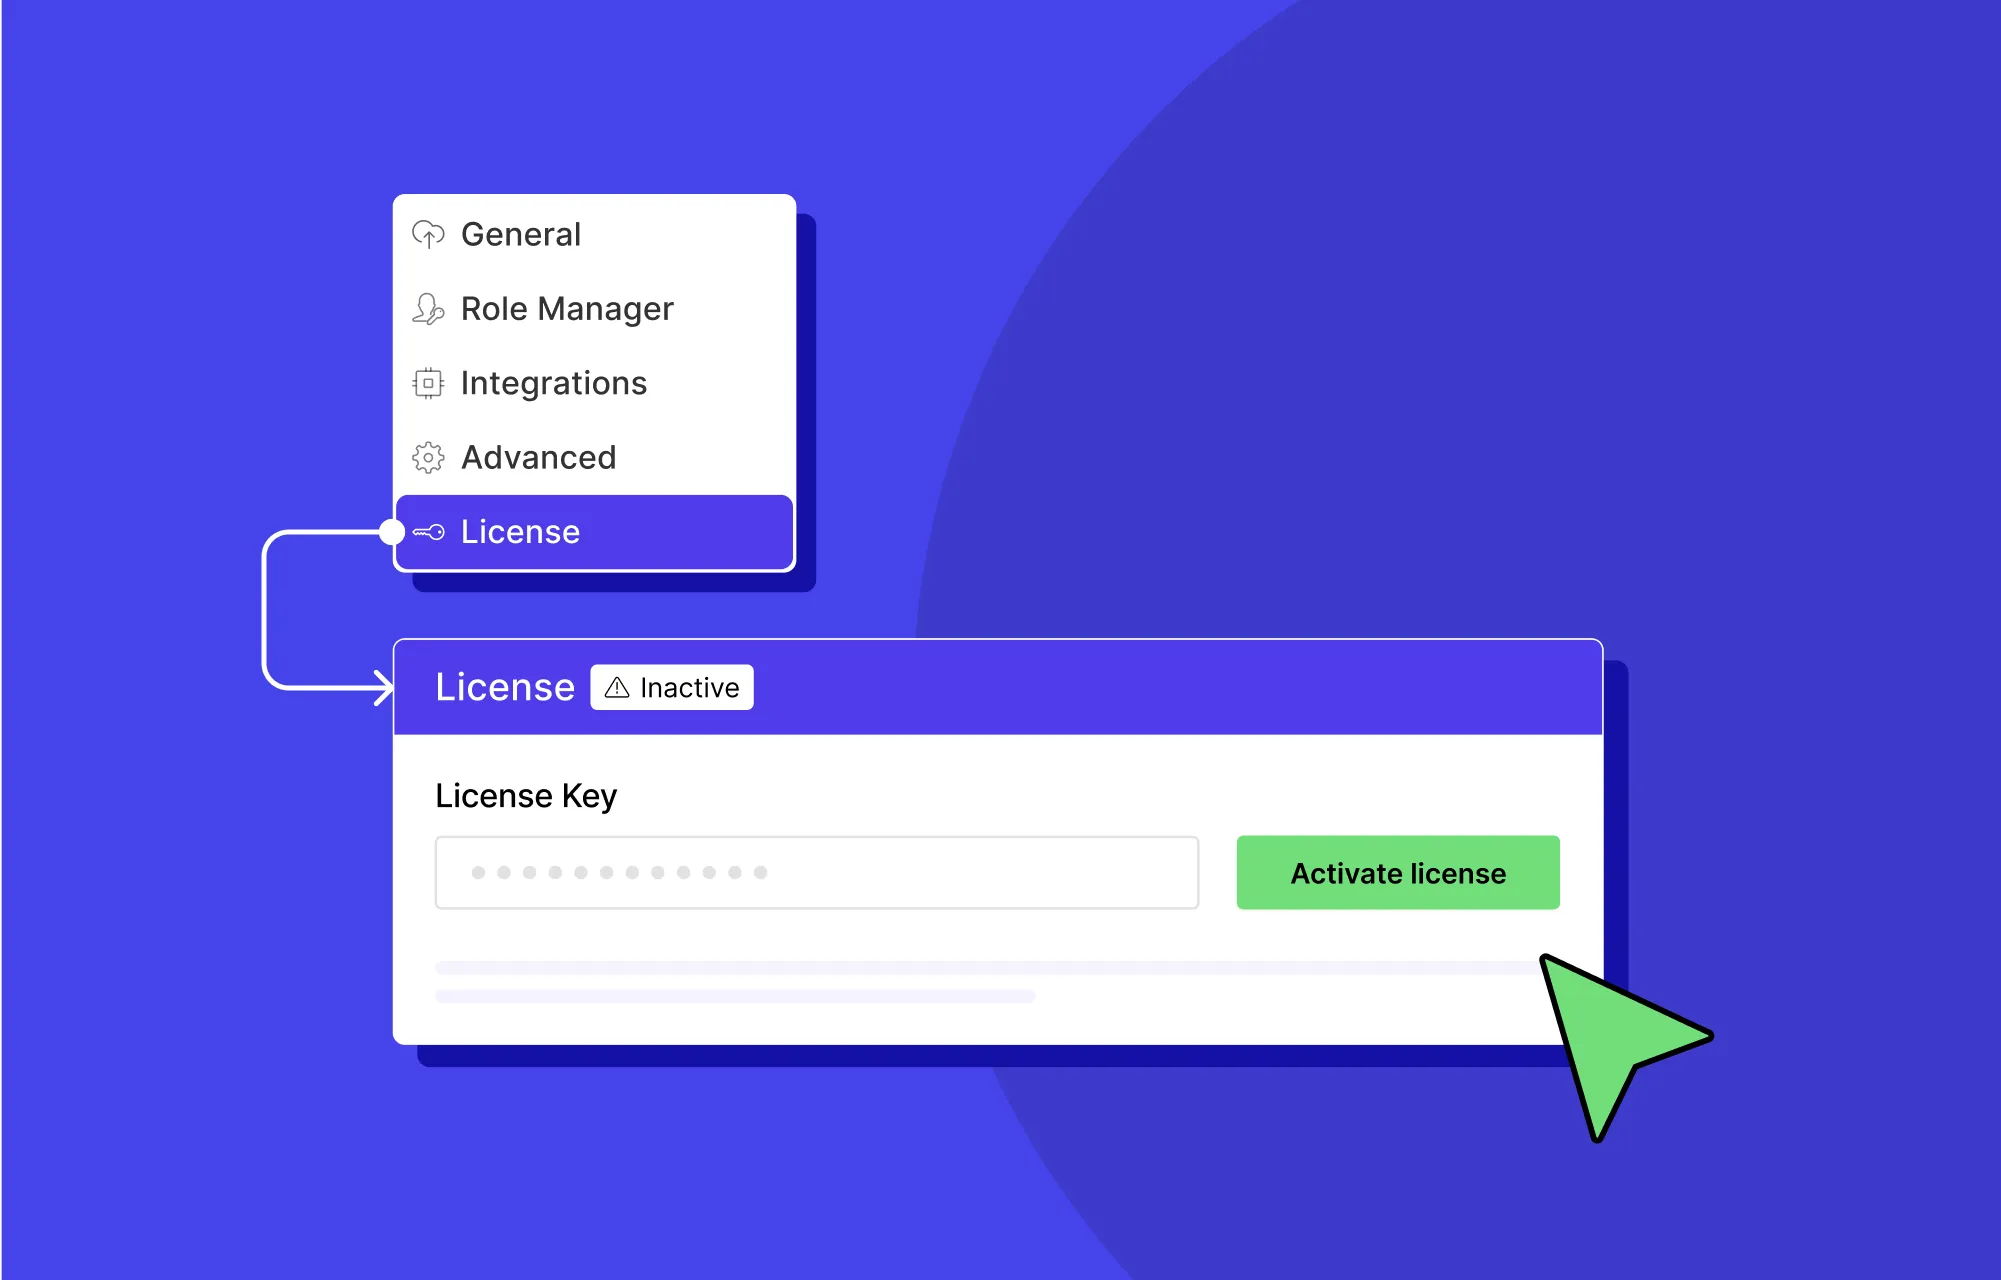
Next, it’s time to activate your license:
- First, log in to your Droip account and go to Subscriptions > Licenses.
- Click on Add Website, enter your site URL, and hit Submit to generate a license key.
- Finally, copy your license key and paste it into WordPress Dashboard > Droip > Settings > License, then click Activate.
And that’s it! Now you’re all set to start building websites with splash pages using Droip.
Step 2: Create a Page in Droip
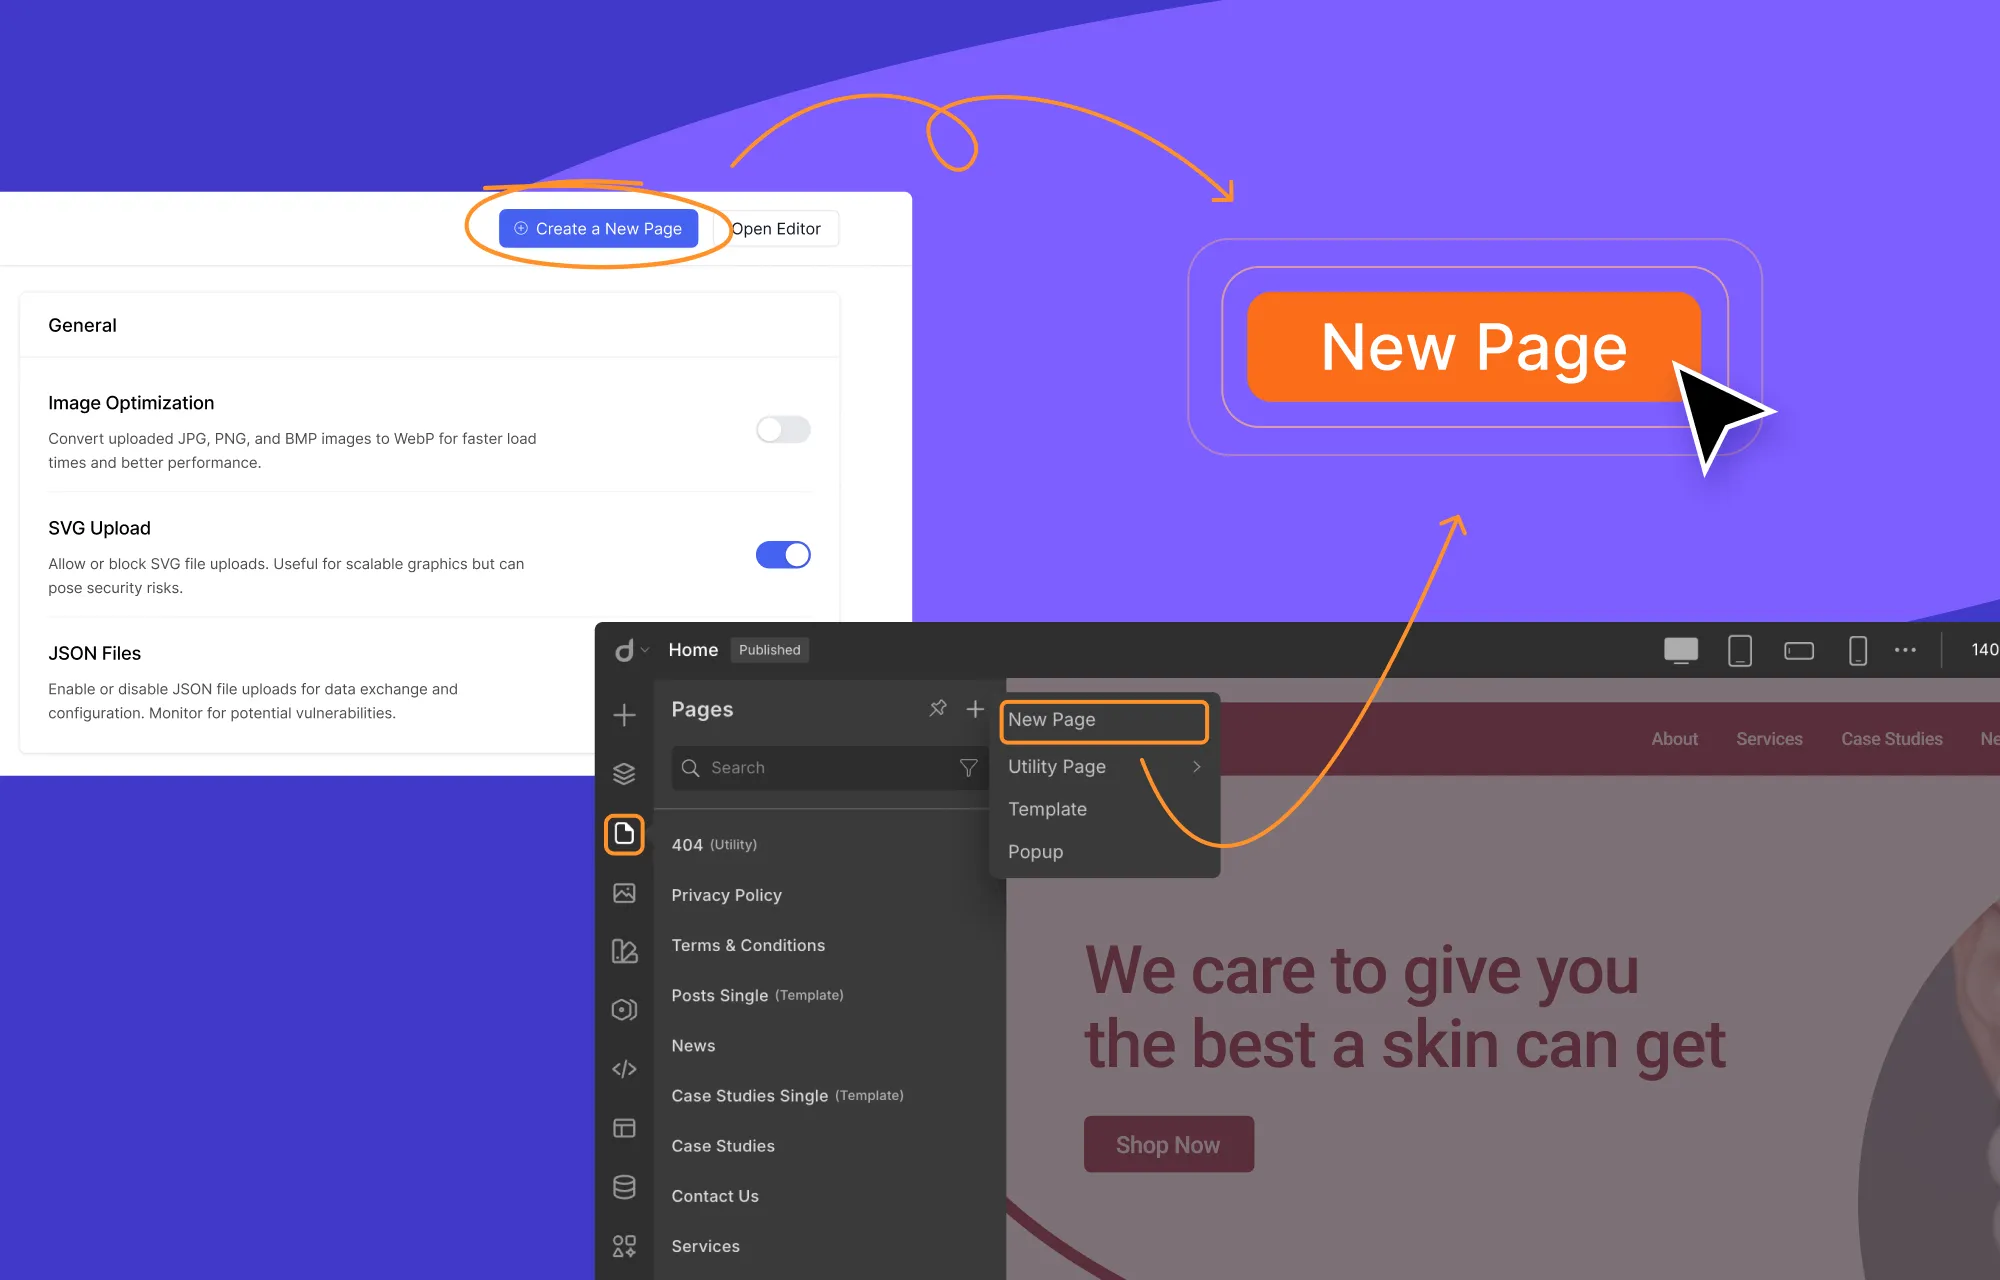
Once Droip is set up, the next step is to create a new page. You can do this in two ways.
You can either do this from the WordPress Dashboard > Droip > Settings and clicking on the Create a New Page button.
Or, if you’re already inside the editor, you can go to the left side panel, navigate to pages, click on the plus (+) icon, and select the New Page option.
And just like that, you’ll have a fresh, blank canvas ready to build on.
Step 3: Pick a Pre-Made Section in Droip
Droip gives you plenty of options when it comes to building your splash page.
You can design it entirely from scratch using Droip’s wide range of elements. Or, if you want to move faster, Droip’s pre-made sections let you get started quickly without sacrificing flexibility.
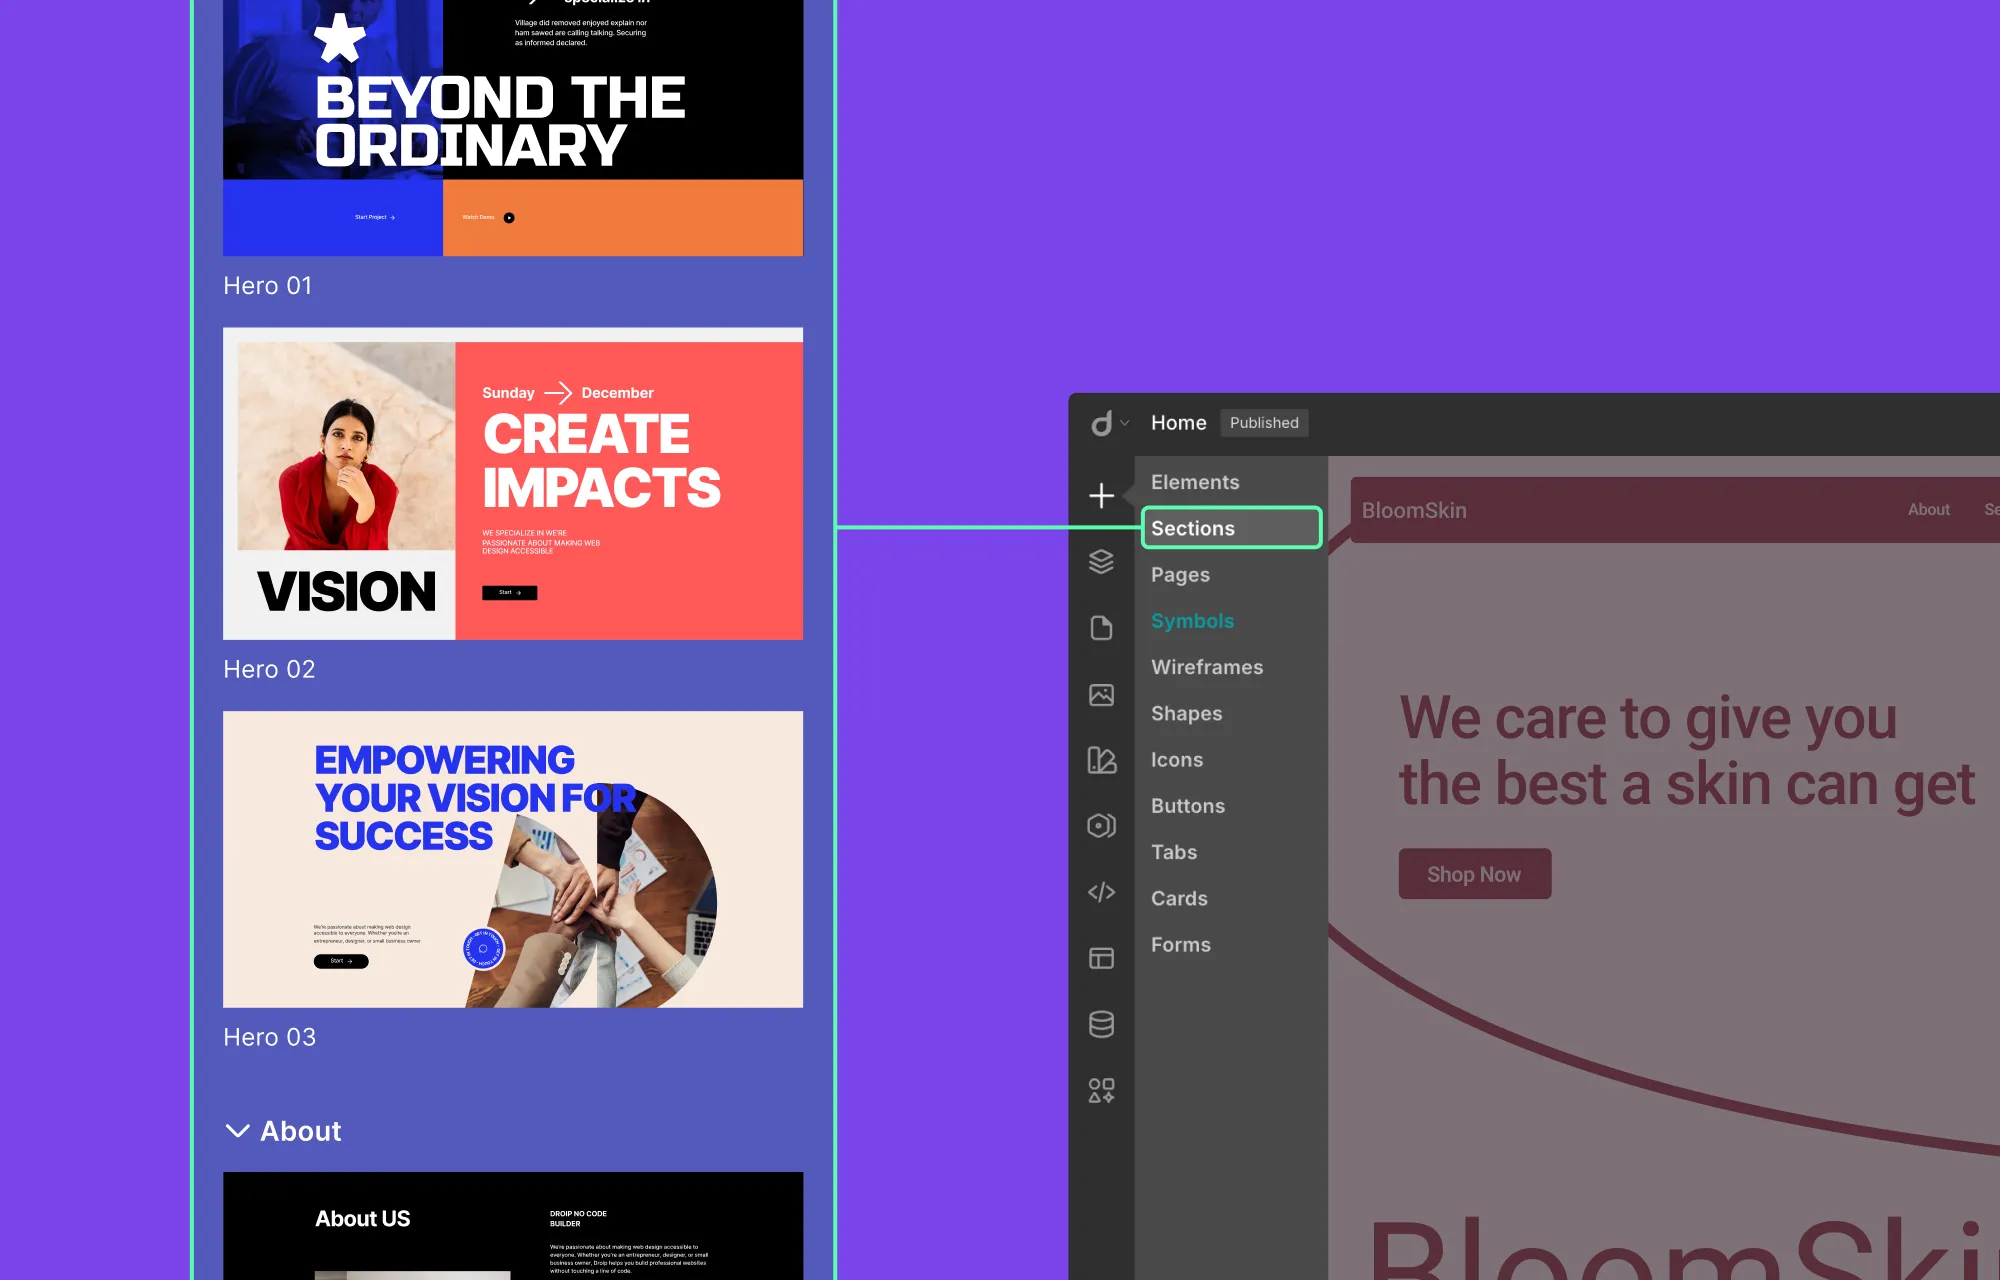
To add a section in Droip:
- From the left side panel in the Droip editor, click on the plus (+) icon, and select Sections.
- Scroll through the available options and click on the section that fits your purpose.
Once added, the section will appear instantly on the canvas, ready to be customized to match your purpose.
Step 4: Add Content to Your Splash Page
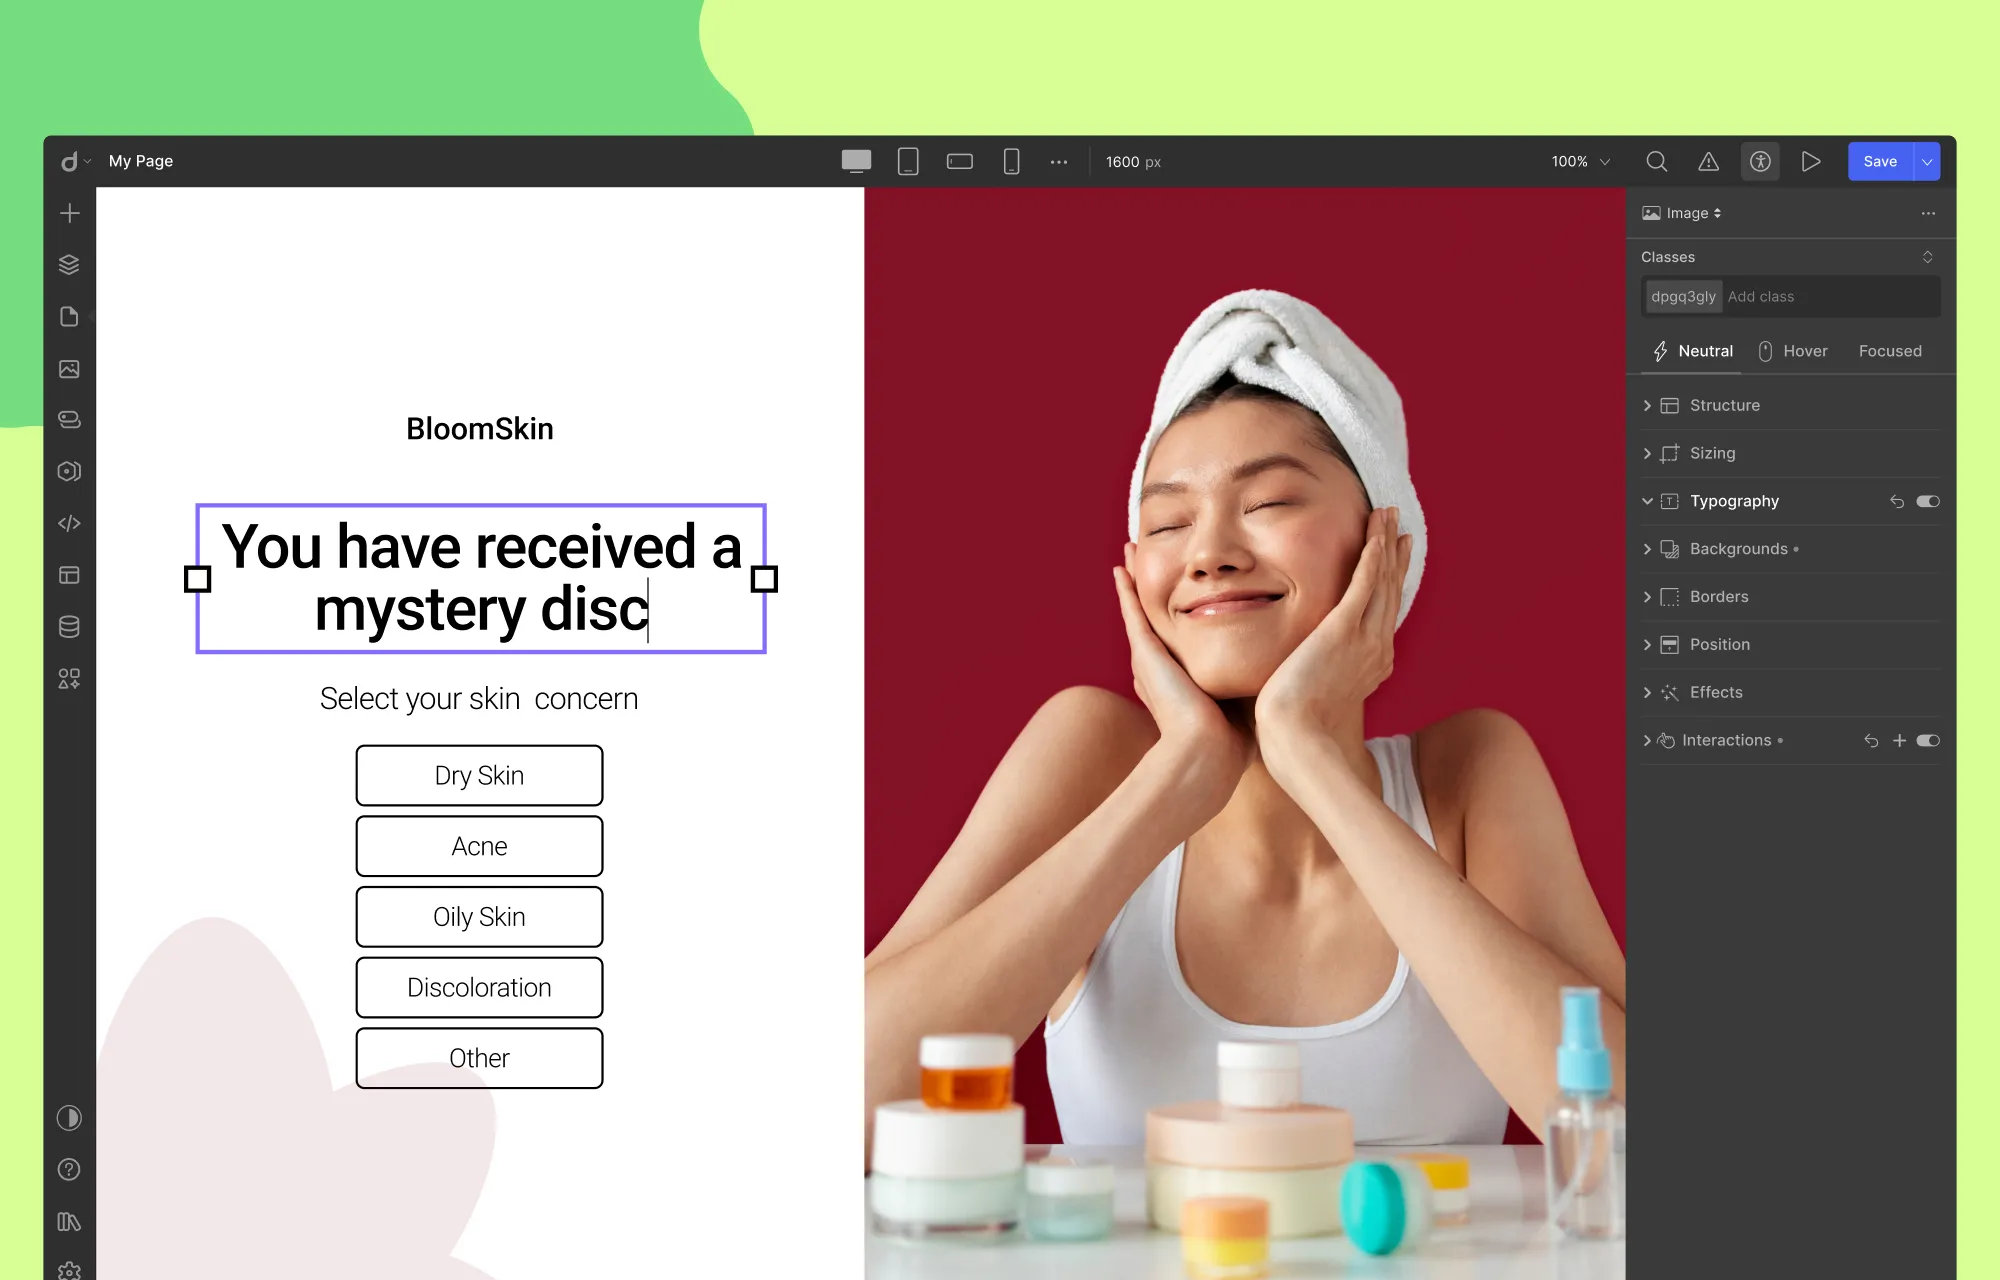
Once you’ve added a section, it’s time to replace the placeholder content with your own:
- Update Text: Double-click any text element and start typing.
- Replace Media: Select the media element, then click on the Replace Image icon in the inline editor.
- Edit Buttons: Double-click the button text to change it, and to update the link, select the button, click on the link icon in the inline editor, and paste your URL.
And voila, just a few clicks, and your content is showcased exactly how you want it!
Like this, you can visually update all your content with ease. However, if the premade section you’ve chosen doesn’t quite fit your content, no problem.
You can easily fine-tune the layout by adding new elements from Droip’s Element Library or removing existing ones to better align with the content and purpose of your splash page.
Play around with Droip’s layout elements and Structure settings in the Style Panel to get the desired look.
Step 5: Customize Your Splash Page
Your splash page is coming together nicely!
The next step is to customize it so it reflects your brand identity and stays cohesive with the rest of your site’s design.
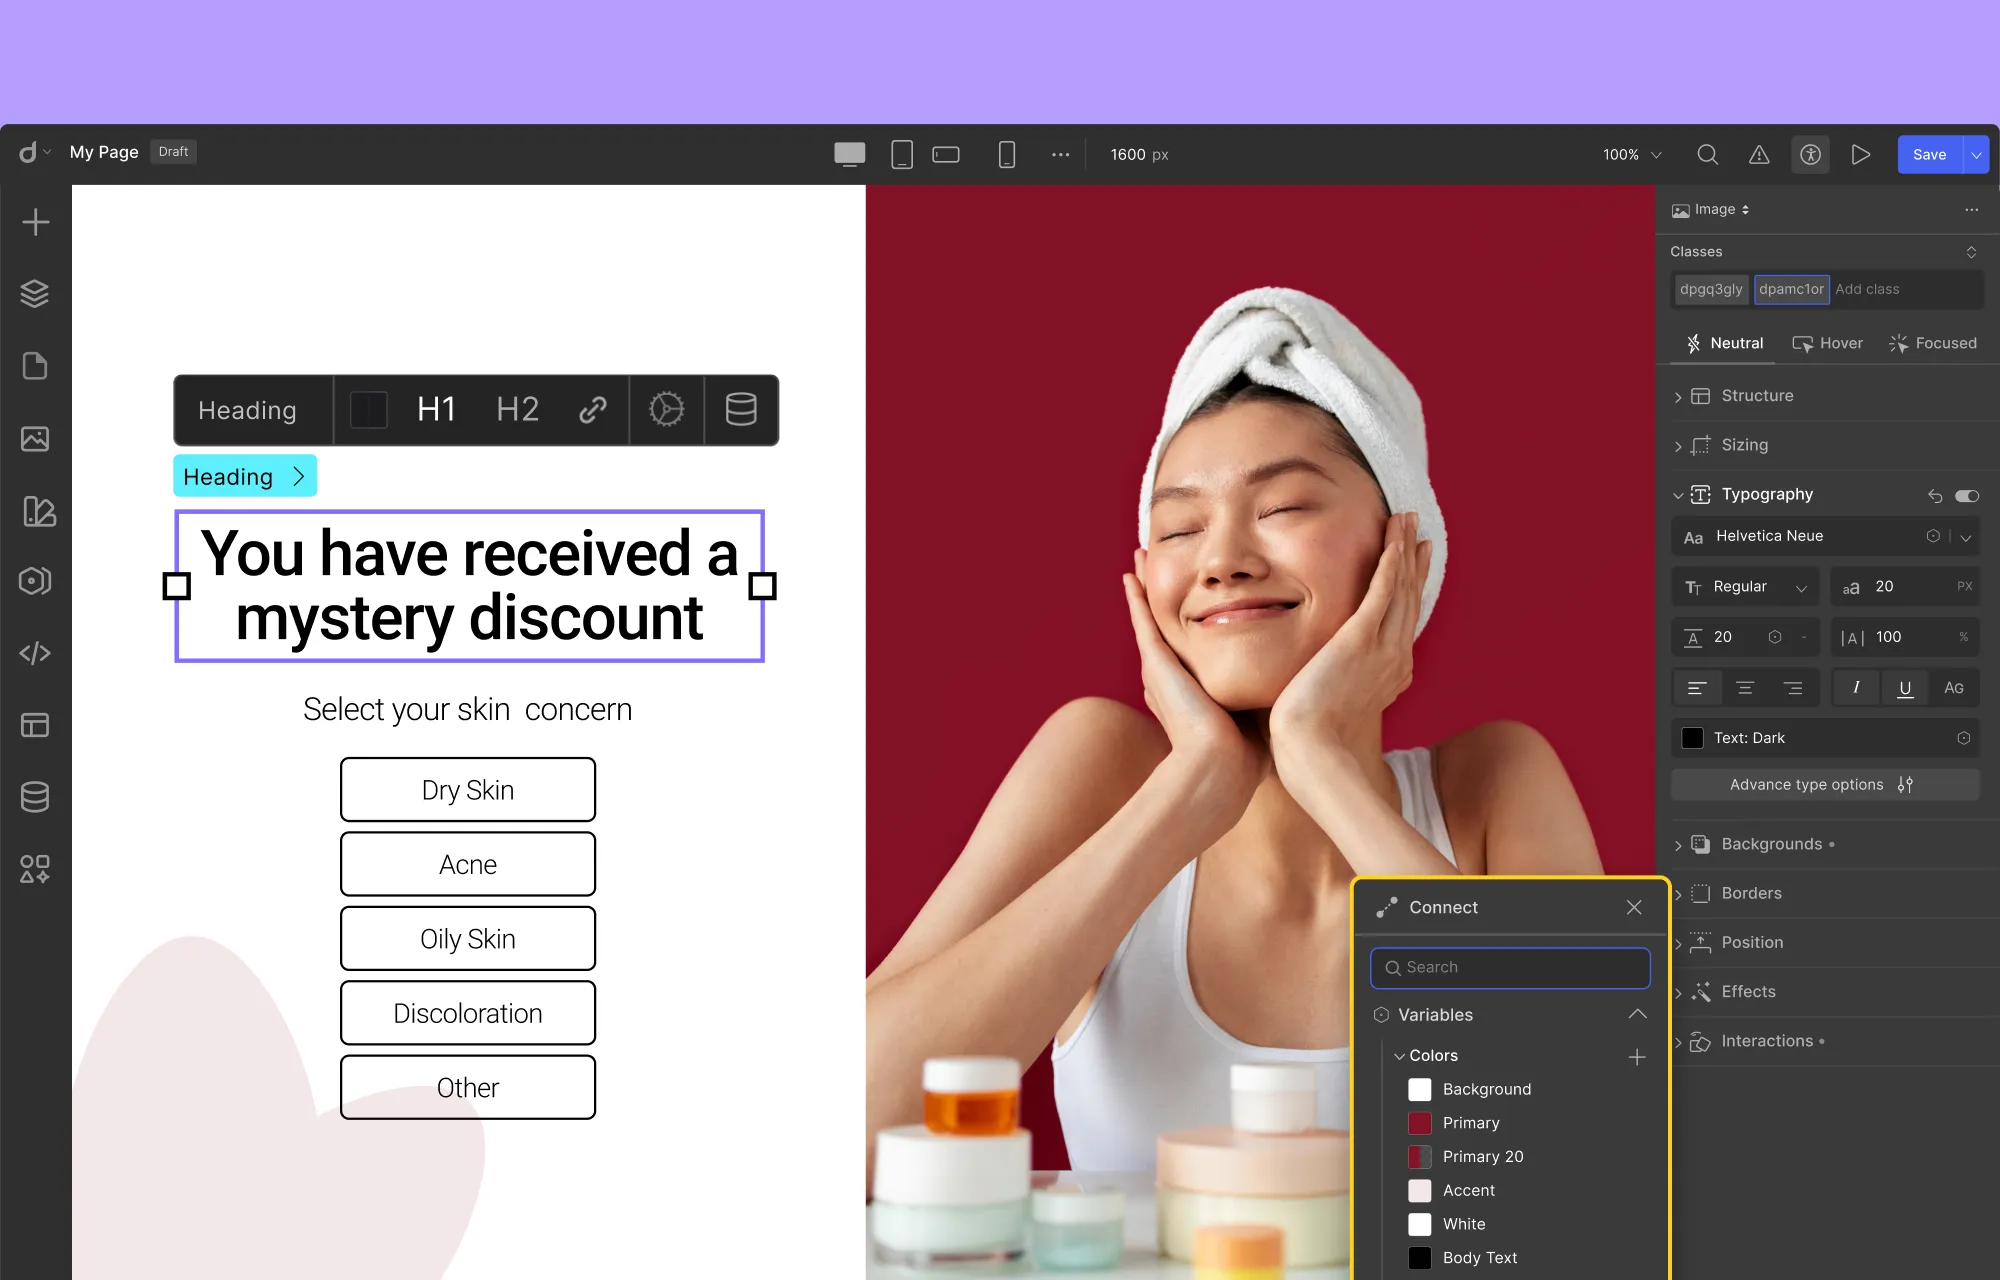
This is easy with the Style Panel. Simply:
- Select the element you want to edit,
- Head over to the Style Panel,
- and adjust Structure, Typography, Sizing, Background, and more.
You can also use tools like Variables in Droip to save your style choices for reuse and maintain a cohesive design across your site.
And features like Class Manager and Symbols can further help you stay consistent and speed up your workflow.
Step 6: Make Your Splash Page Responsive
Just like any good website page, your splash page, being the visitor’s first impression, needs to look great on every device.
Luckily, Droip makes this easy. With unlimited custom Breakpoints, you can ensure your splash page displays seamlessly across desktops, tablets, mobile devices, and more.
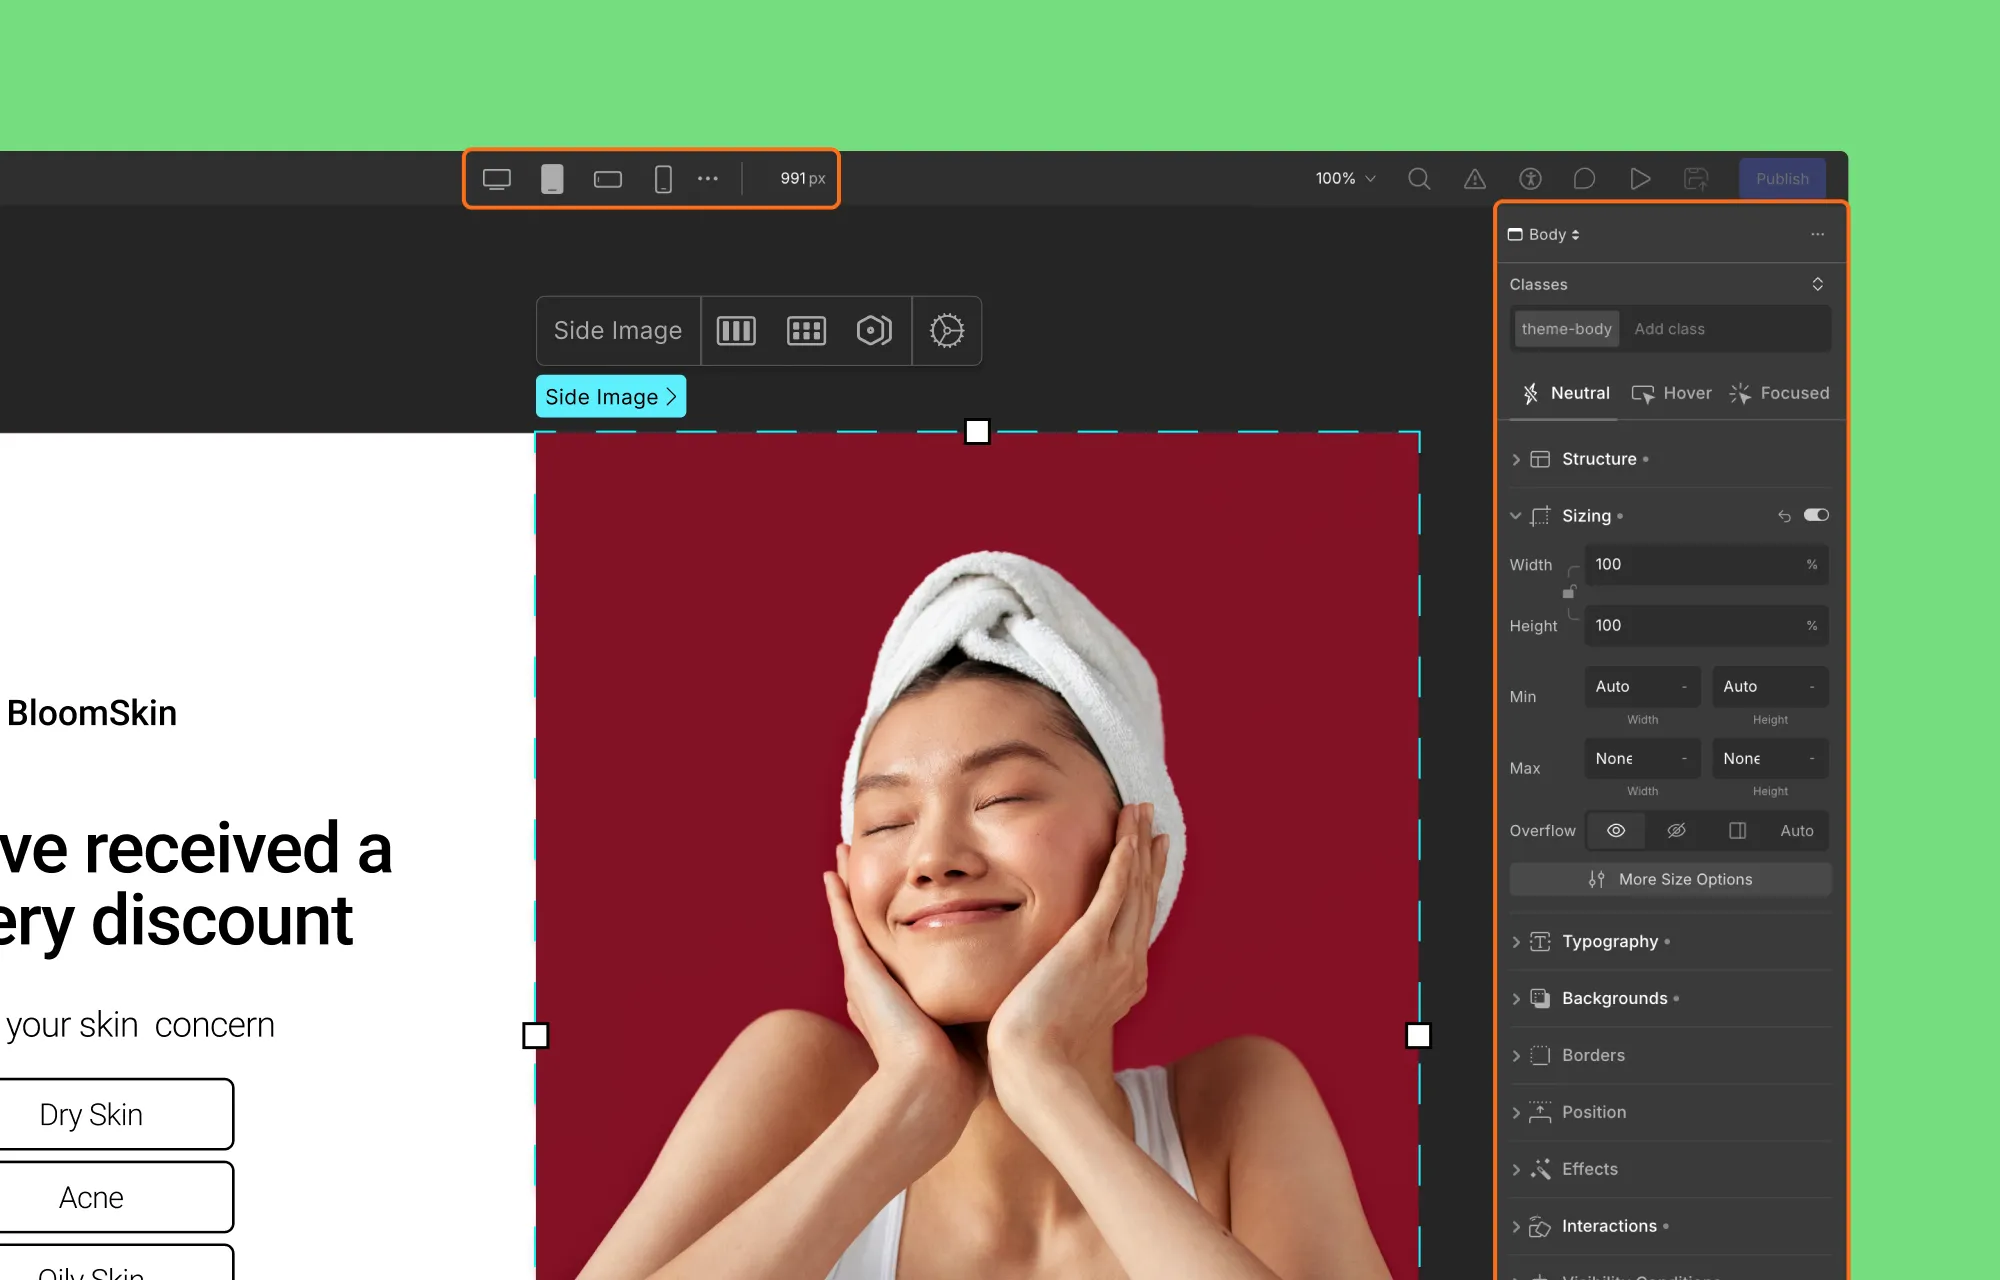
To make your splash page responsive, do the following:
- In the Droip editor, from the top bar, switch between the default breakpoints like tablet, phone, etc.
- If your desired screen size isn’t part of this, click the ellipsis icon, select Add Breakpoint, and define your custom breakpoint.
- After switching to a different breakpoint, look for any design discrepancies on that screen size.
- To fix them, select the element and adjust it using the Style Panel options. Also, these adjustments will automatically apply to smaller screens, reducing repeated changes and speeding up the process.
When you’re done, switch back to the Desktop breakpoint to return to the original view.
Step 7: Set Your Splash Page SEO
Your splash page should be nearly ready, but there are still a few behind-the-scenes details to configure, starting with optimizing for SEO.
Since Droip is an all-in-one solution, you can manage your splash page’s SEO directly within the editor.
This includes setting the meta title and description, uploading an OpenGraph image, and more.
To configure your splash page SEO:
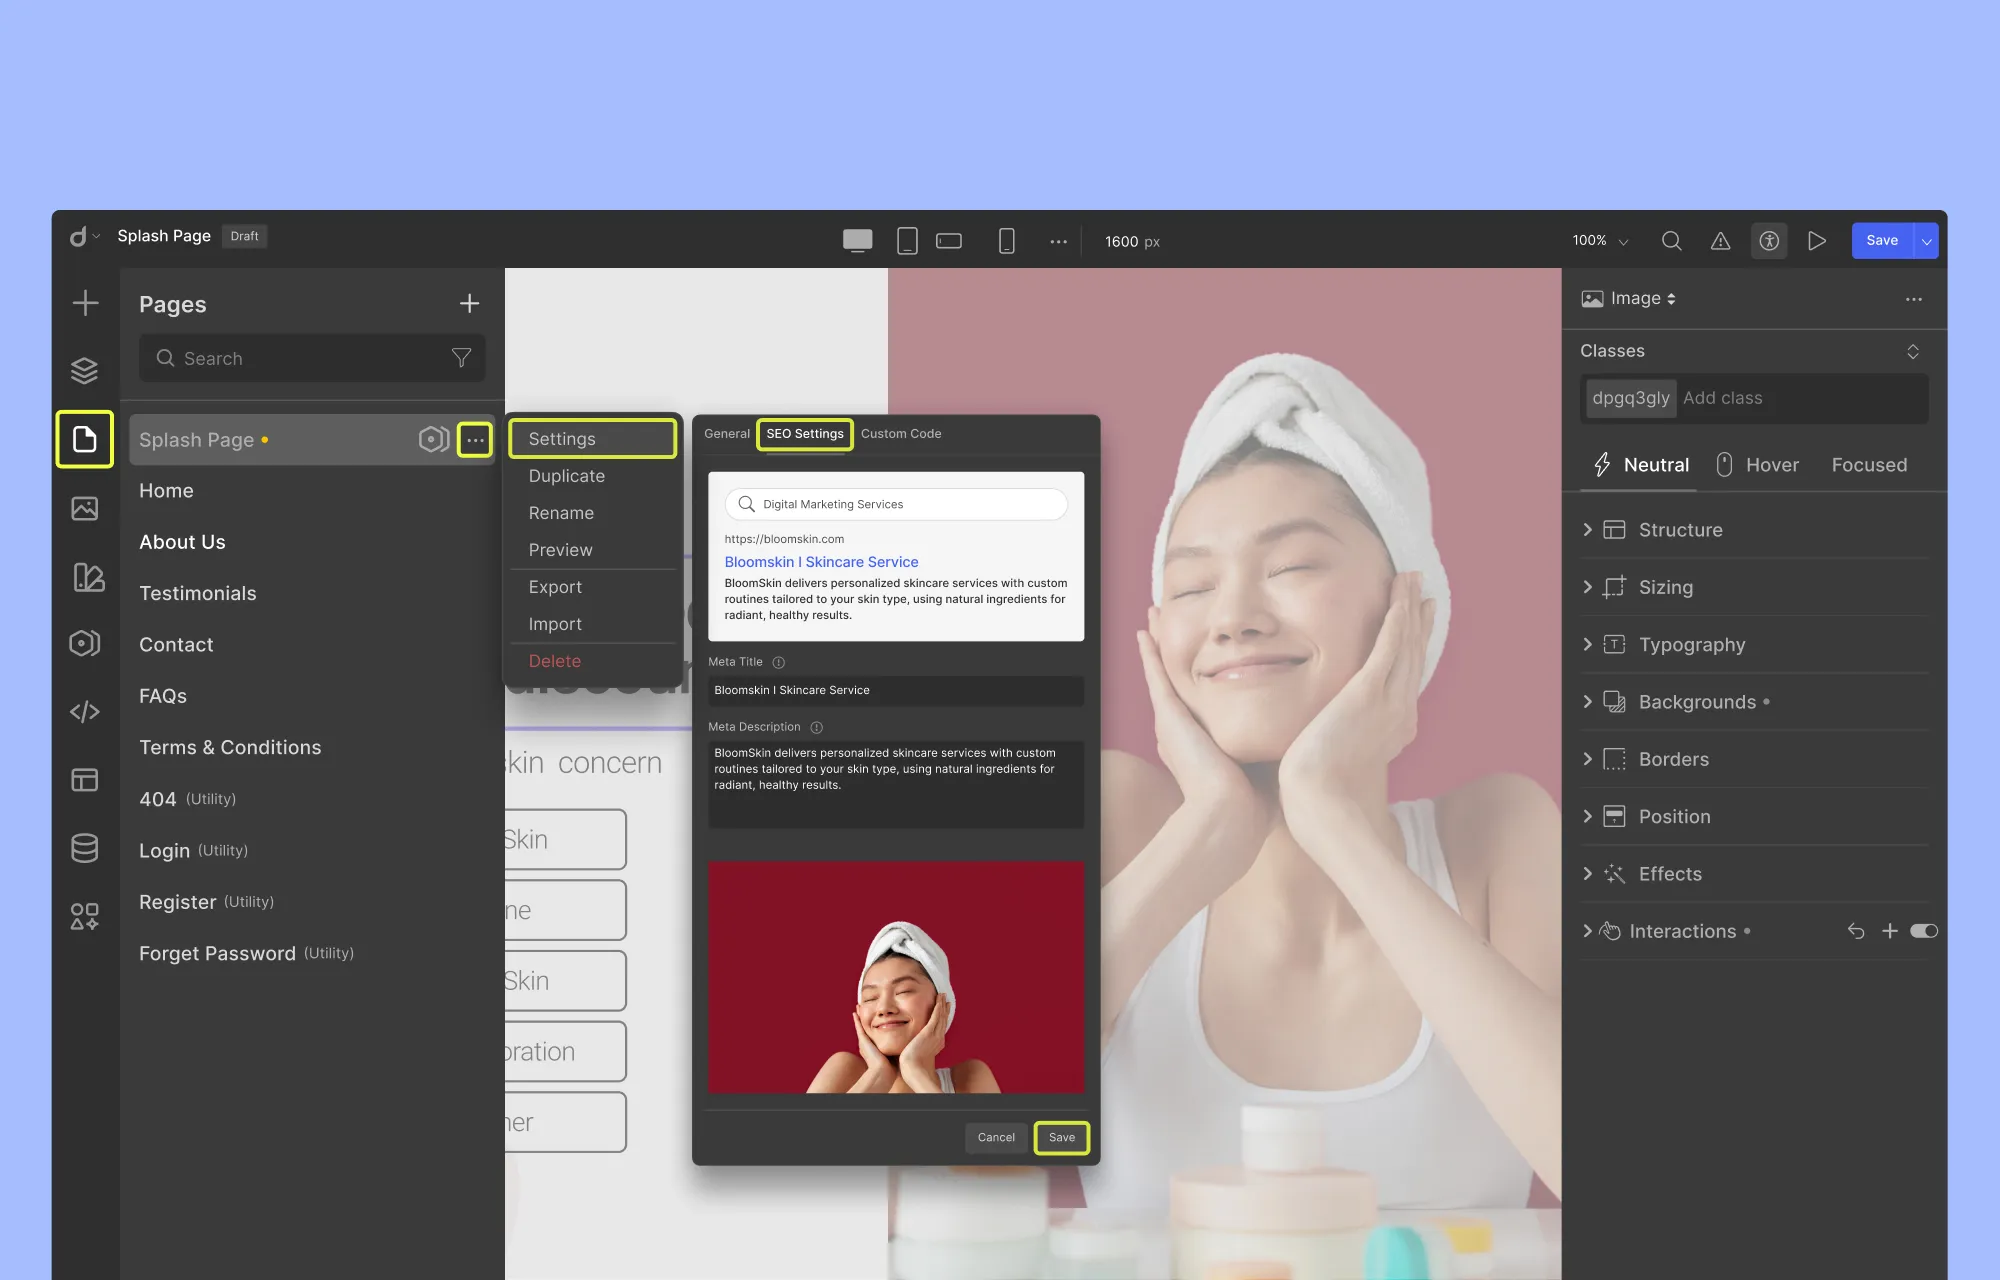
- From the left side panel, click Pages and locate your Splash page.
- Then, click on the ellipsis icon and select Settings.
- Here, open the SEO Settings tab, and fill in the required fields as instructed.
- Click Save, and you’re done.
With that done, your splash page is now search-ready and properly optimized before it goes live.
Step 8: Configure Your Splash Page and Publish
Before publishing, take a moment to configure and test your splash page to ensure everything works as intended.
Start by setting your splash page as the first page visitors see when they land on your site. Next, review all essential details like link and button destinations, image alt text, etc.
Droip makes this easy with its built-in Audit tool, which automatically scans your page for issues like missing links, alt text, and other oversights.
Once that’s done, run a quick performance check. Also, make sure features like Image Compression and Video Lazy Loading are enabled to keep load times fast.
When everything looks good and works smoothly across all devices, go ahead and hit publish.
Wrapping Up
Splash pages may have had a rocky history, but when used with clear intent, they’re still a powerful tool in modern web design.
Whether it’s confirming visitors’ language or region, guiding them toward a tailored experience, or simply making a bold first impression, a well-designed splash page sets the stage for everything that follows.
With Droip, creating splash pages in WordPress is both flexible and fast. From pre-made sections to built-in accessibility, SEO, performance, and other tools, everything you need exists right inside the editor.
So, are you ready to build your own splash pages in WordPress? Start your journey with Droip today.

