Droip lets you integrate Social Login into your website, giving your visitors the convenience of signing in with their preferred accounts instead of creating new credentials.
Currently, Droip supports Google, Facebook, and Twitter login options.
1. Google Login
Step 1: Collect Google Client ID and Secret
To enable Google Login, you’ll first need to create a project in the Google Cloud Console and obtain your Client ID and Client Secret.
- Go to the Google Cloud Console.
- Sign in with your Google account.
- Navigate to APIs & Services > Credentials.
- Click Create Credentials → OAuth Client ID.
- Under Application type, select Web Application.
- Configure the OAuth consent screen if prompted (add app name, email, and authorized domain).
Add the following Redirect URI: https://yourdomain.com/wp-json/GoogleLogin/v1/Auth/google-login
(Replace yourdomain.com with your actual website domain.)
- Click Create and copy the generated Client ID and Client Secret.
Step 2: Configure Google Login in Droip

- Open your site in the Droip Editor.
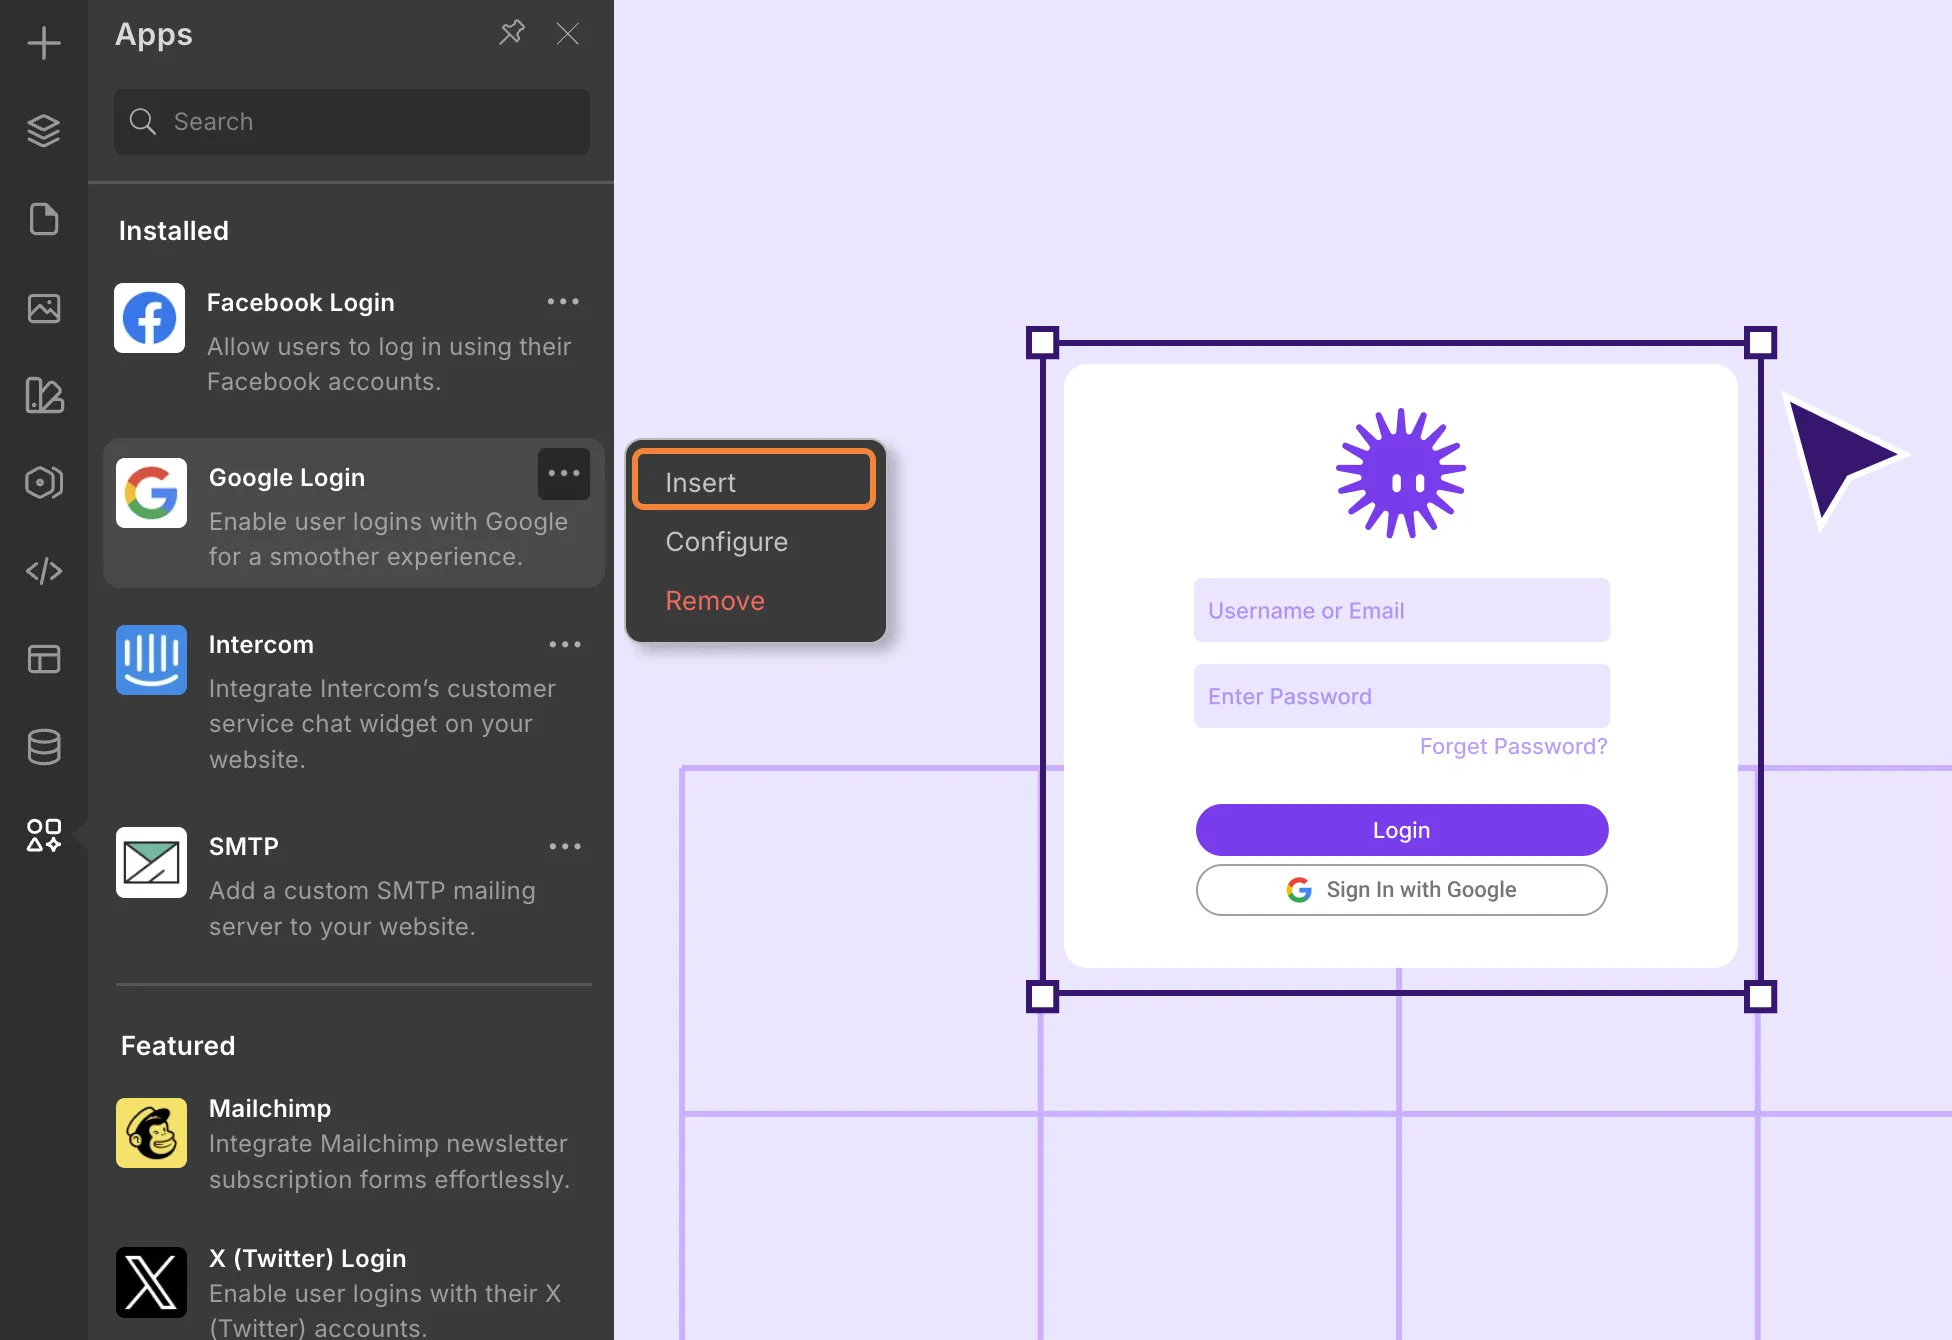
- From the Left Panel, click on Apps.
- Search for Google Login.
- Right-click on it and select Configure.
- Enter your Client ID and Client Secret.
- Enter a Success URL (the page the user will be redirected to after successful login).
- Click Save.
Step 3: Display Google Login on Your Site
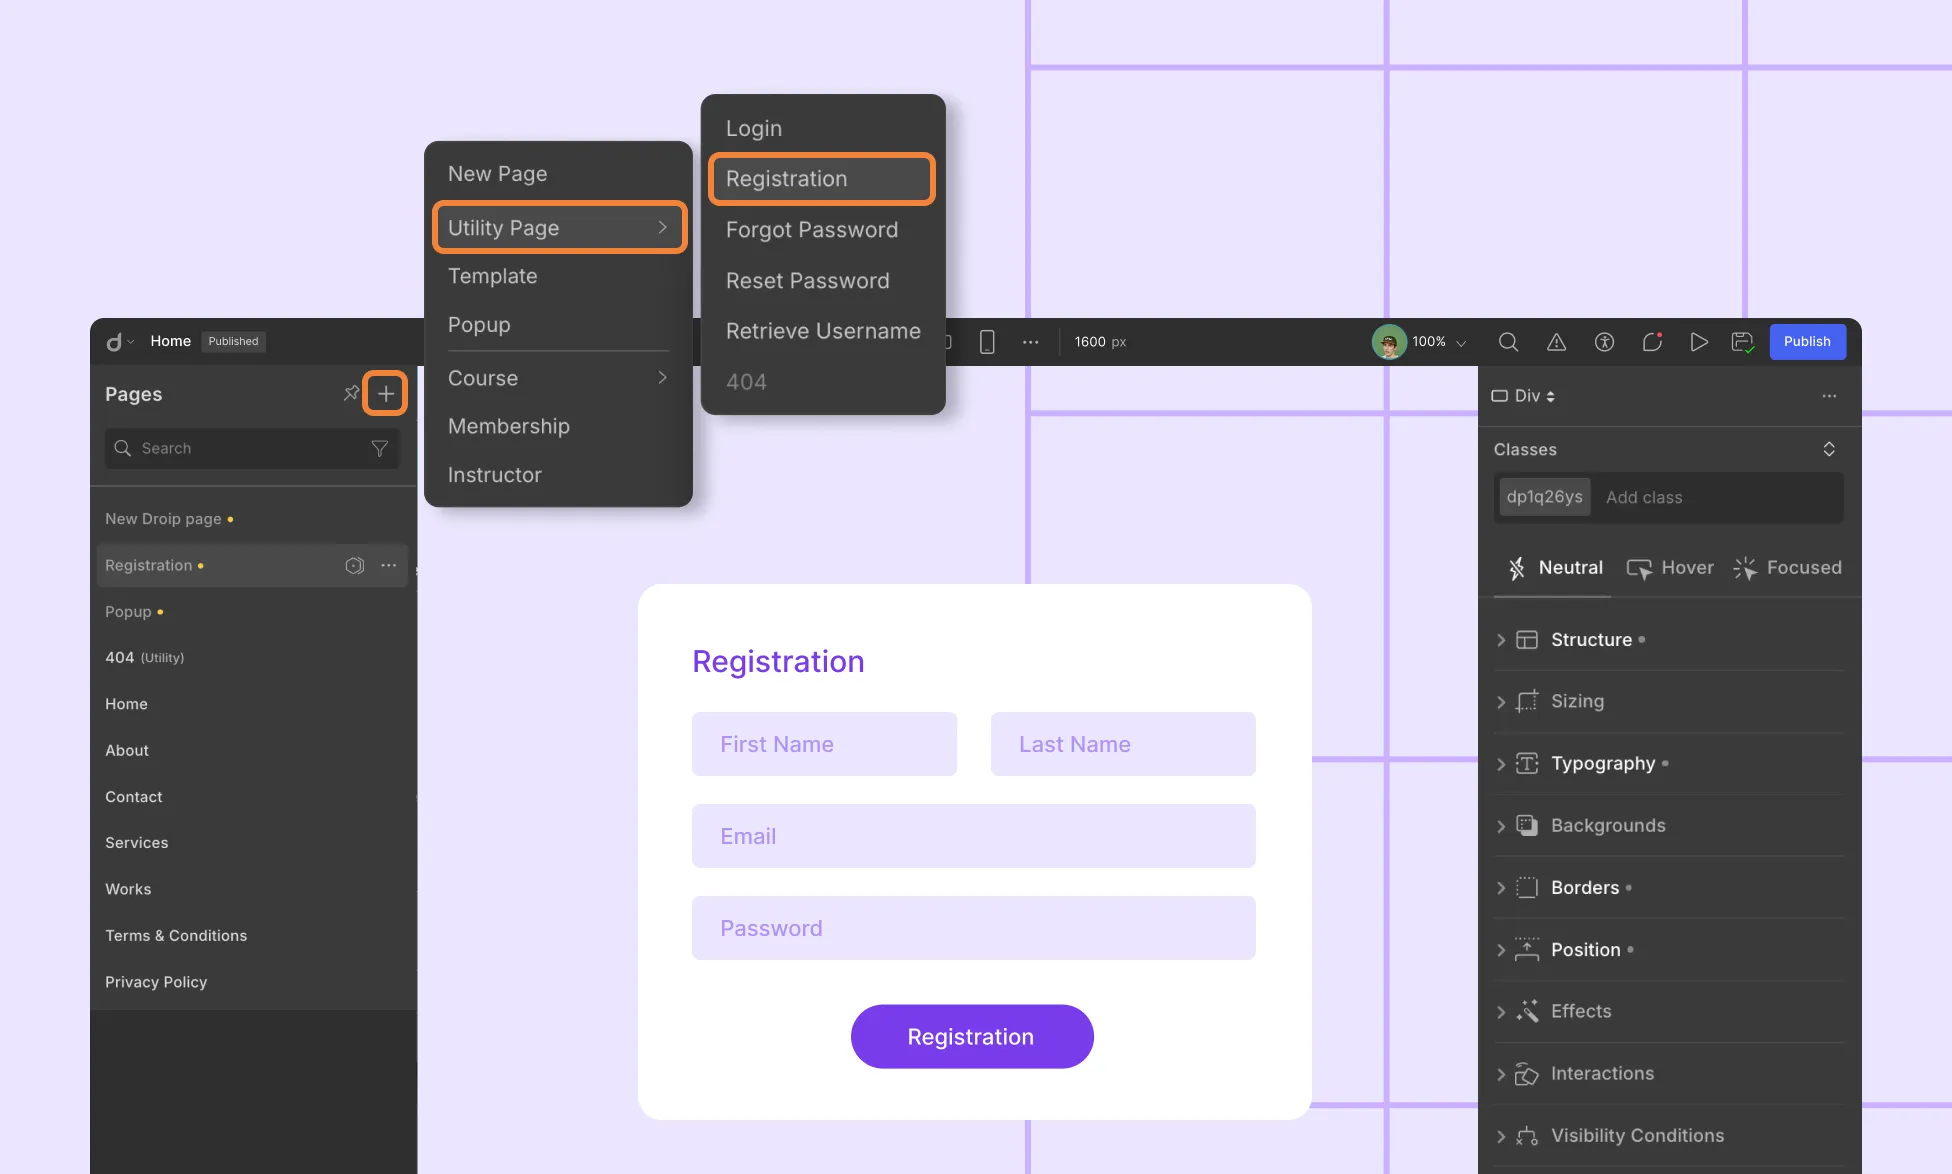
You can only insert Google Login on the Login Page.
- To create one, go to Pages > click + > select Login from the Utility Pages.
- Customize the login form to match your website style.
- Go to Apps, search Google Login, and click Insert.
- The Google login option will now appear inside your login form.
- Make sure to publish the page.
Preview & Test Your Login Page
When customizing the login page with social login options, you won’t be able to see the Google Login option in the same browser where you’re logged into the Droip editor.
To preview and test your login form, open the page in an Incognito browsing window. This ensures you see the login flow as a real user would.
You can follow the similar process to set up register with Google.
2. Facebook Login
Step 1: Collect Facebook App ID and Secret
- Visit the Meta for Developers.
- Log in with your Facebook account.
- Click My Apps > Create App.
- Enter your app name, contact email, and click Next.
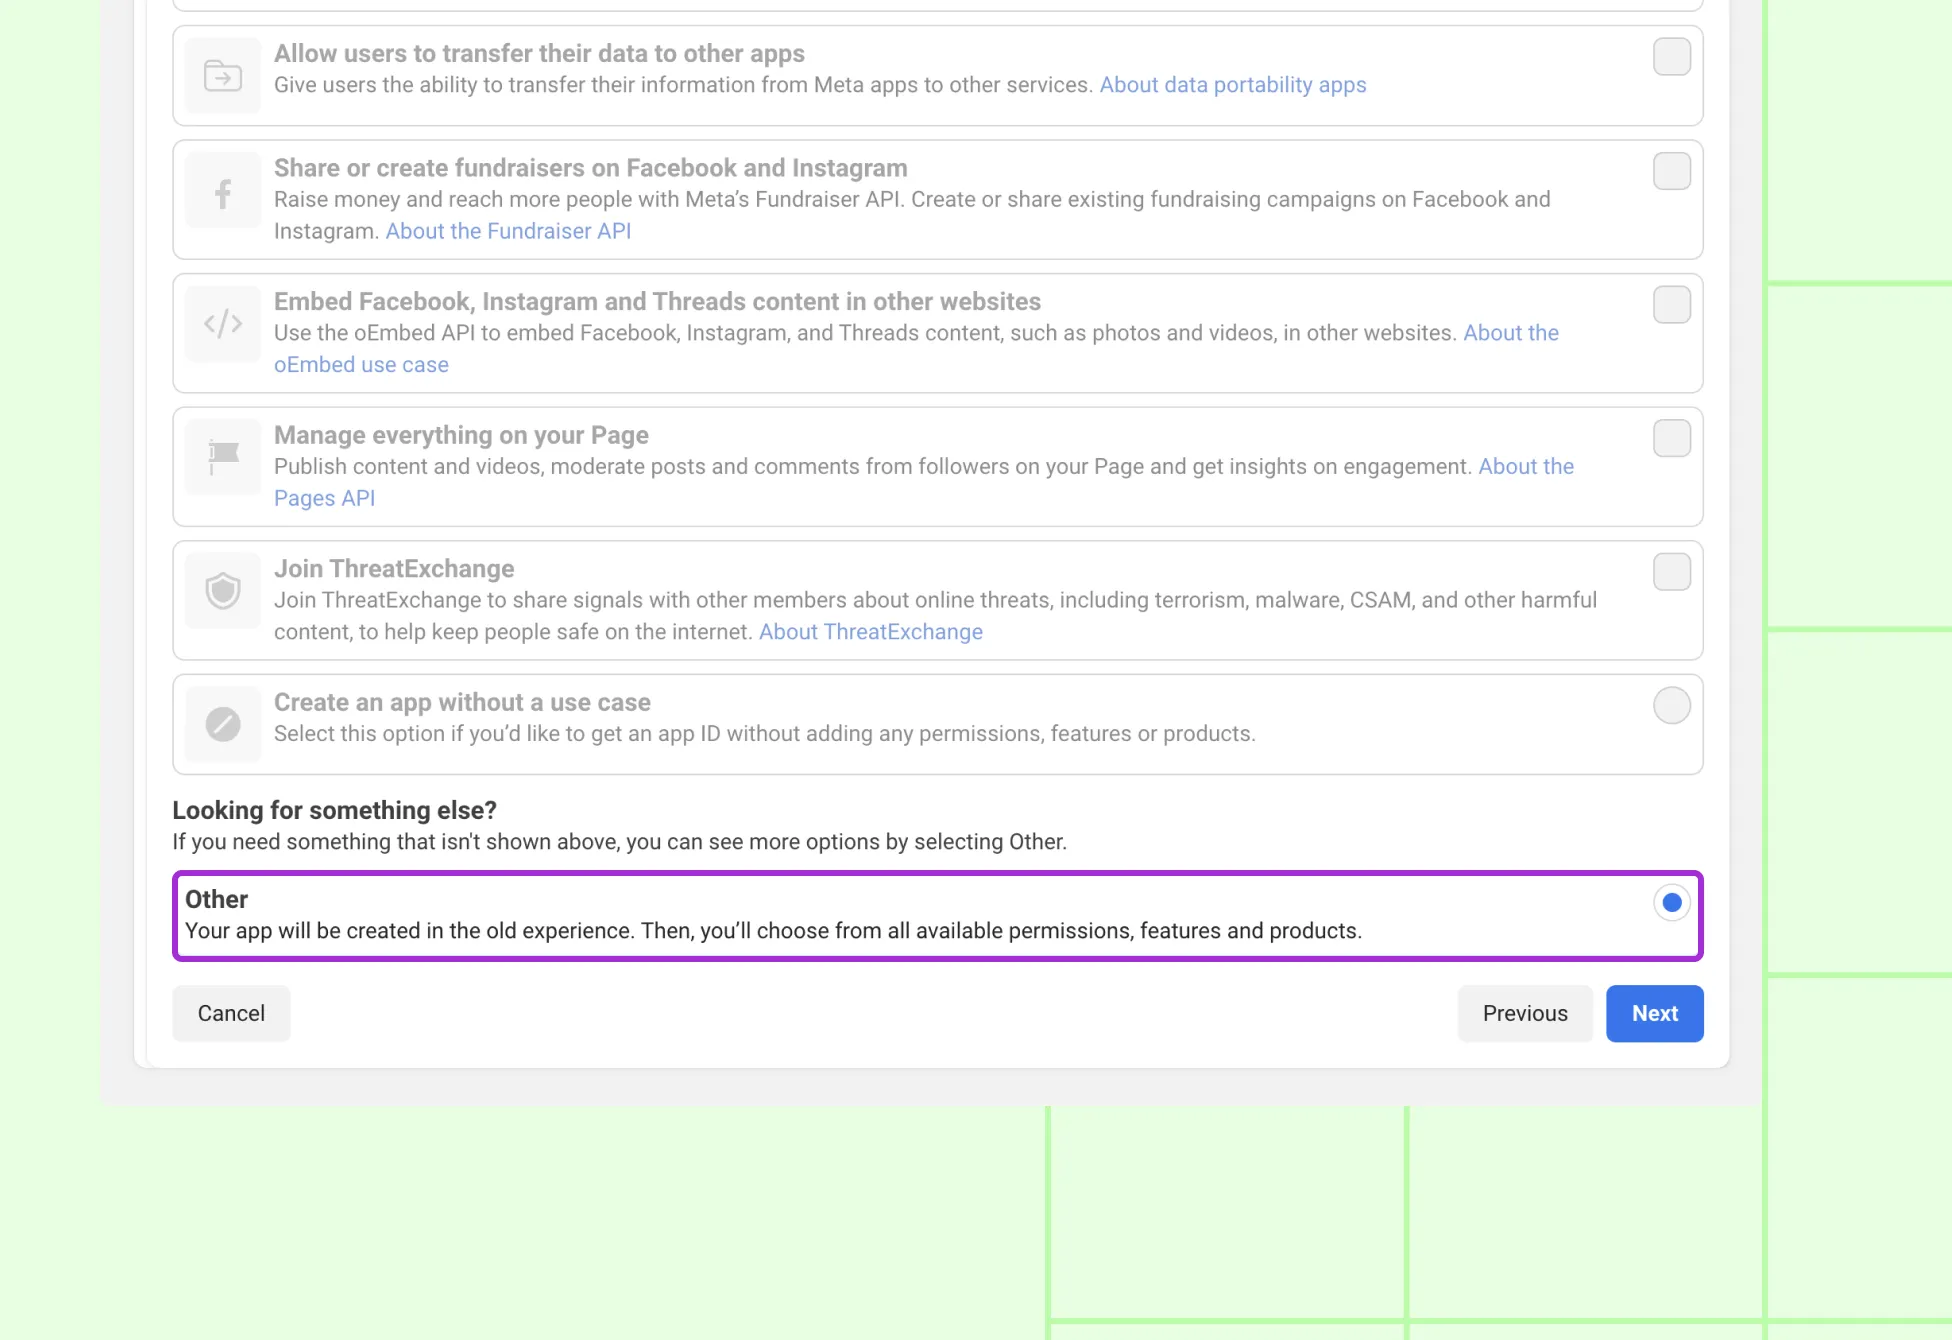
- For use cases, choose Other and click Next.
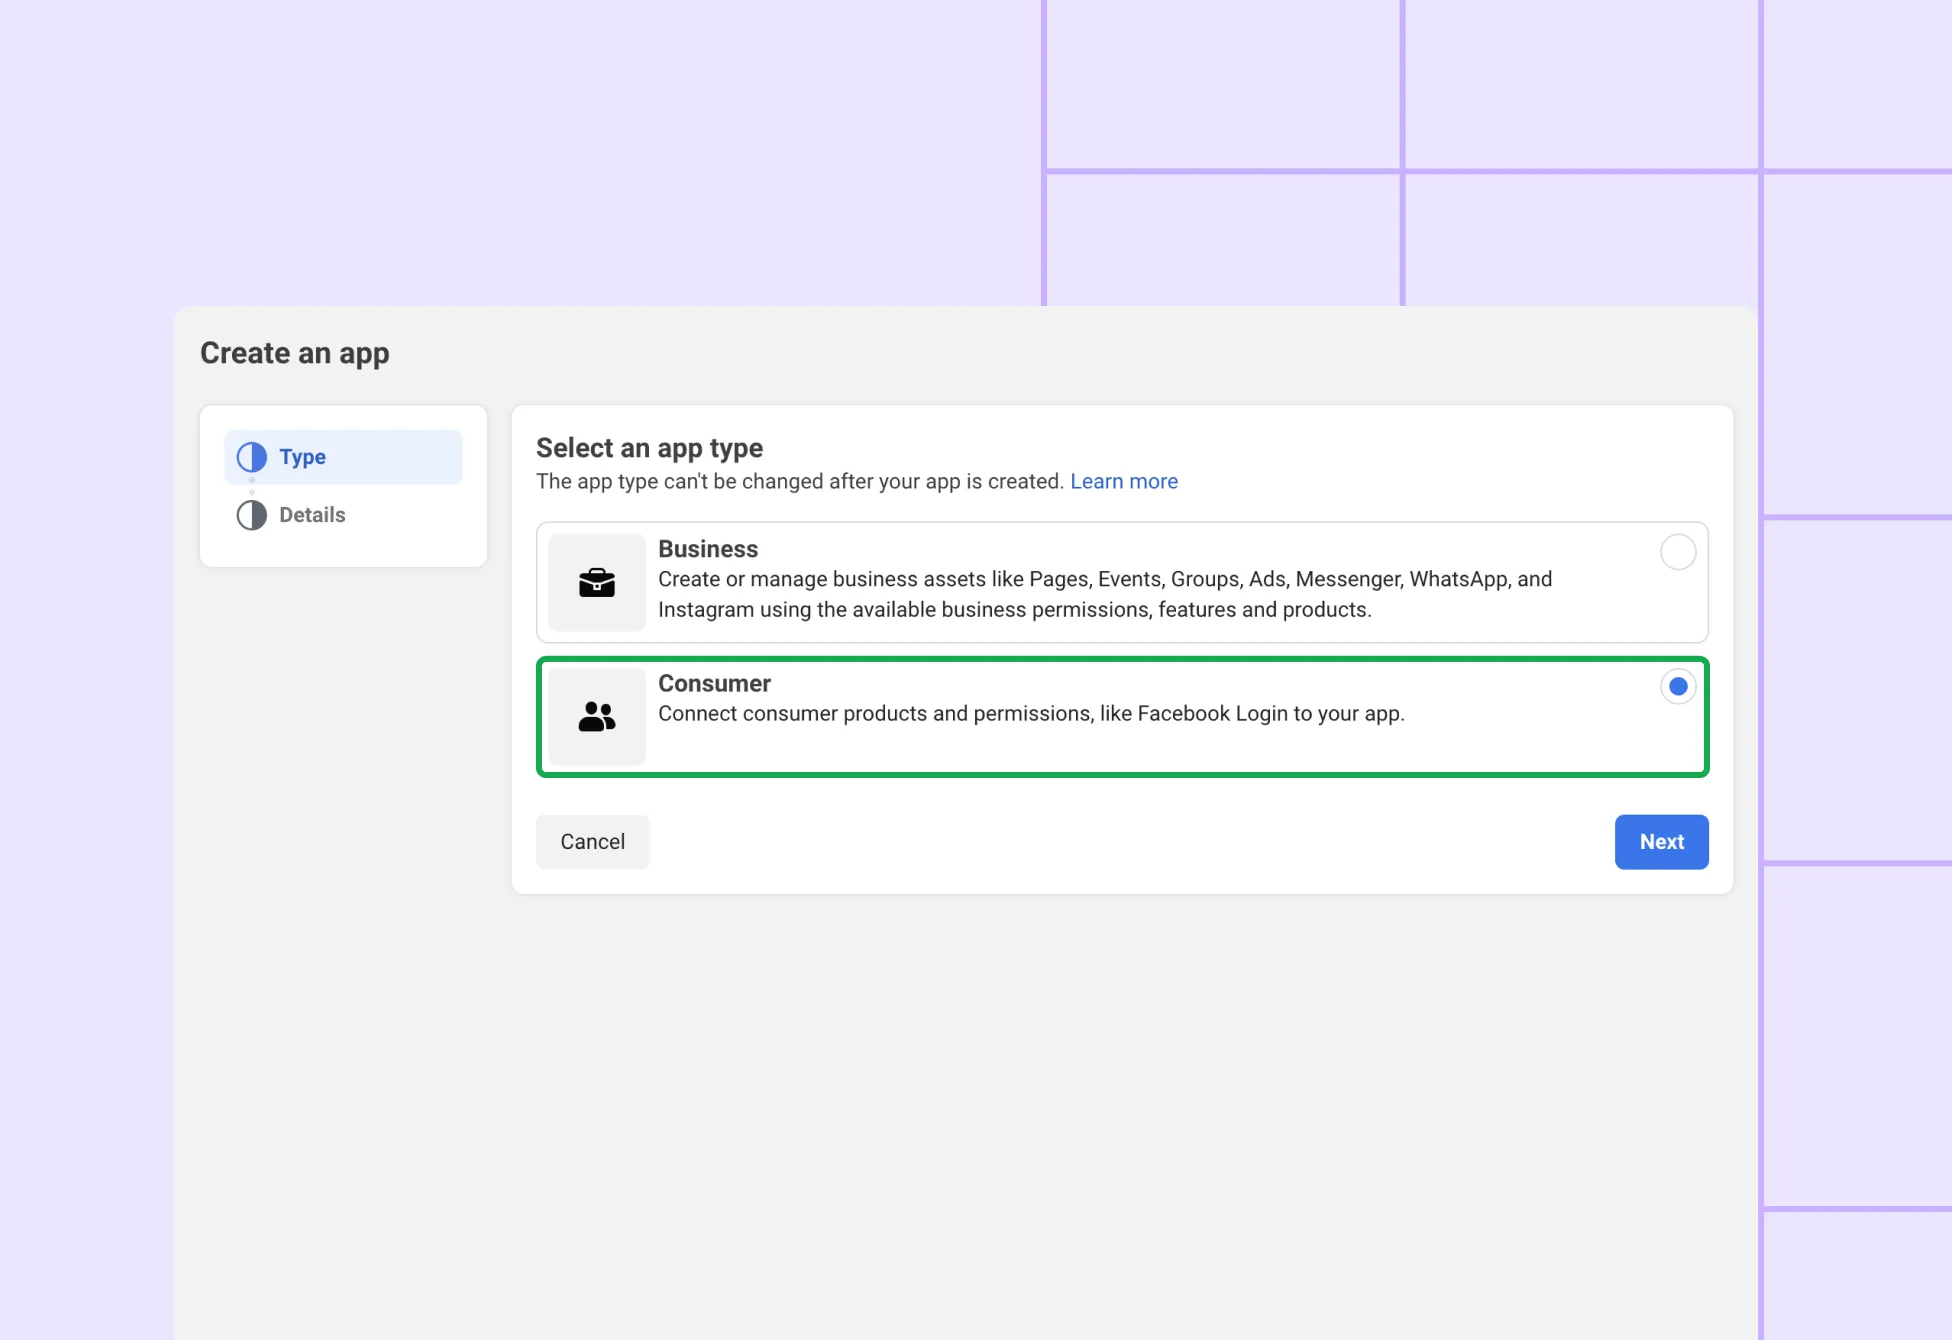
- Choose Consumer as the app type and click Next. Enter your app name, contact email, and click Create App.
- Then, select Facebook Login as the product, and go to Settings. Add the following Redirect URI: https://yourdomain.com/wp-json/GoogleLogin/v1/Auth/google-login (Replace yourdomain.com with your actual website domain.)
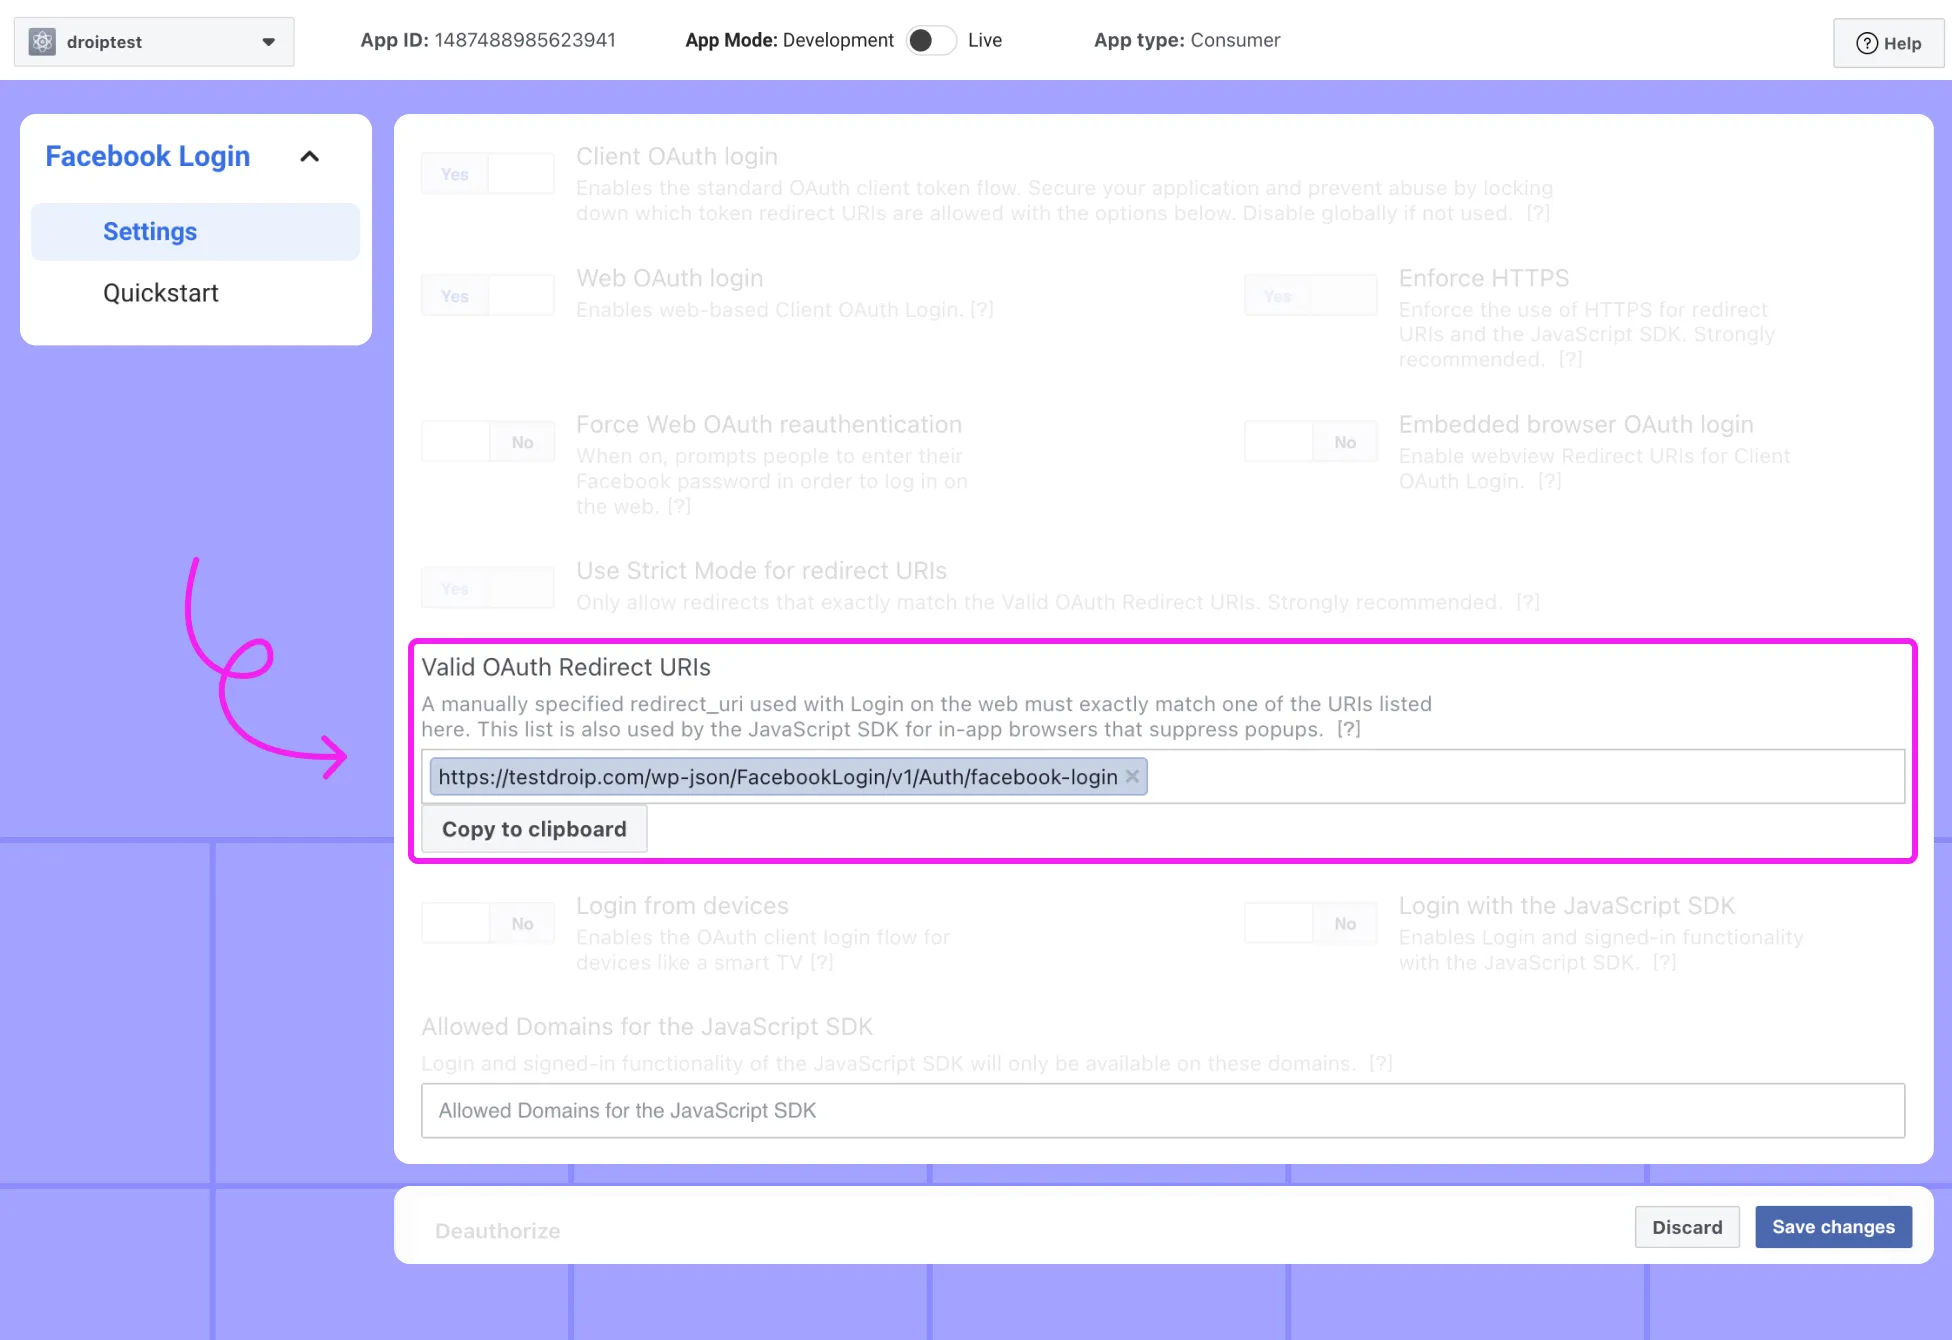
- From the left menu, go to App Settings > Basic.
- Make sure you have the site URL added, the copy your App ID and App Secret.
- Add your website domain under App Domains.
- Save changes.
Step 2: Configure Facebook Login in Droip
- Open the Droip Editor.
- From the Left Panel, click Apps.
- Search for Facebook Login.
- Right-click → Configure.
- Add your App ID and App Secret.
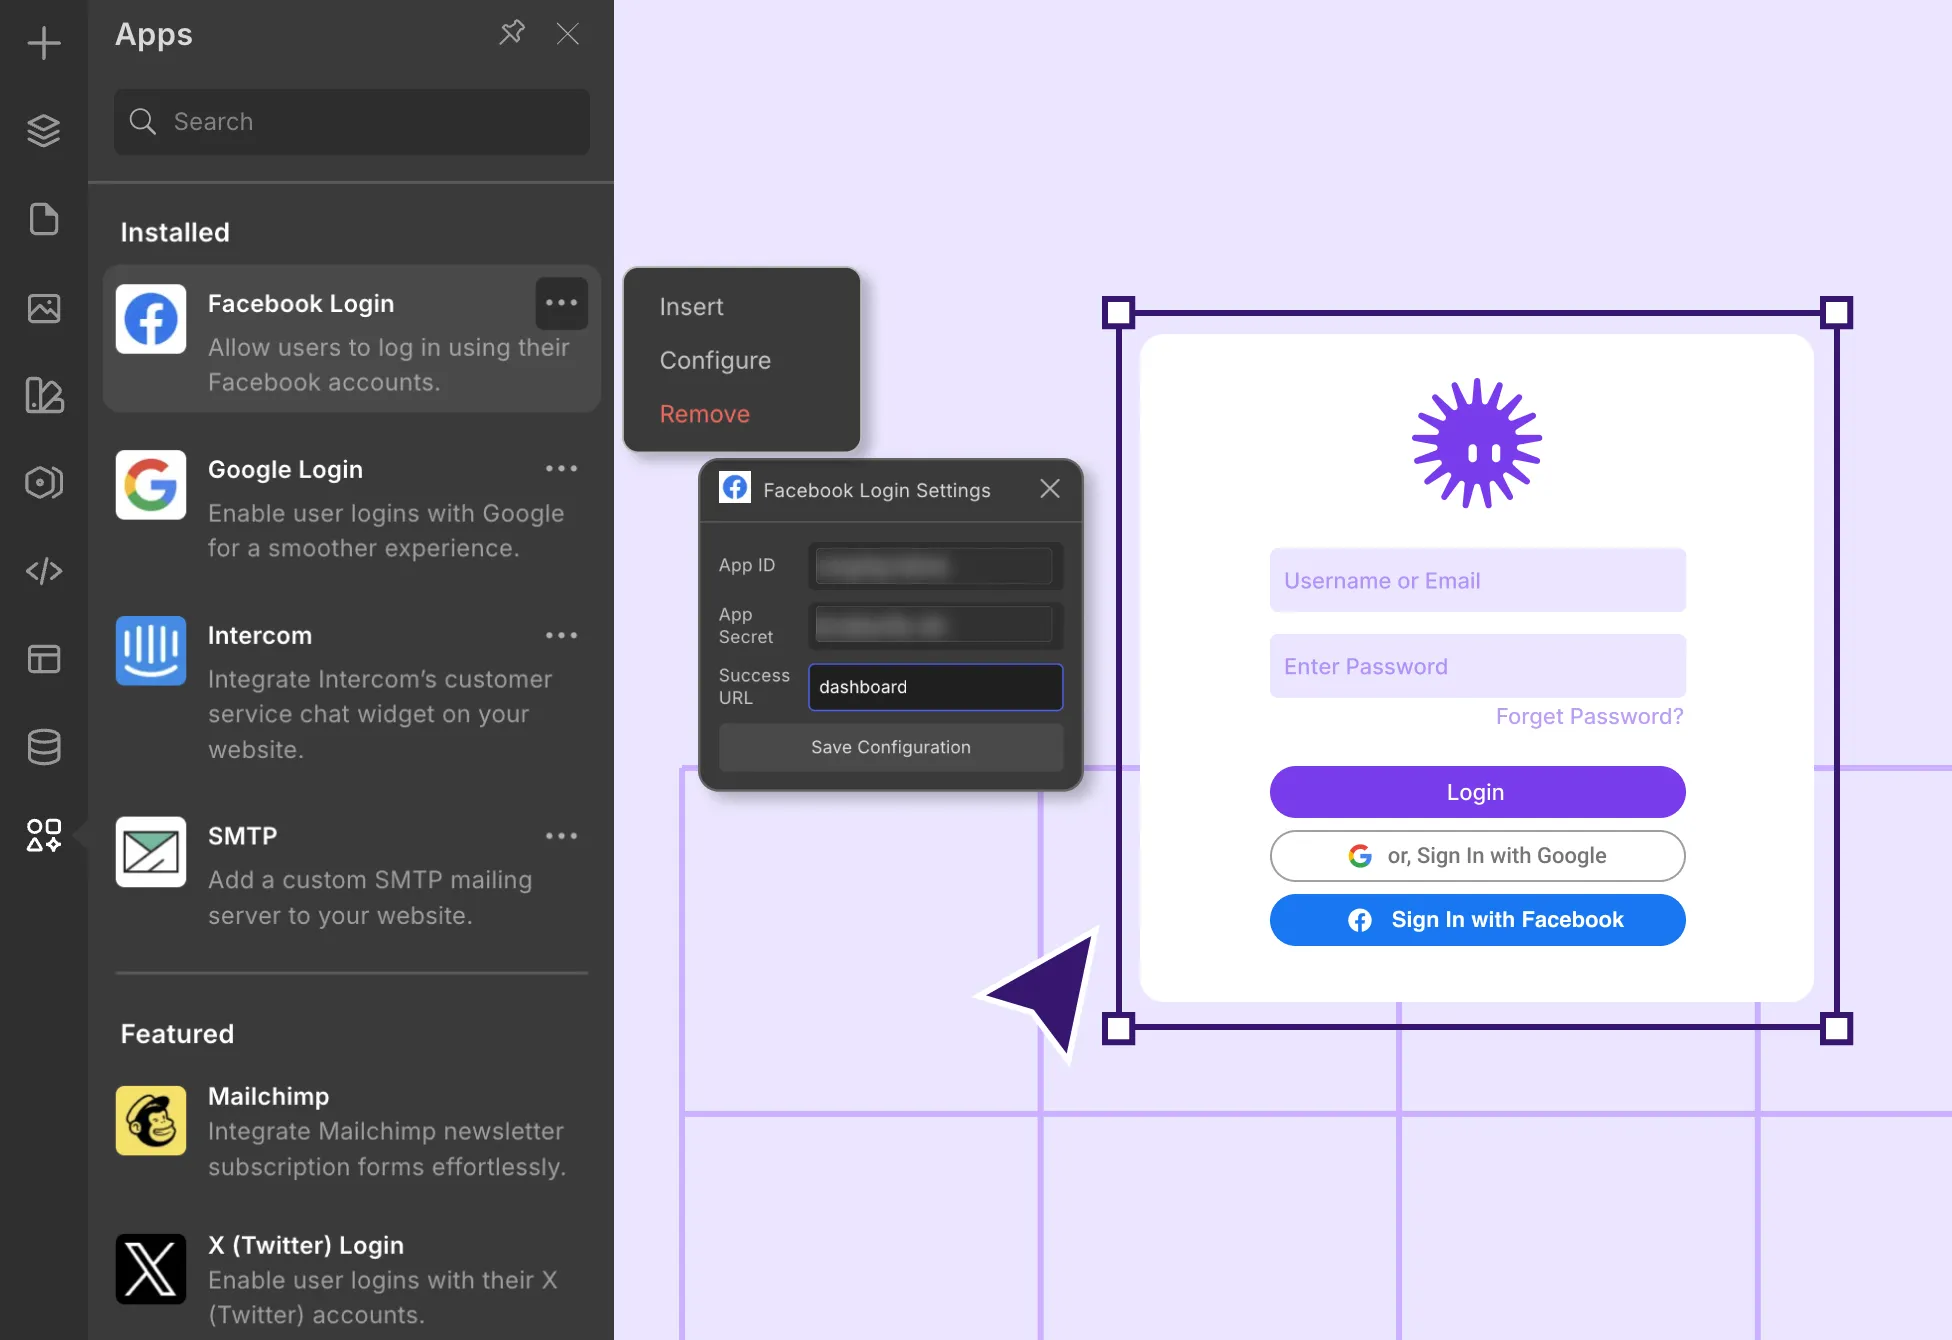
- Enter a Success URL (the page the user will be redirected to after successful login).
- Click Save.
Step 3: Display Facebook Login on Your Site
- Make sure you have a Login Page created.
- From Apps, insert Facebook Login inside the login form.
- Customize the button style if needed.
Similarly, you won’t be able to preview the Facebook Login option in the same browser where you’re logged into the Droip editor.
To preview and test your login form, open the page in an Incognito browsing window. This ensures you see the login flow as a real user would.