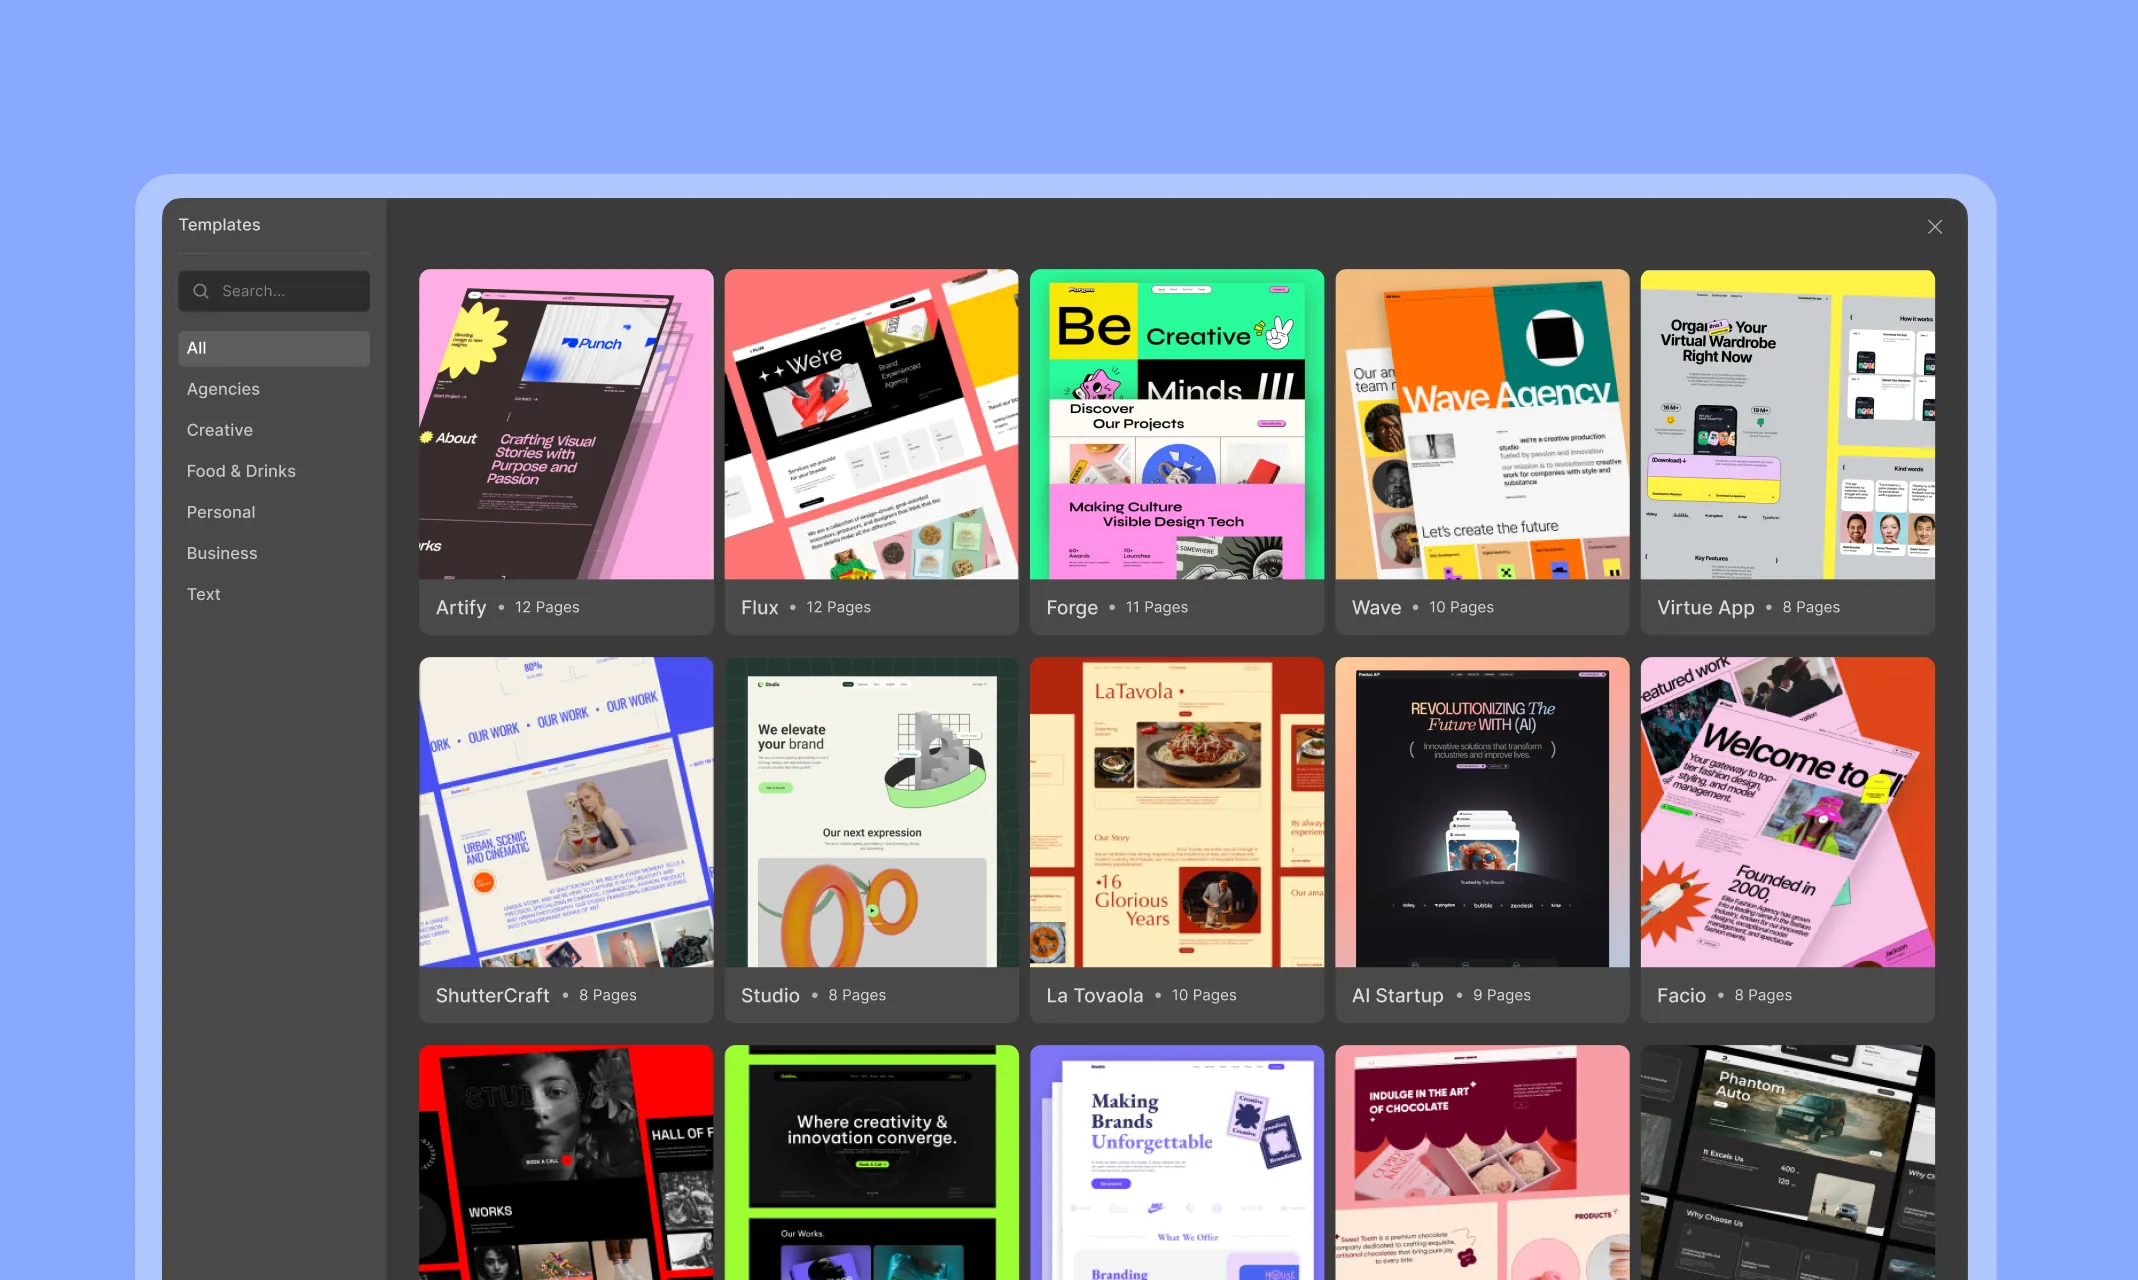
Droip provides a growing library of ready-made templates that help users quickly build professional websites without starting from scratch. These templates include pre-designed pages, symbols, and site settings to ensure a seamless design experience.
Accessing Templates

To access the template library in Droip:
- Click on the Templates icon located on the left sidebar.
- The Templates Window will open, displaying all available templates.
- Browse through the categories or use the search bar to find a suitable template.
Importing a Template

- Click on a template to view its details.
- Click the Import button to begin the import process.
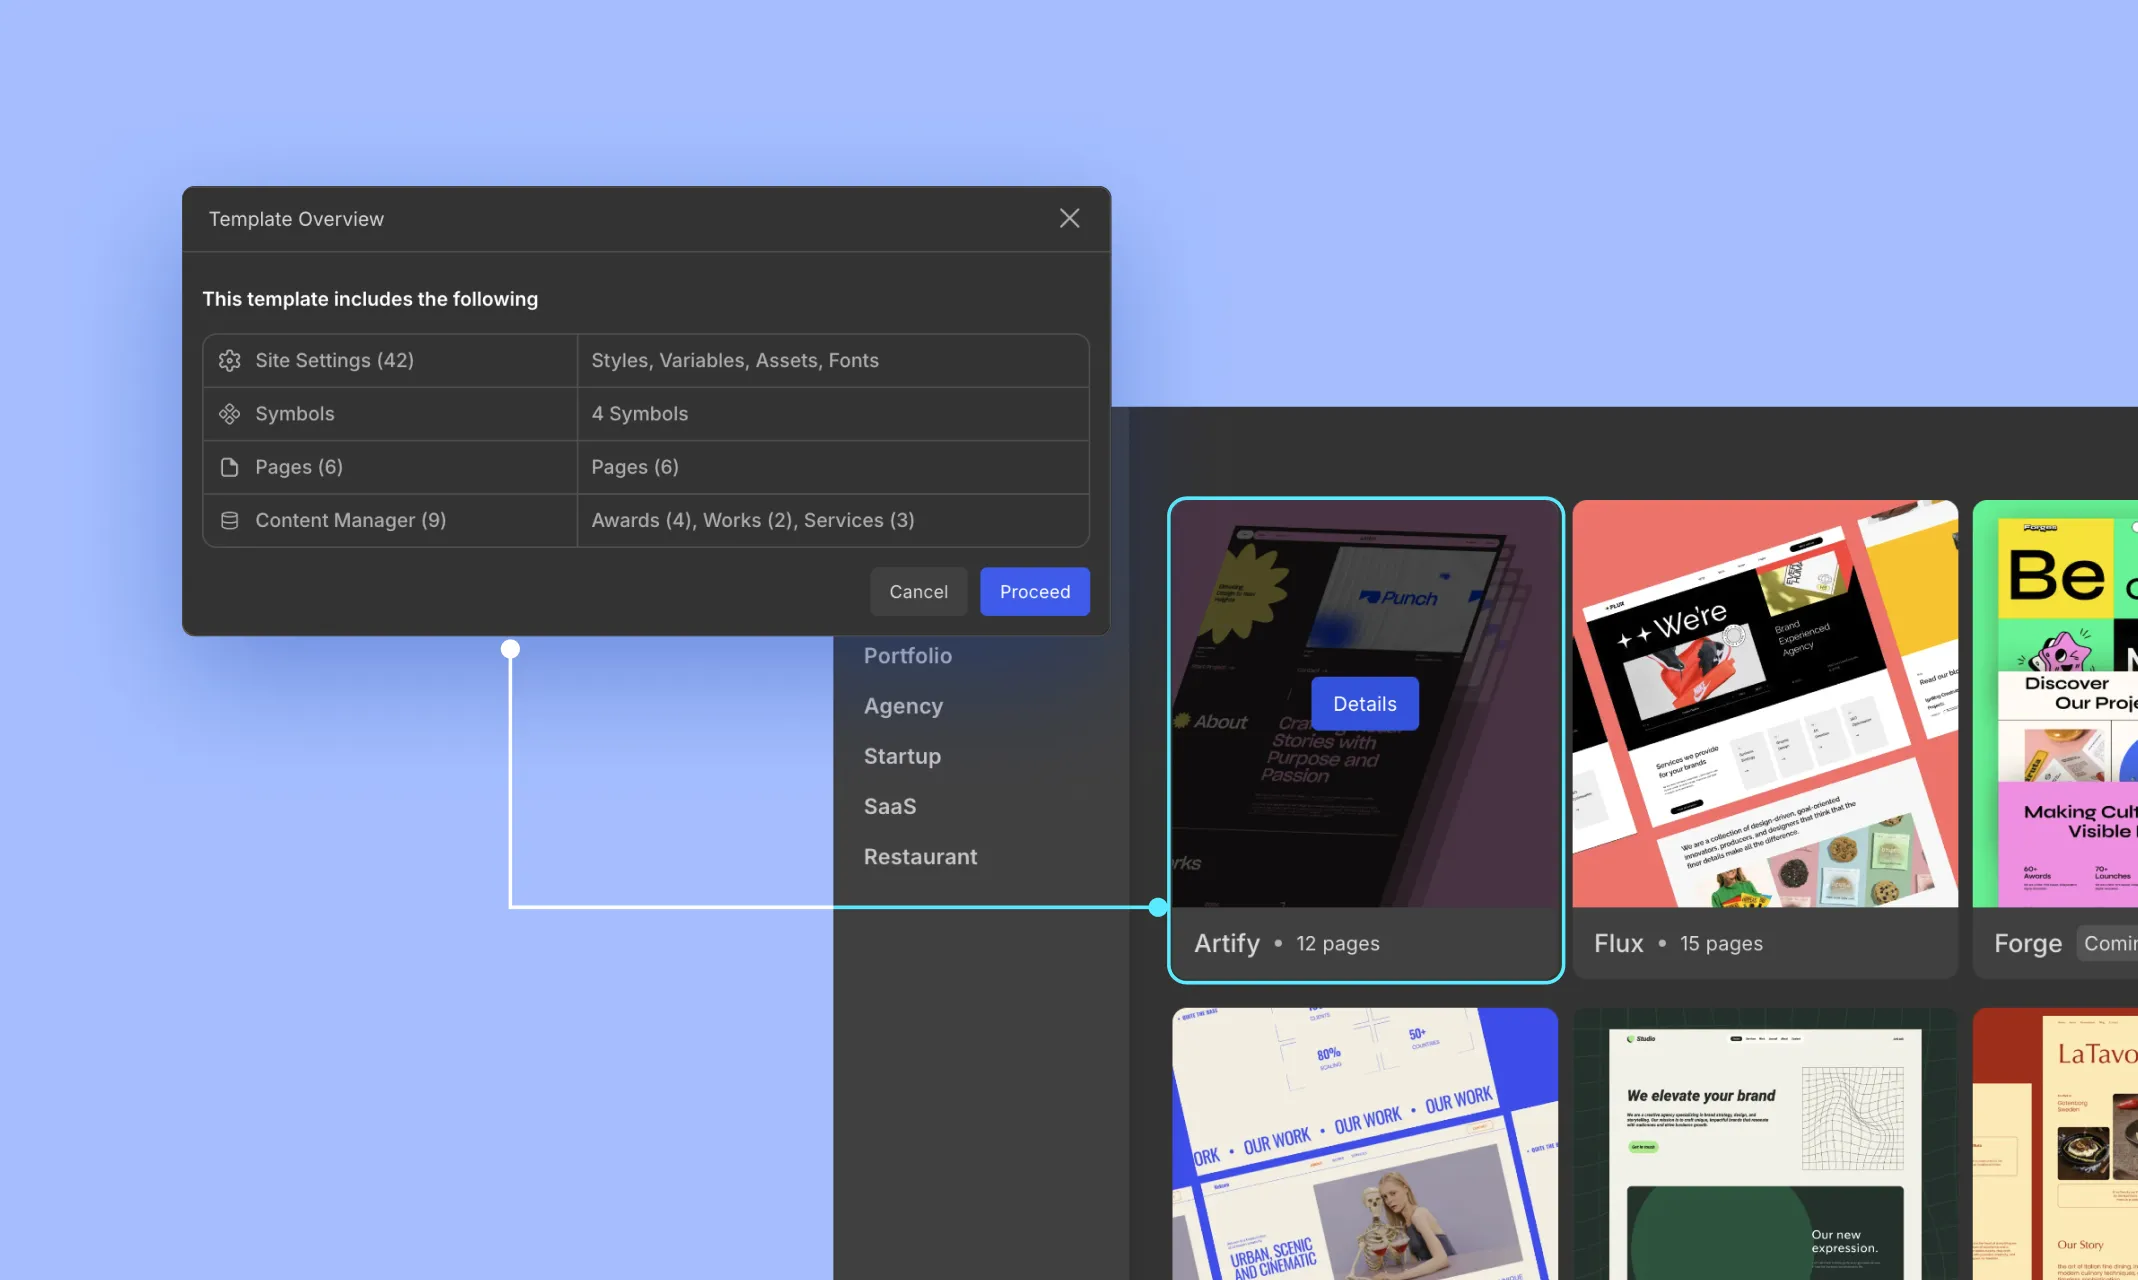
- A Template Overview popup will appear, showing what the template includes, such as:
- Site Settings (Styles, Variables, Assets, Fonts)
- Symbols (Reusable elements)
- Pages (Pre-designed layouts)
- Content Manager (Dynamic content such as awards, works, and services)
- Click Proceed to confirm the import.
Successful Import

Once the import is complete:
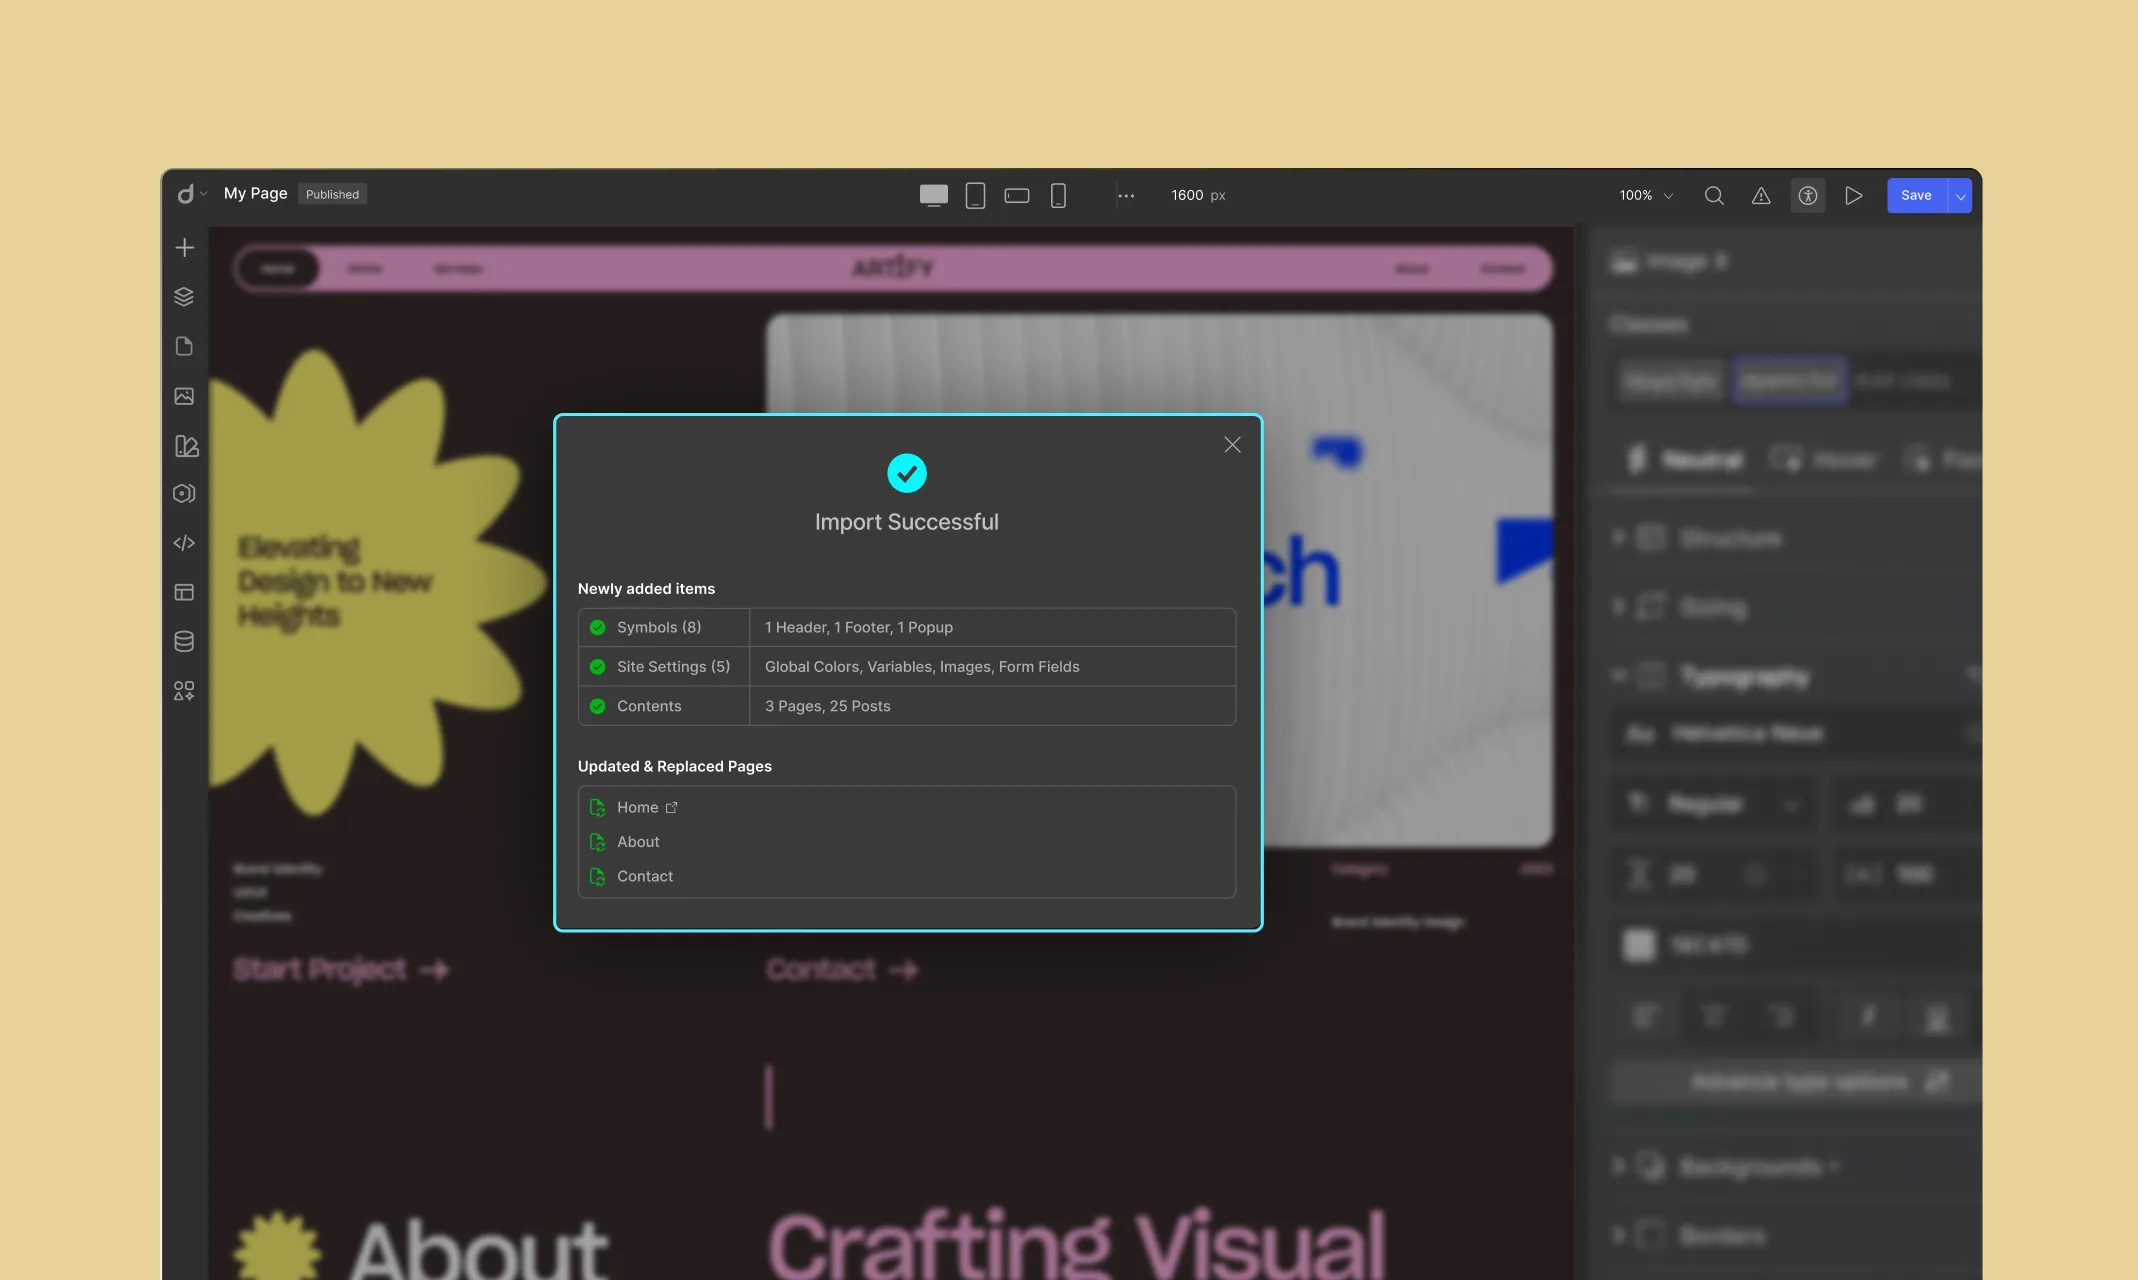
- A confirmation message will appear, indicating a successful import.
- The template elements (styles, pages, symbols, and content) will be integrated into your project.
- Click Done to start editing your newly imported template.
Editing Templates
You can edit everything in the template just like any other project. This includes changing text, modifying images, and altering design elements.
- Modify Styles: Use the Variables panel to modify global styles and fonts.
- Edit Pages: Navigate to the Pages panel to customize individual pages.
- Reuse Symbols: Access the Symbols section to update shared components across your site.
- Manage Content: Update dynamic elements through the Content Manager.
You can set, unset, or edit the site header and footer from the Symbols section.
📝 Note: Any new page created in Droip after importing a template will inherit the set header and footer. While editing, you can double-click on the header or footer to make changes.