Wondering what are Visibility Conditions in web design & how to use them? Well, you’re in the right place!
To put it simply, visibility conditions determine whether to show or hide elements on a website based on specific criteria.
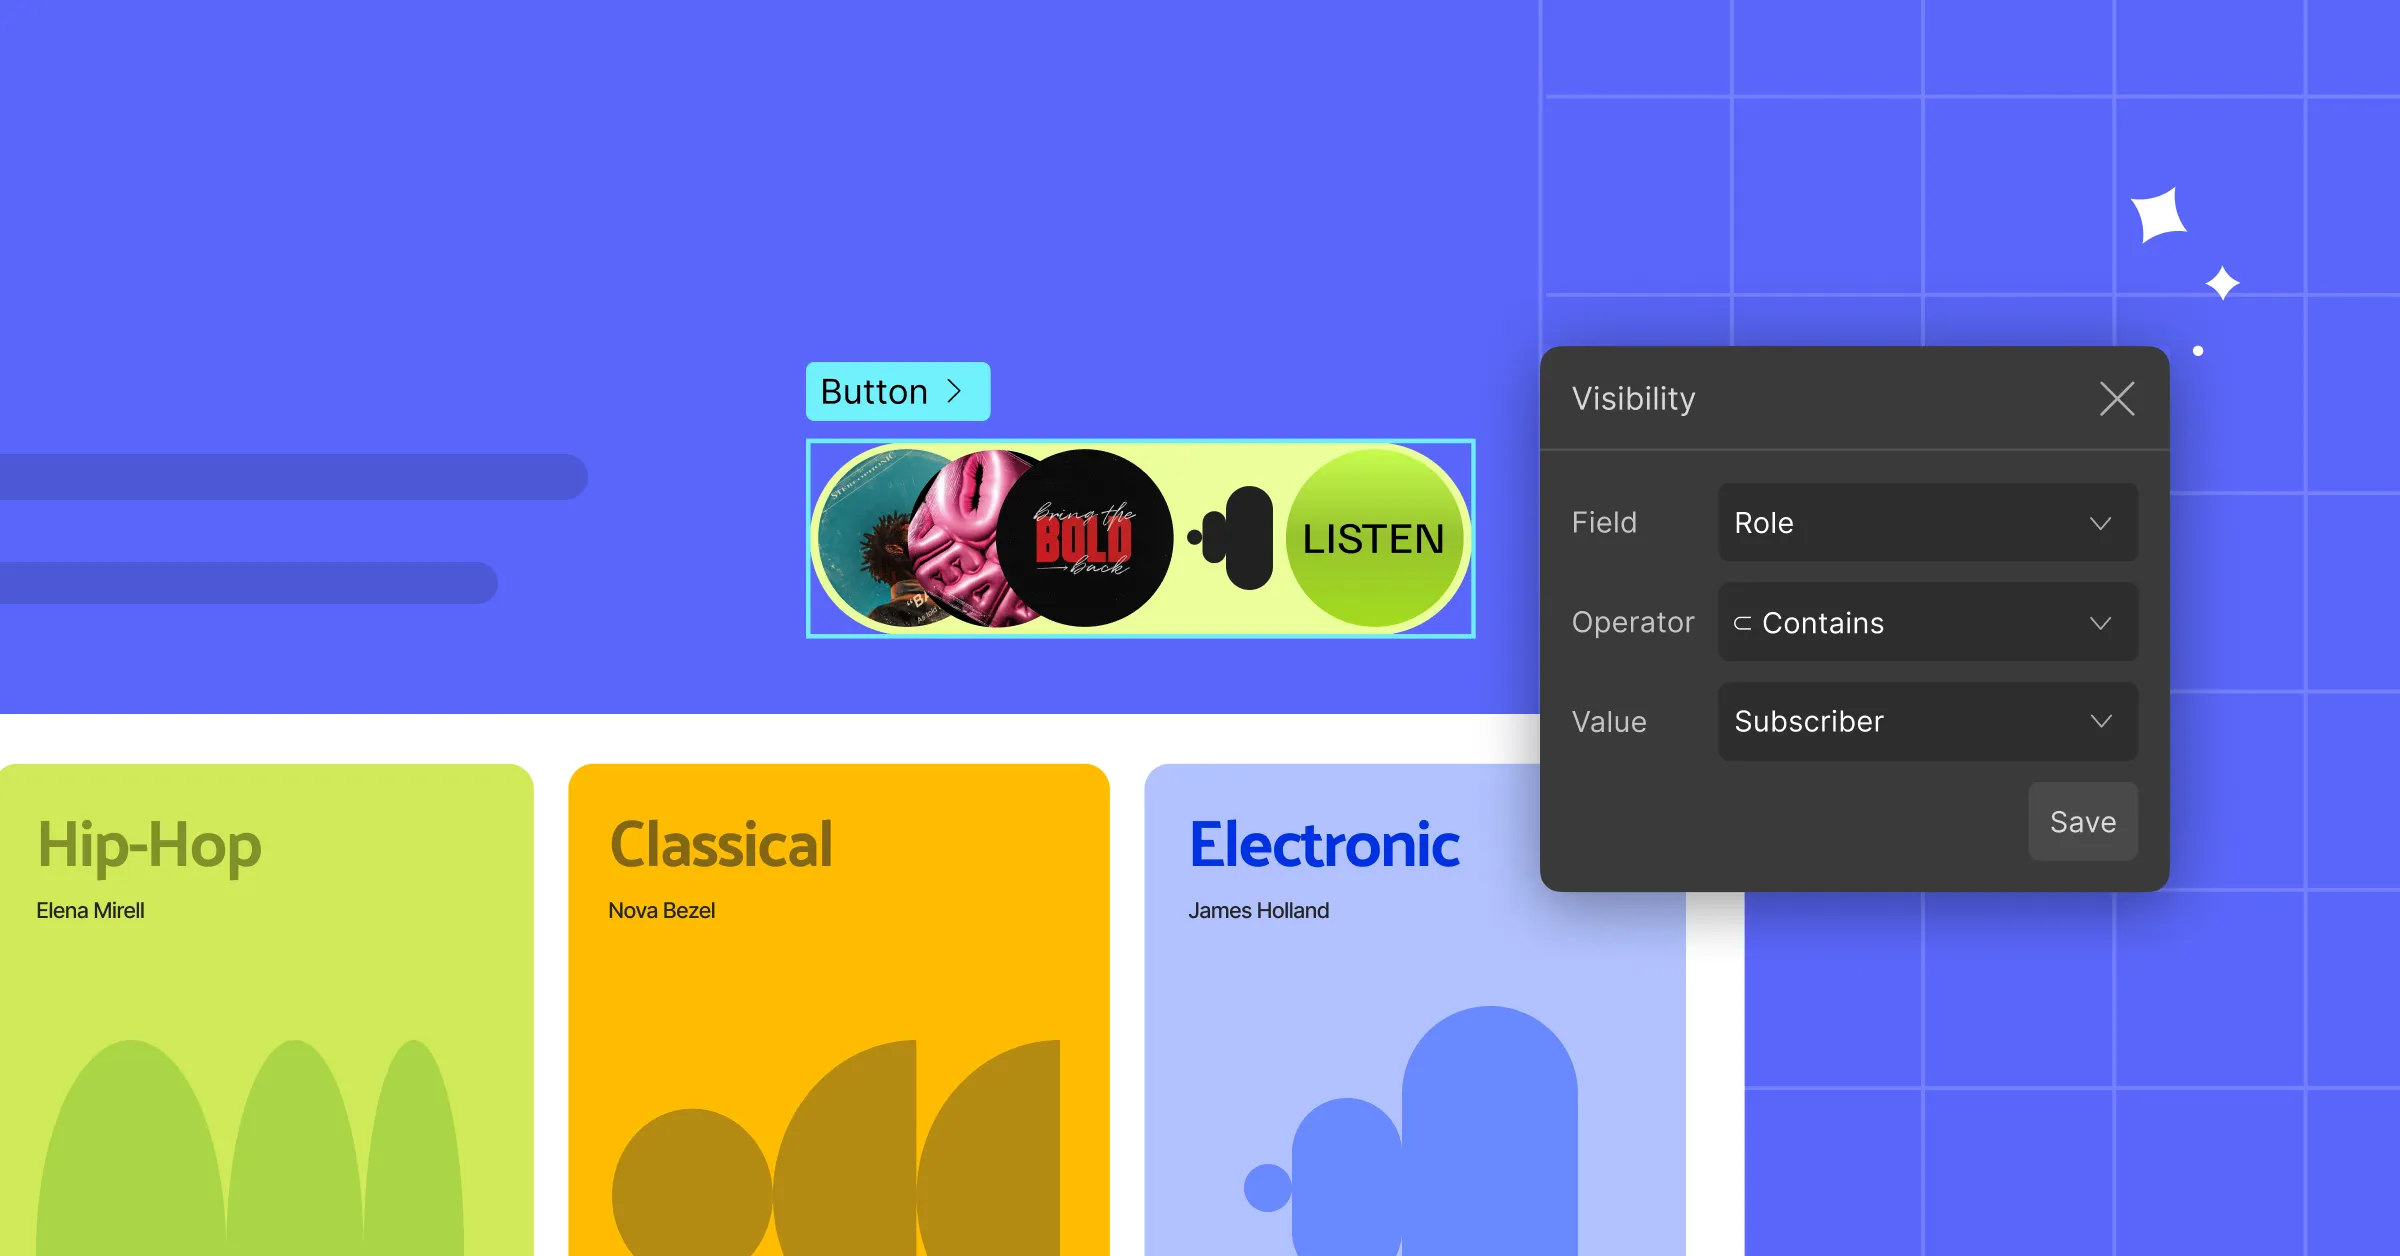
For example, you might want to display a sign-up button only to users who aren’t logged in and hide it for those who are. With visibility conditions, that’s easy to do!
Why You Need Website Visibility Conditions
Users don’t want to see content that doesn’t apply to them or their needs. Whether they’re a first-time visitor or returning member, they all expect personalized and relevant experiences.
This is where visibility conditions come in. By setting specific display rules, you can control what content appears and for whom on your website.
By showcasing tailored content based on users’ context or rules that define what’s relevant, you’re not just streamlining their flow — you’re creating a smarter, more intuitive, and engaging website experience.
How to Use Visibility Conditions in WordPress
So, how do you actually implement conditional visibility in WordPress?
It all starts with finding the right tools.
Choosing the Right Tool for Conditional Visibility
When it comes to tools or methods, you have a few options.
But using code? That’s way too convoluted.
And using third-party plugins? Not ideal either because they can cause conflicts, slow down your site, stretch your budget, and leave you juggling disjointed support systems.
If only there were a no-code website builder with built-in visibility conditions.
Well, good news — there is!
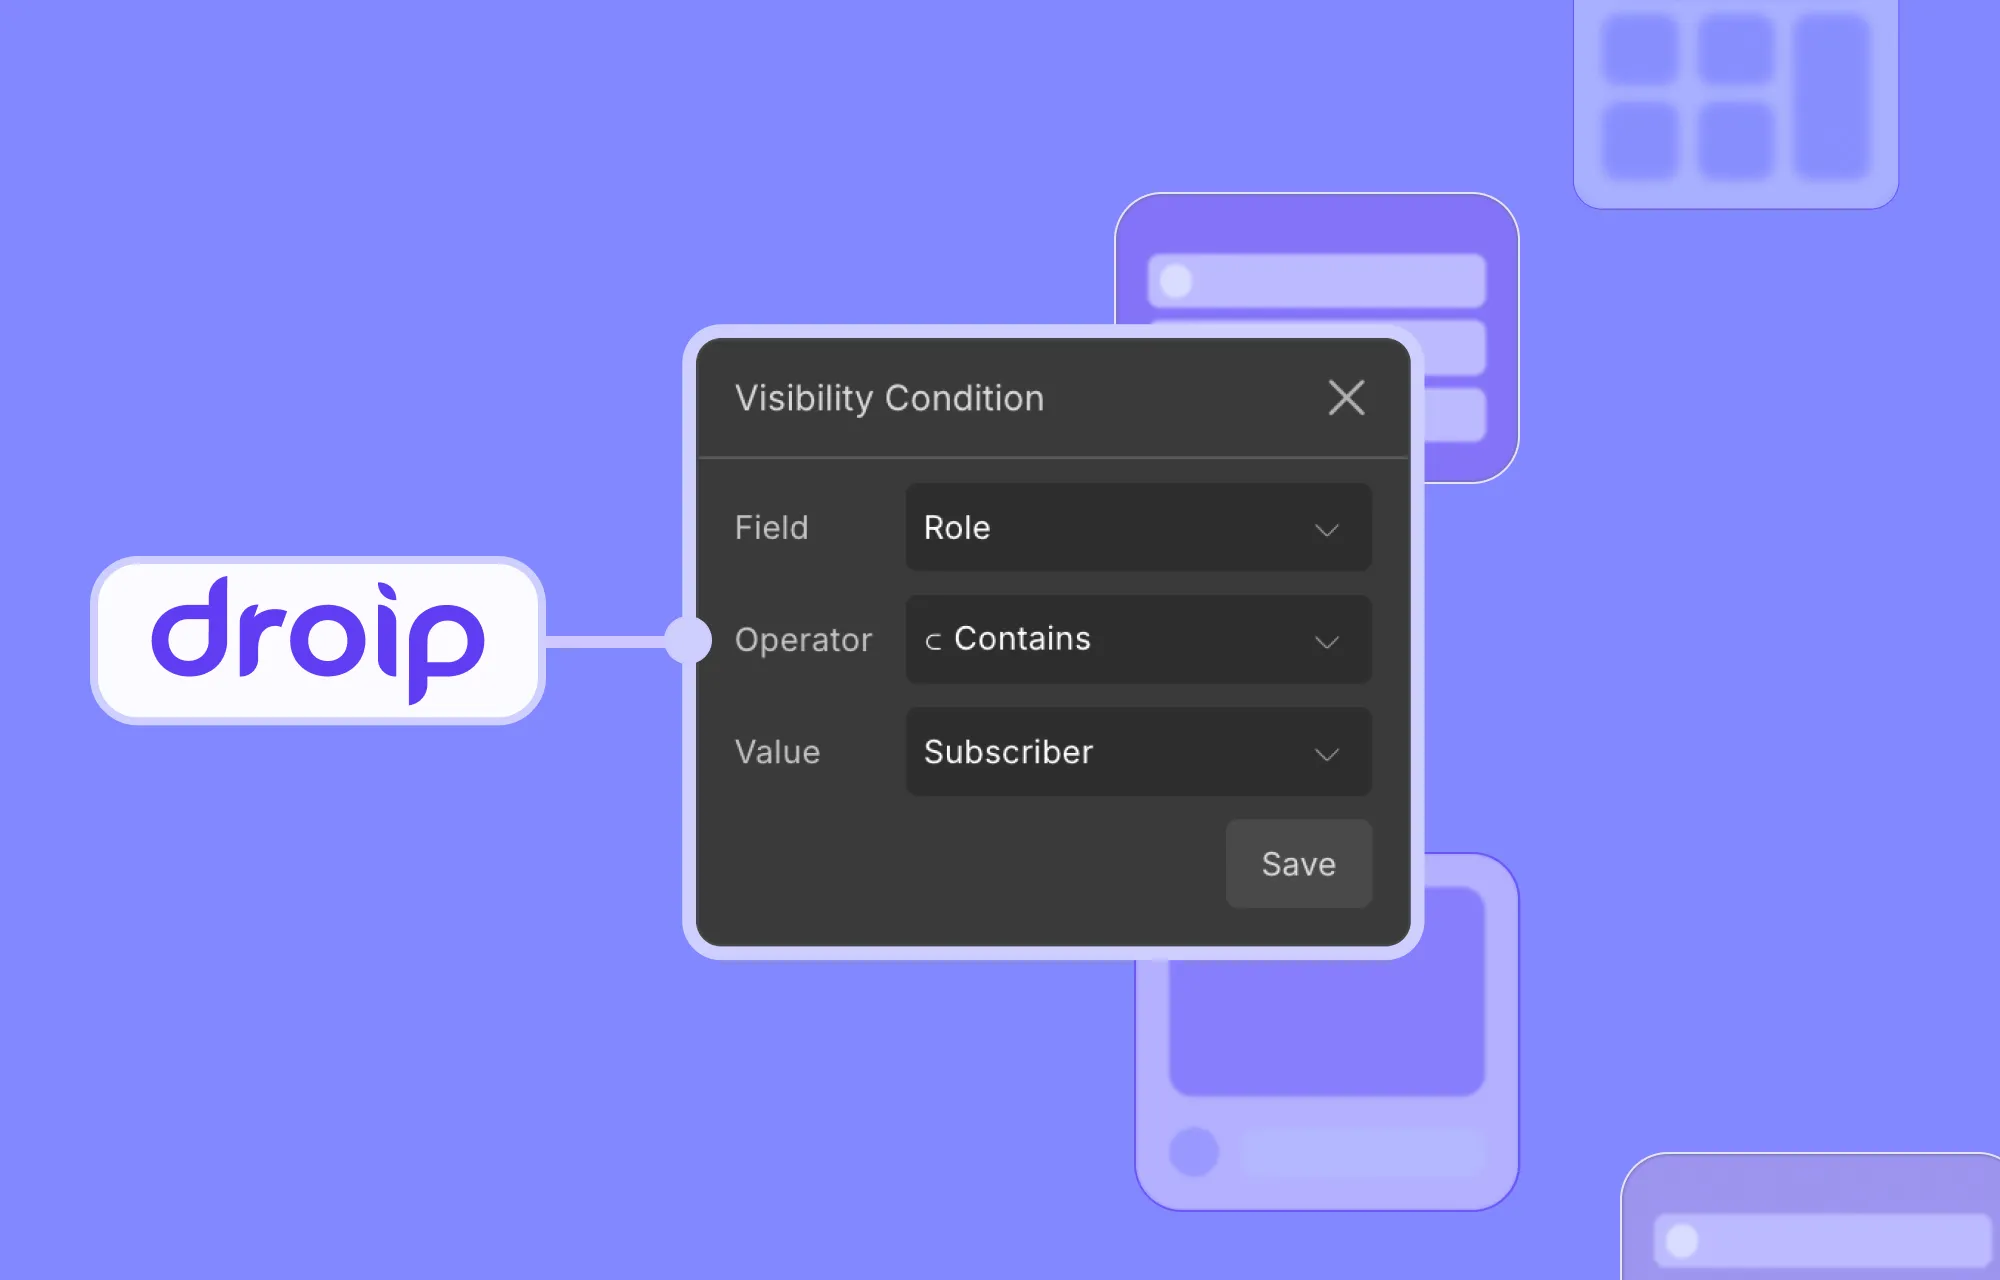
Enter Droip WordPress Website Builder, the all-in-one platform that lets you build, manage, and scale websites effortlessly.
Using this powerful builder, you can apply conditions that show or hide elements on your website and showcase user-specific content with no extra hassle.
Applying Visibility Conditions in Droip
Now, without further ado, let’s see how to use visibility conditions in Droip to show or hide certain elements.
Step 1: From the Droip editor, select the element you want to apply the conditions to.
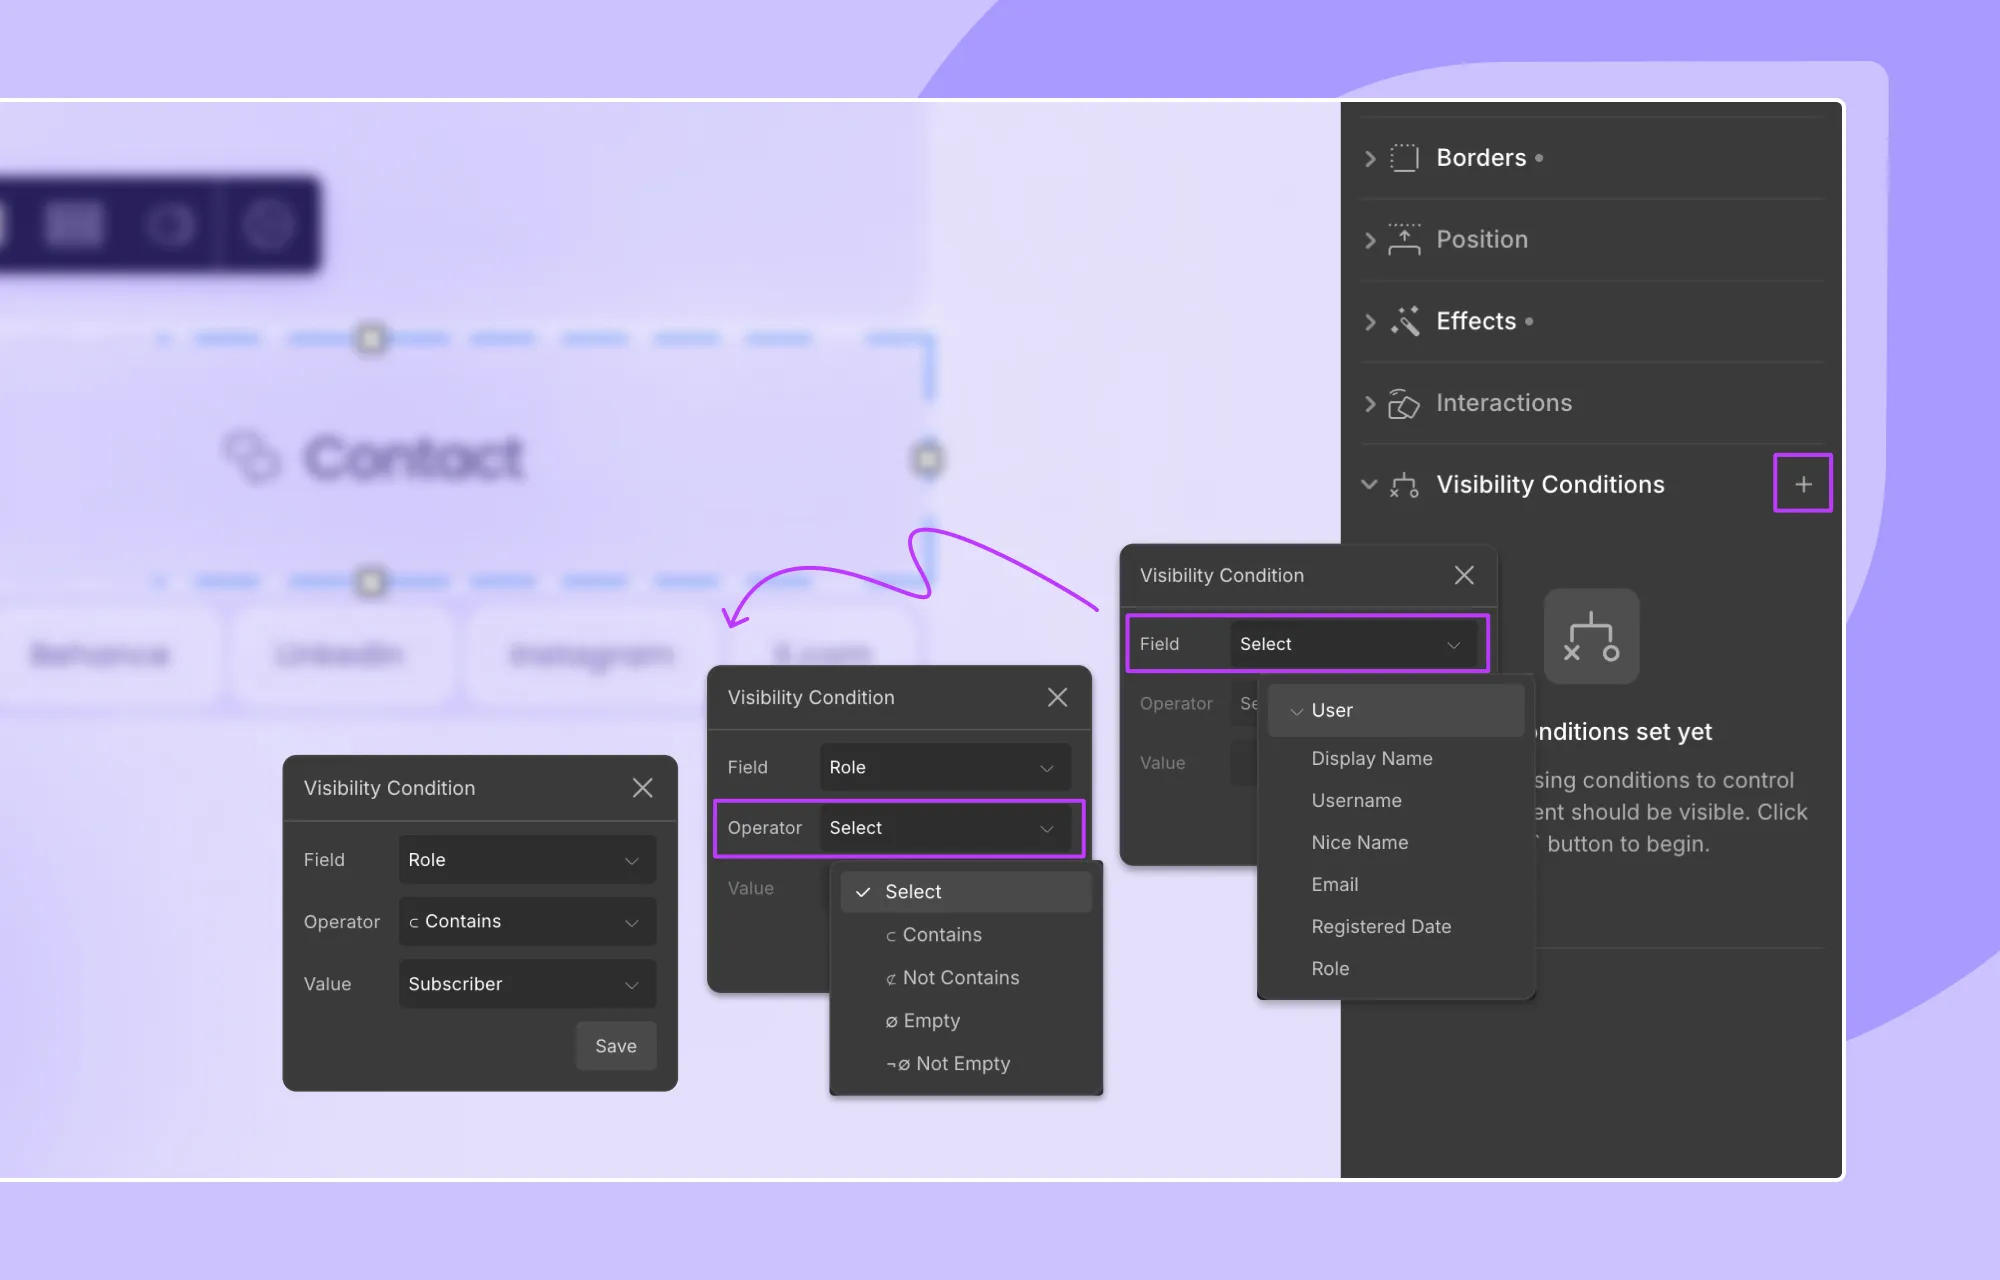
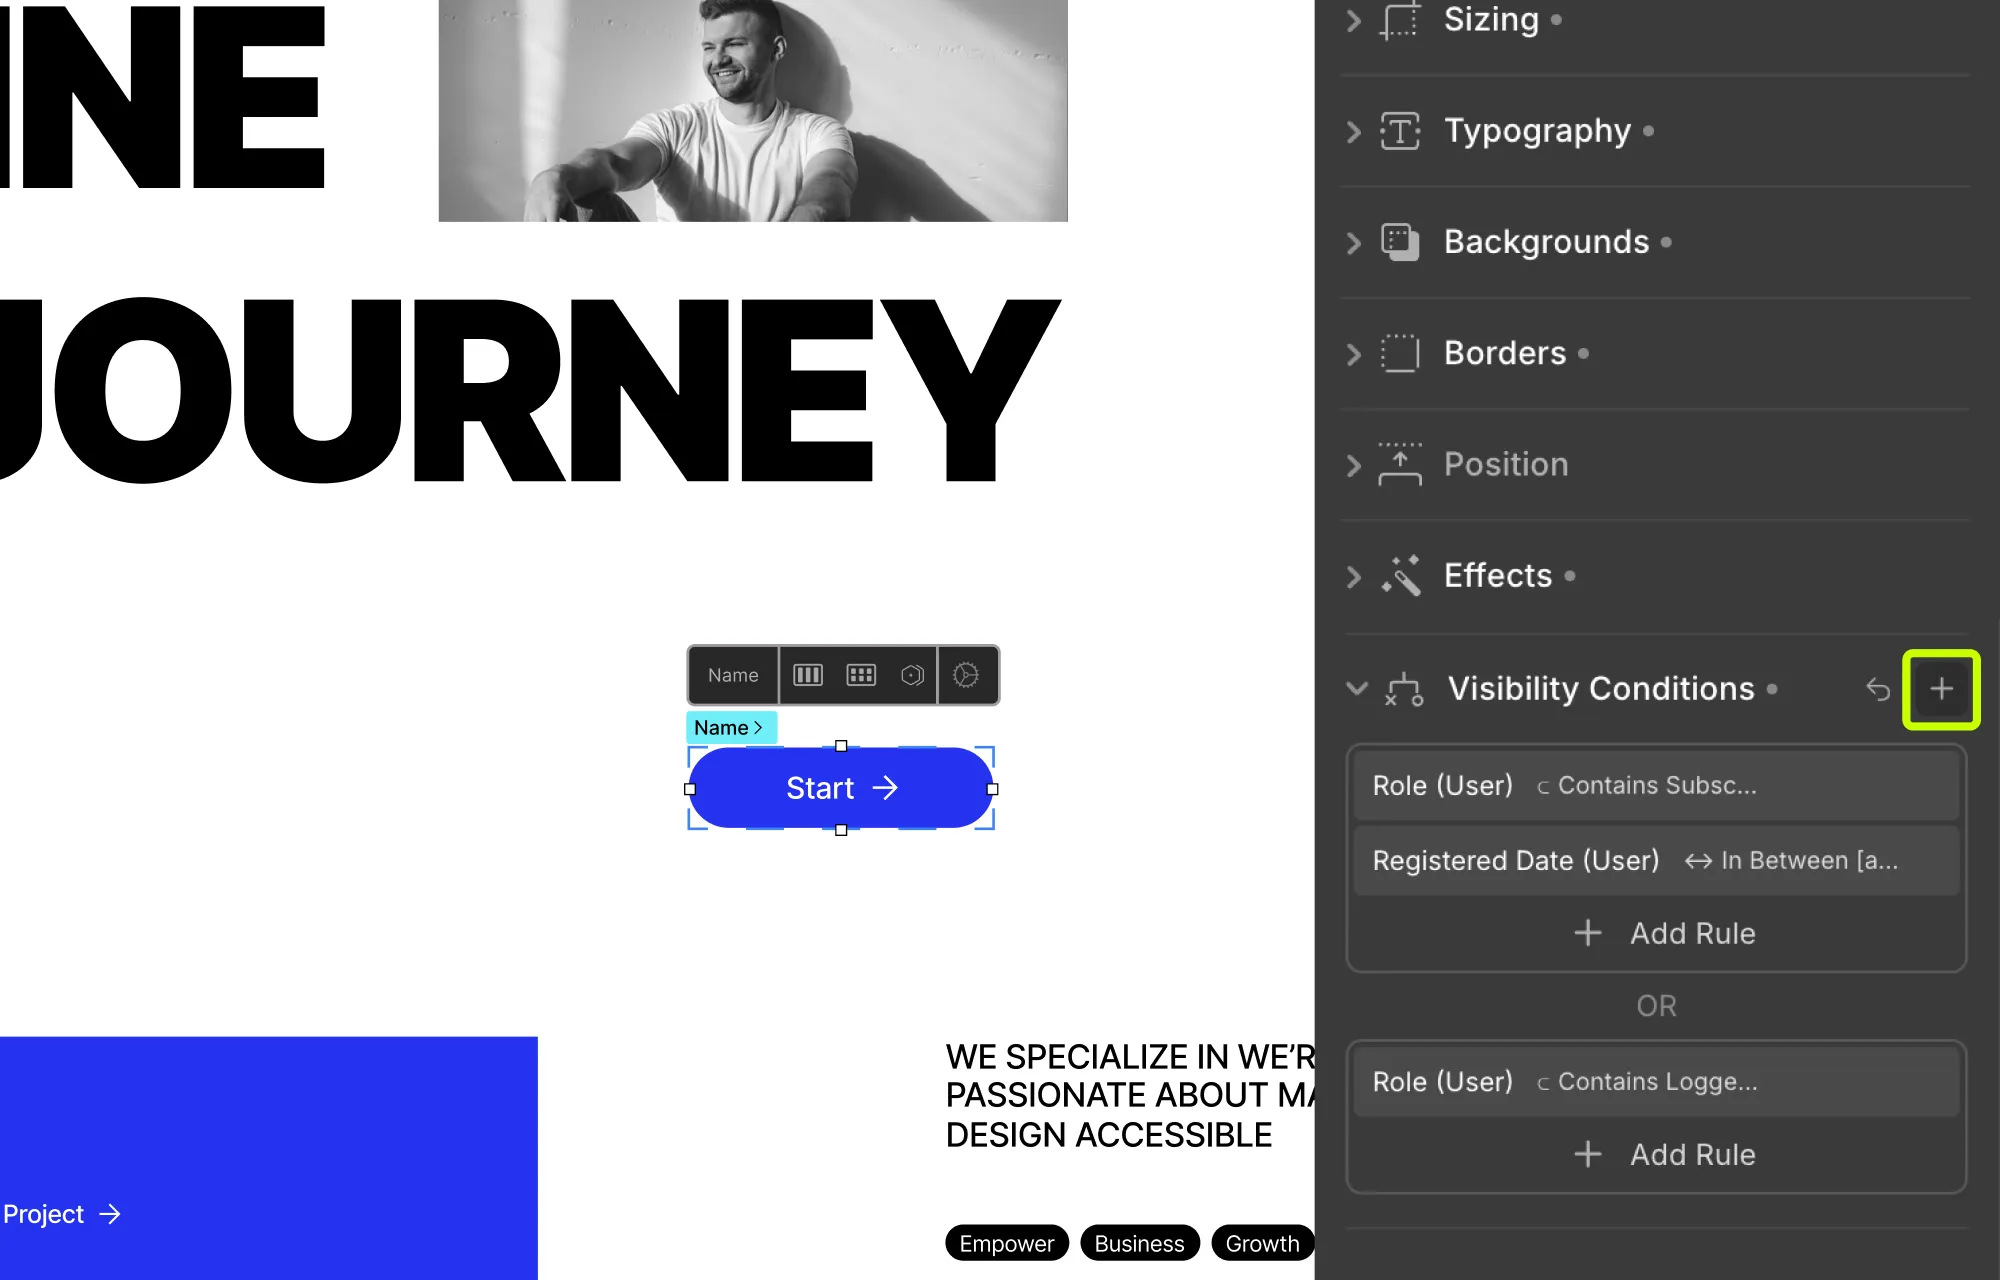
Step 2: Next, from Style Panel > Visibility Conditions on the right, click on the + icon to add a condition.
Step 3: From the Field dropdown, select User and choose the user data fields you want to base your condition on.
Step 4: Then, from the Operator dropdown, select the comparison type, and from the Value dropdown, choose the value to compare against.
Step 5: Click Save to apply the condition.
And just like that, you can implement visibility conditions in WordPress!
Applying Multiple Visibility Conditions in Droip
But conditional visibility in Droip doesn’t just stop there.
With Droip WordPress, you can apply multiple conditions on an element, which includes both:
- AND Conditions: All conditions must be met to make the element visible to a user.
- OR conditions: Any one condition must be met to make the element visible to a user.
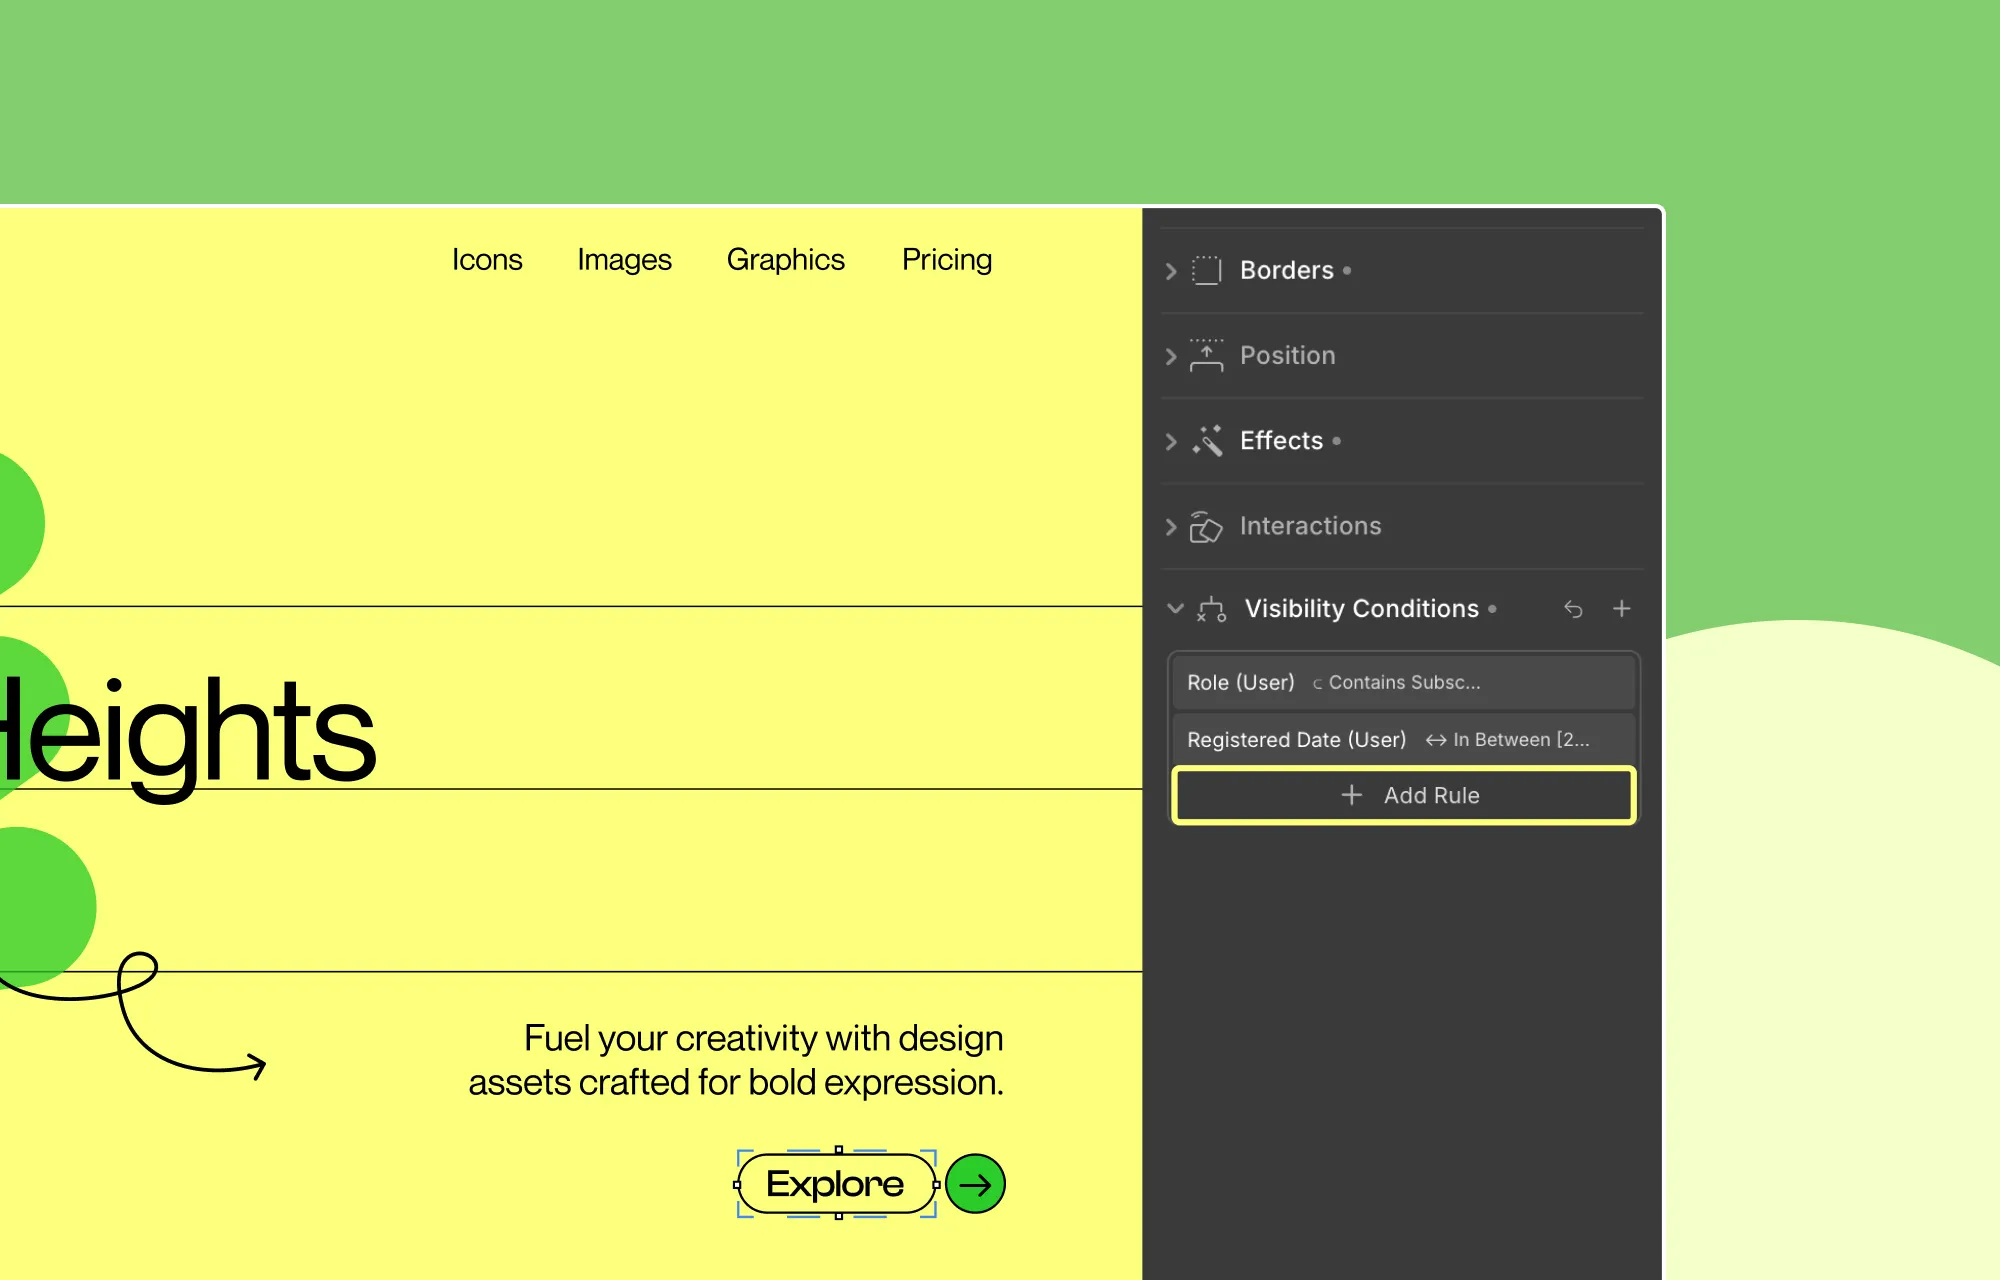
To apply an AND condition, click on the +Add Rule button below your original condition. Then define your new condition as usual.
On the flip side, to apply an OR condition, simply click on the + icon again and define your condition.
Once set, you can of course edit any of these conditions and even remove them entirely.
Applying Visibility Conditions to Dynamic Content
You can also apply visibility conditions to dynamic content based on Post fields — whether it’s part of a dynamic collection list or a single-page template!
Here’s what you have to do to implement it:
Step 1: Select the element you want to show or hide.
This could be a:
- Collection element
- An element within the collection element
- Or an element within a single-page template
Step 2: Once selected, add a new visibility condition from the style panel.
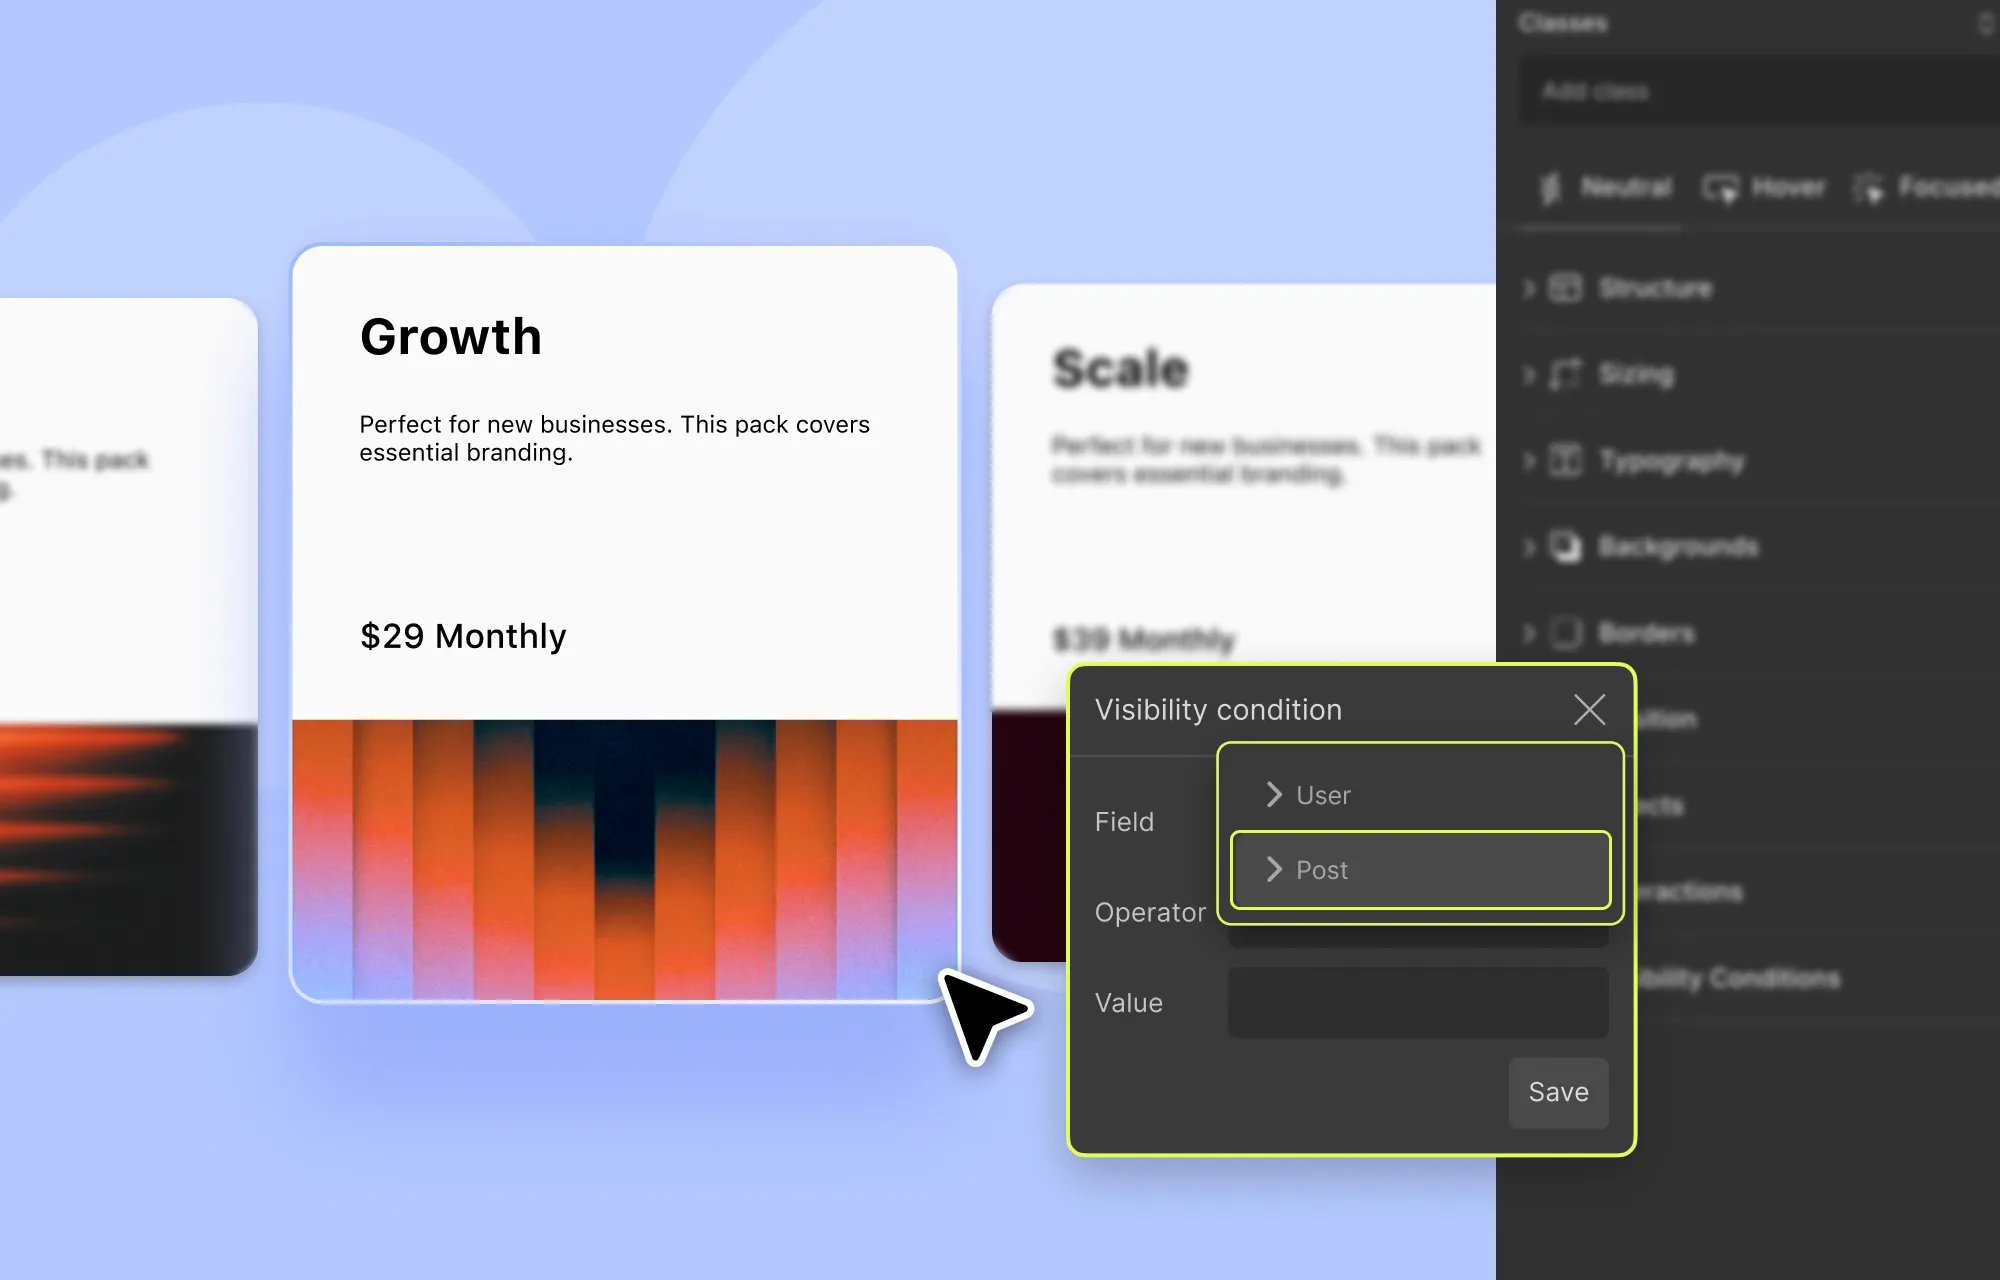
Step 3: From the Field dropdown, now you’ll see an option called Post. Choose this to access the collection fields you want to base your condition on.
Step 4: Then, as usual, from the Operator dropdown, choose the comparison type, and from the Value dropdown, set the value to compare against.
Step 5: Click Save to apply the condition.
And just like that, you’ve applied visibility conditions to dynamic content using post fields!
For more details, check out Droip’s Visibility Conditions documentation.
Real-World Use Cases for Visibility Conditions
To give you a clearer idea of where you can use visibility conditions, here are a few more real-world use cases for visibility conditions:
Personalize Form for Logged-in Users
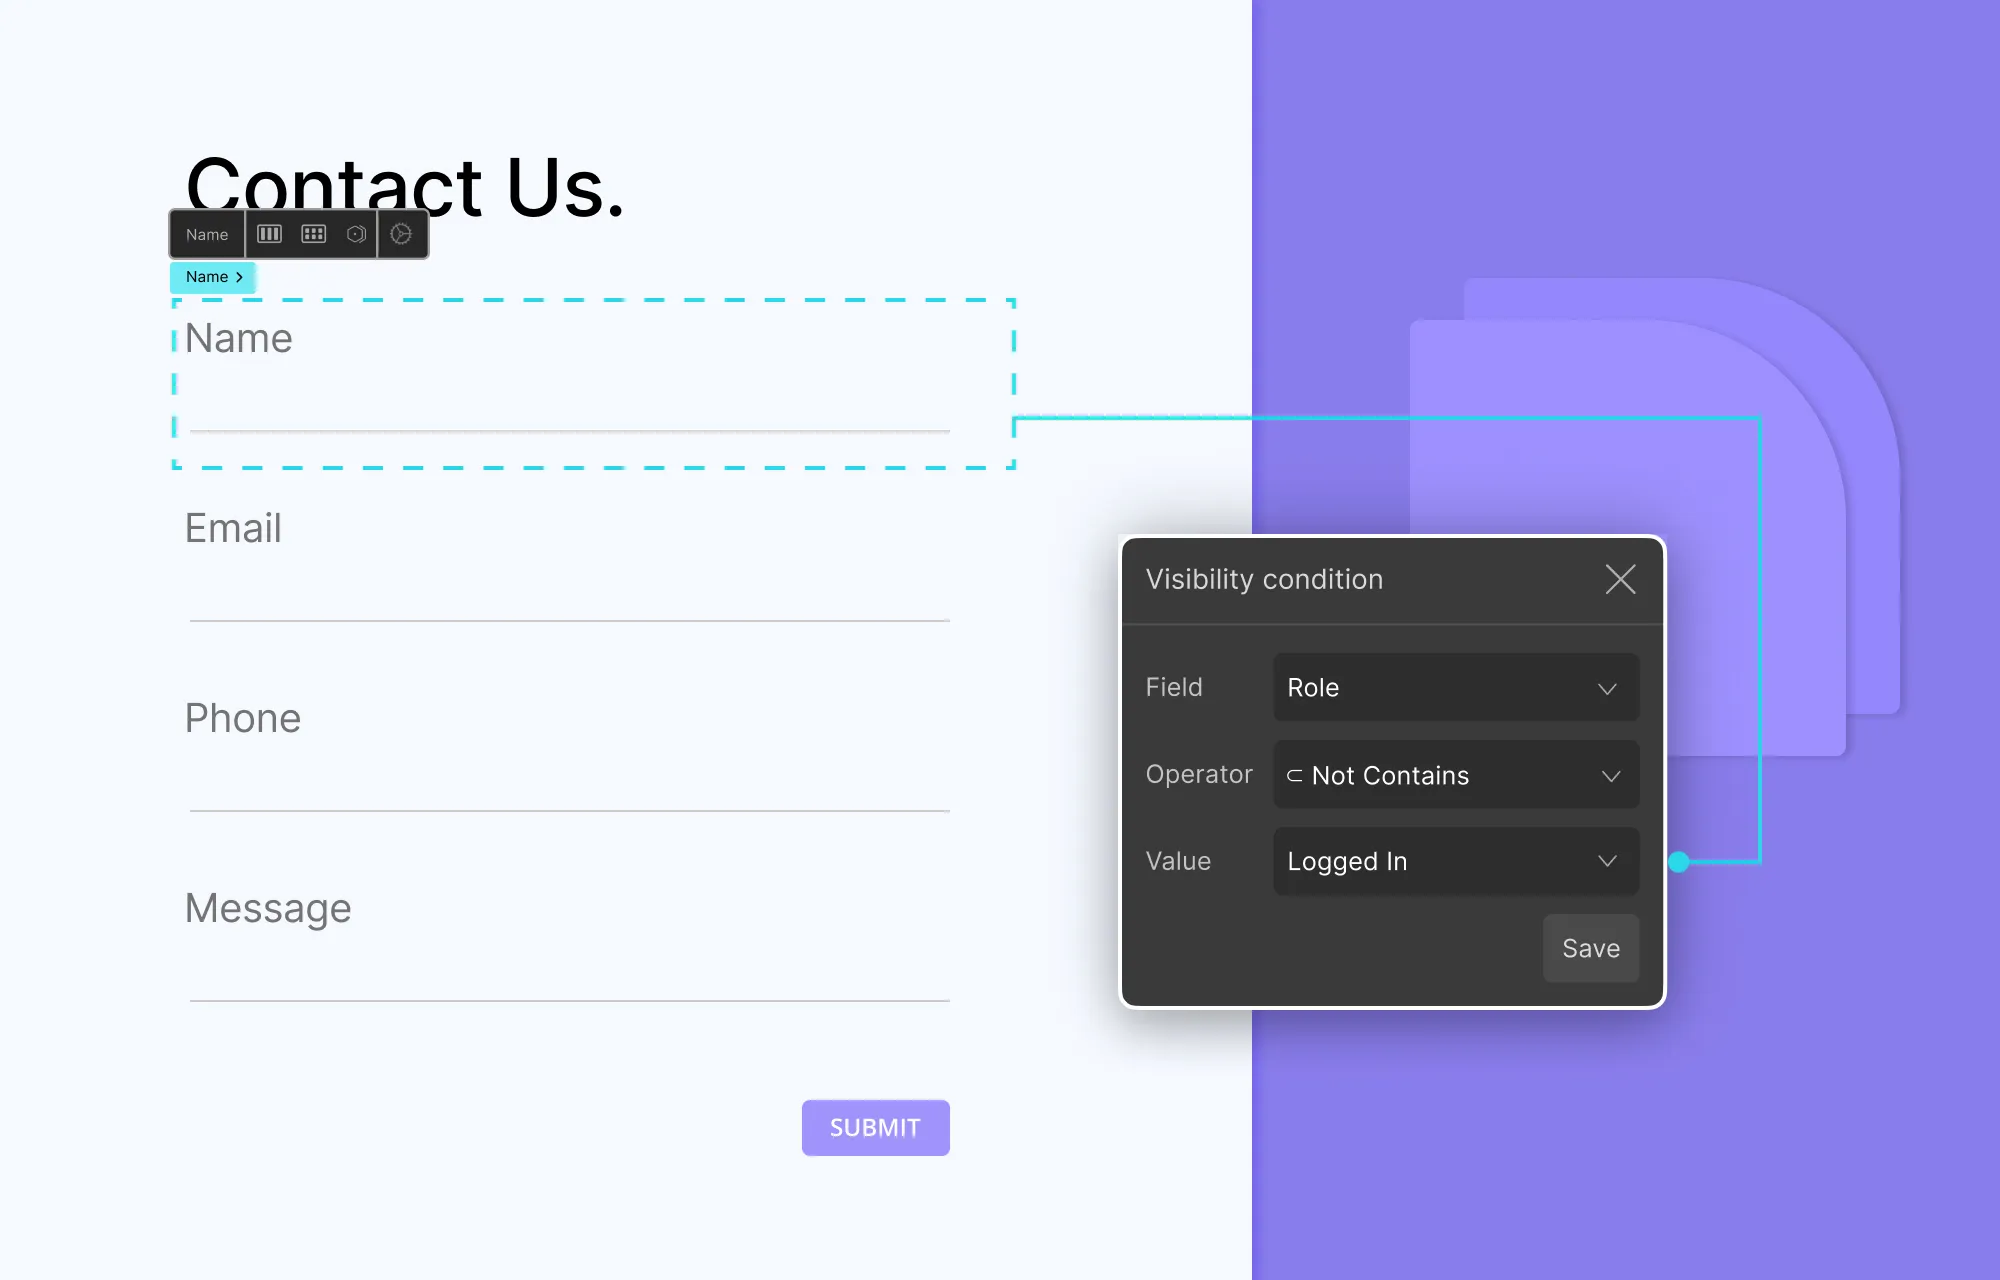
Using visibility conditions, you can personalize the contact form for logged-in users by hiding the Name & Email fields.
Show Exclusive Content to Subscribers Only
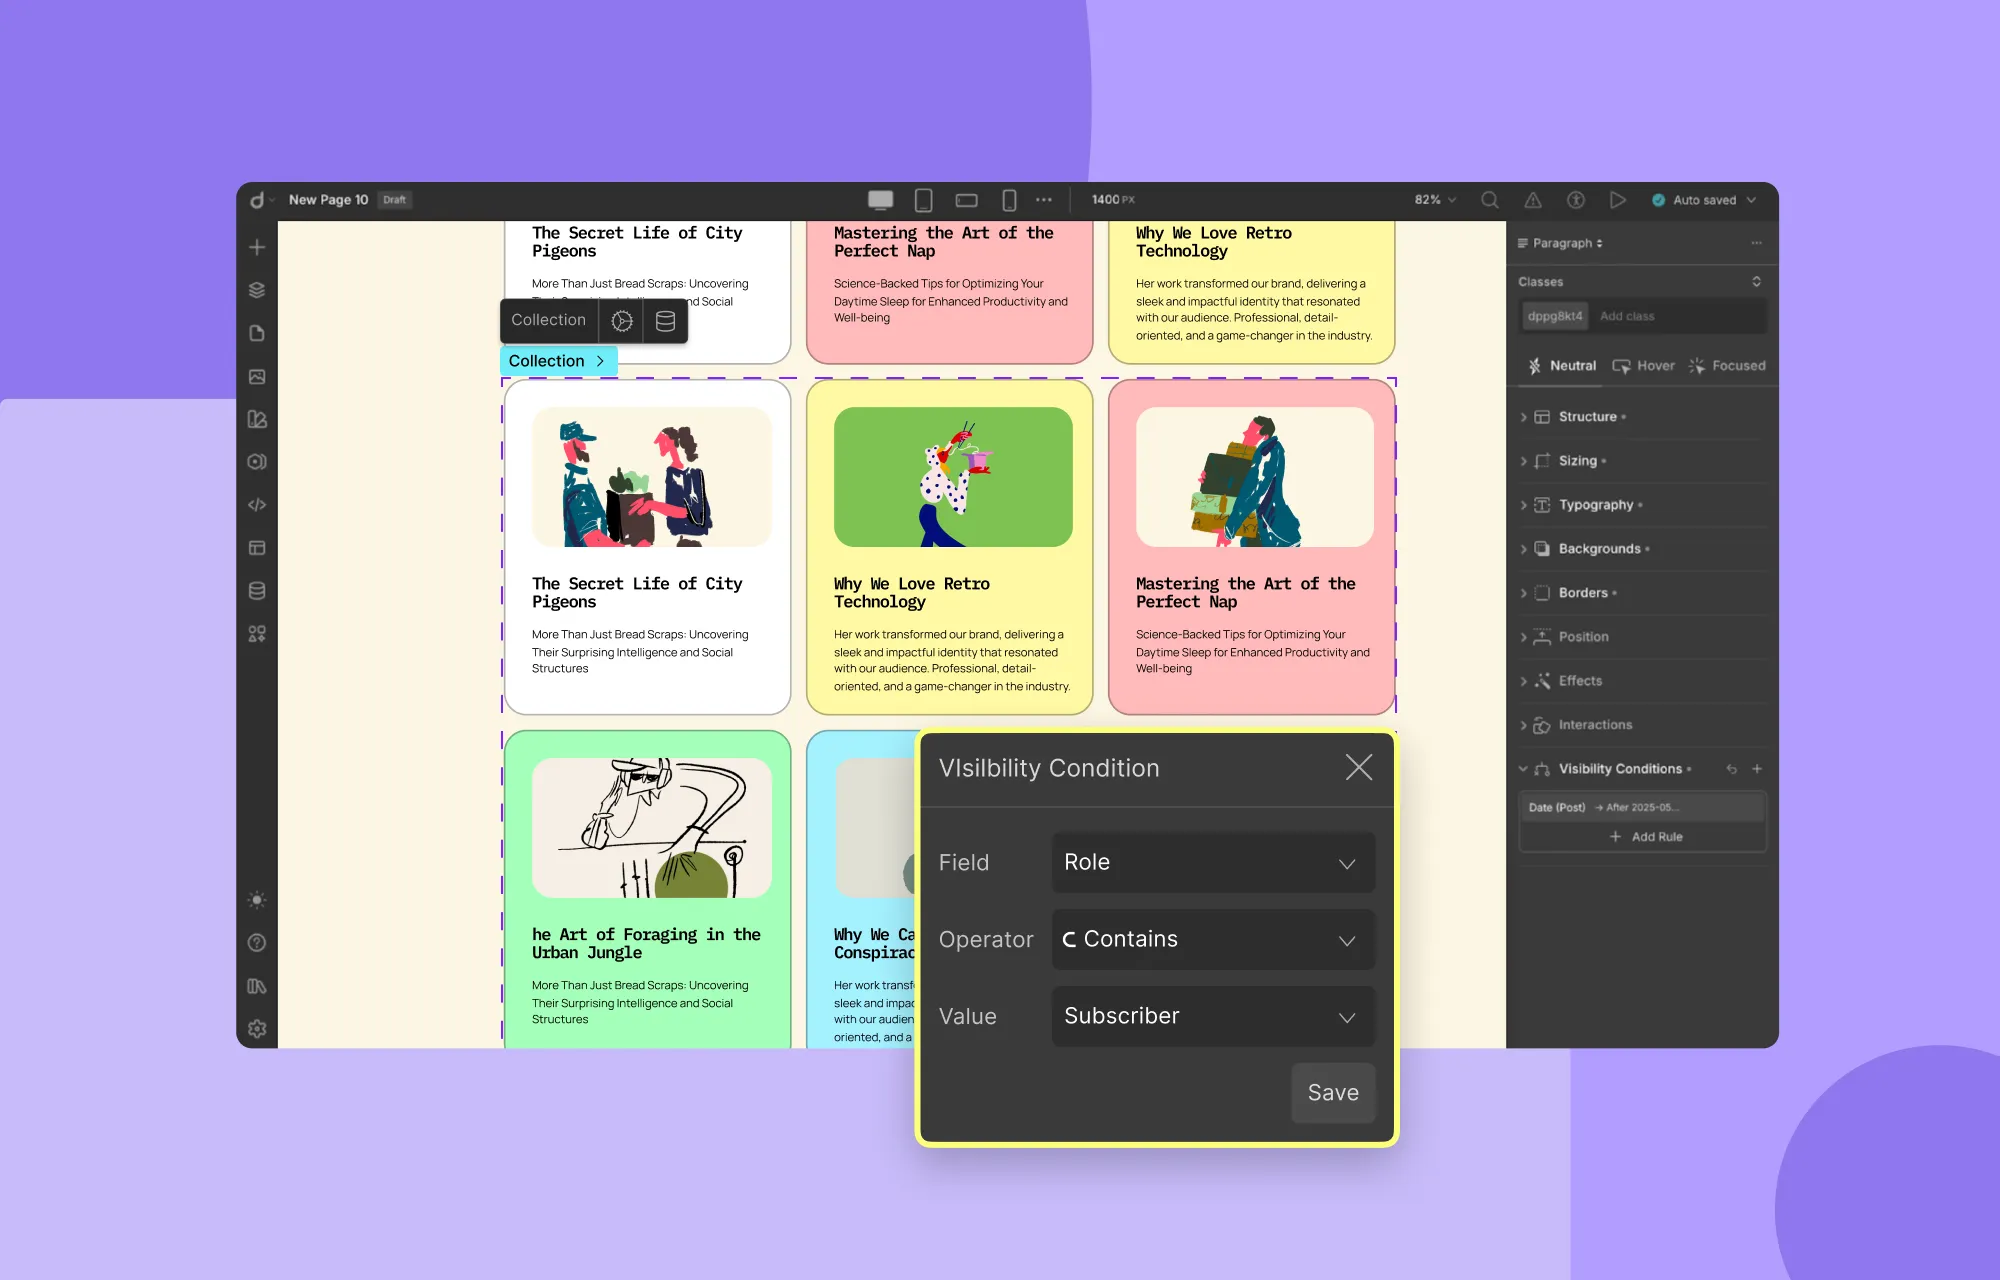
Similarly, you can also target specific user roles — for instance, displaying exclusive content only to subscribers.
Display New Tag For Latest Content Based on Date
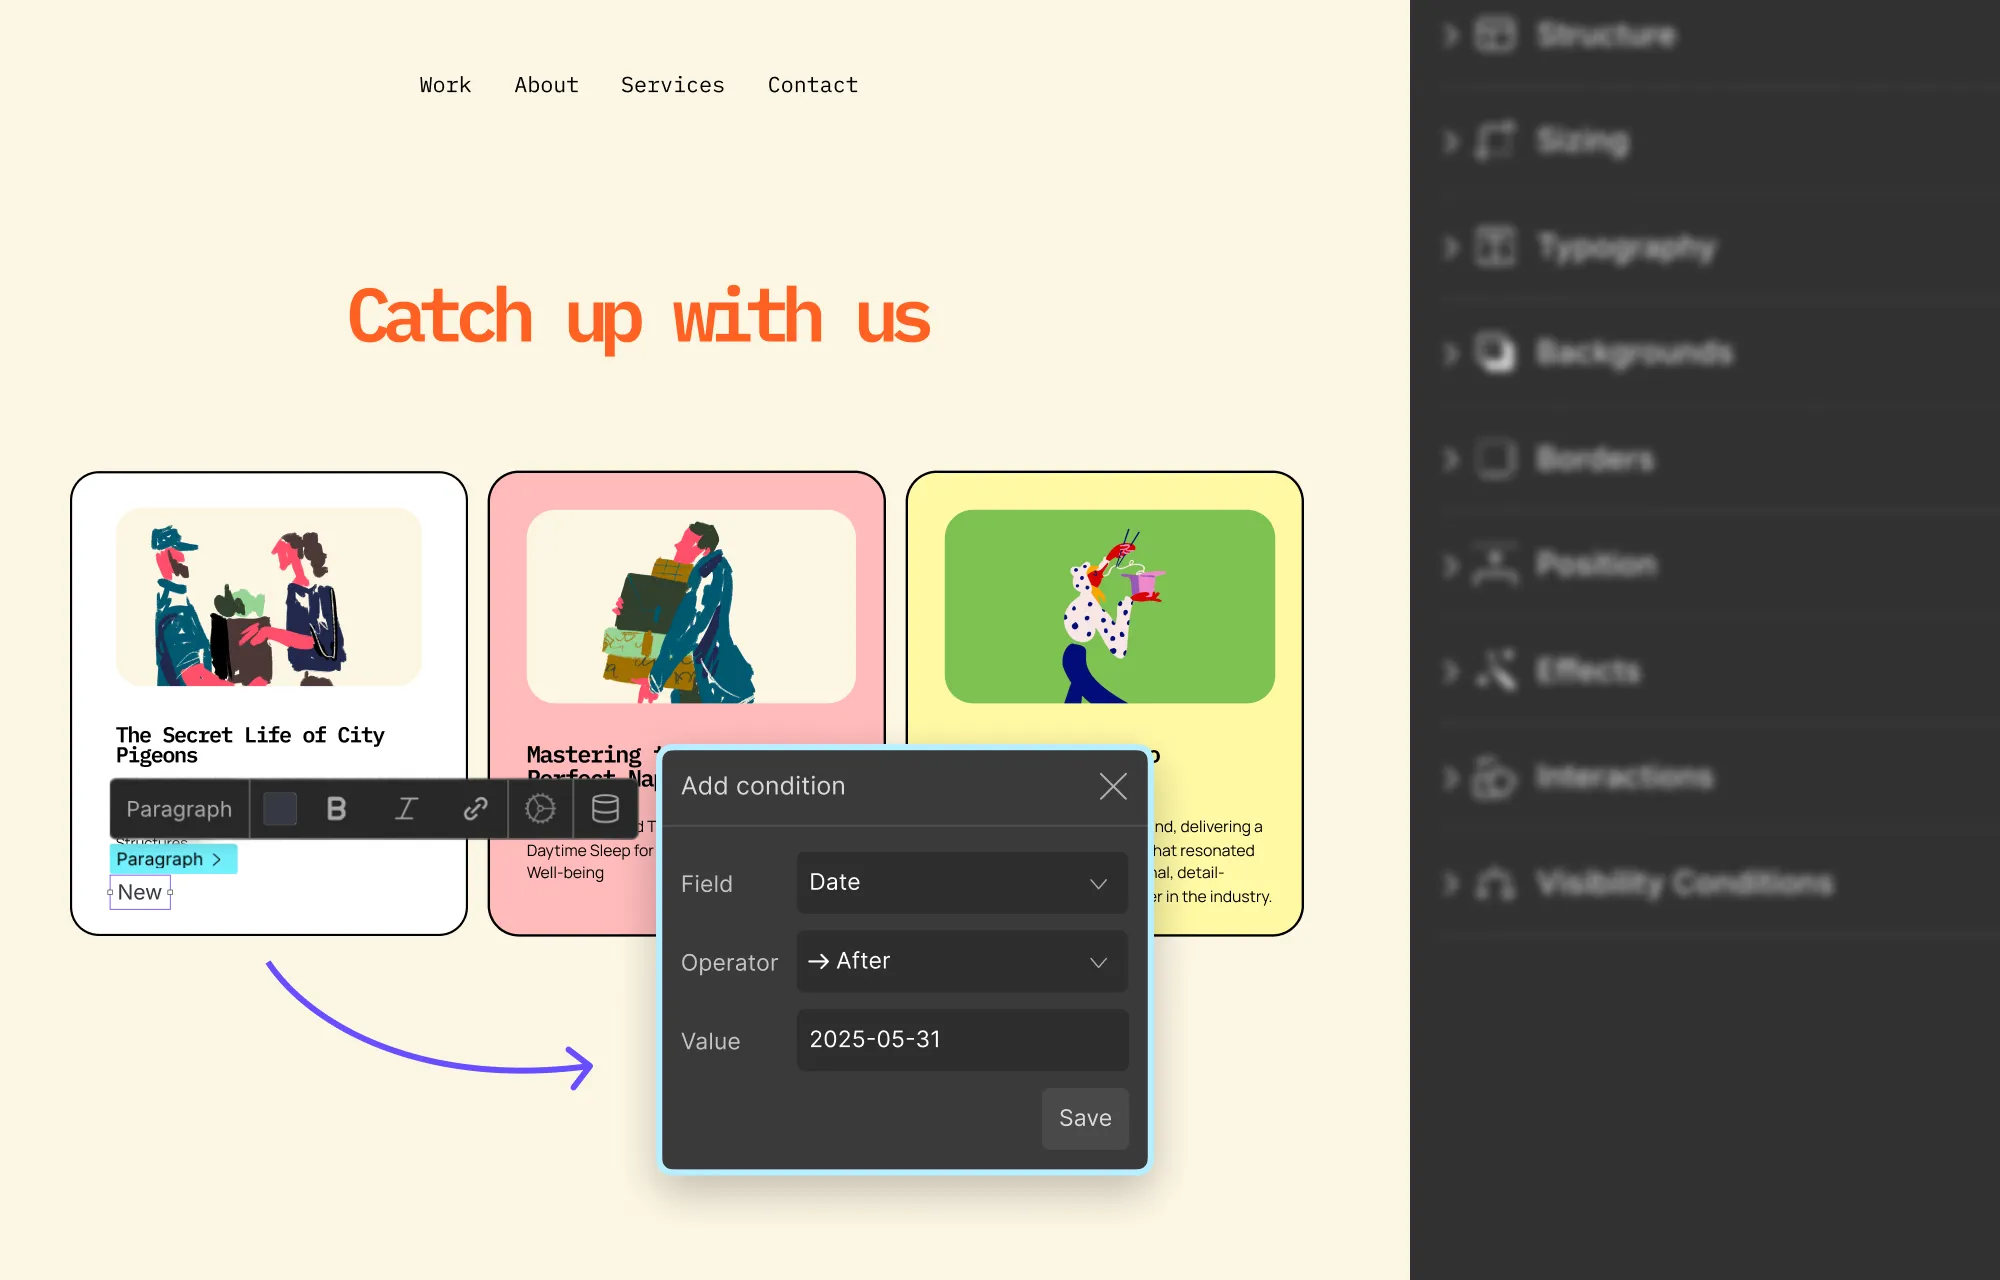
Using dynamic collections with visibility conditions, you can automatically display a ‘New’ tag for the latest works, based on the date field.
Of course, these are just a few examples of what you can do with Droip’s powerful element visibility controls.
Whether you’re targeting specific user attributes or customizing content based on dynamic collection item fields, Droip gives you the ability to achieve it all effortlessly.
Build Personalized Websites With Droip
So what are you waiting for? Now that you know what are visibility conditions in web design and how to use them, get Droip and start personalizing website content for your users for a better experience!

