Ever see a website effect and think, “I want that on my site!”, but then realize you don’t know how to code that, or maybe that your no-code tool can’t handle it?
Here’s the good news: You don’t need complex coding or extra plugins to create striking web design elements anymore. In this article, we’ll show you cool website effects in WordPress you can add without code and complex setups, effortlessly.
So let’s dive right in!
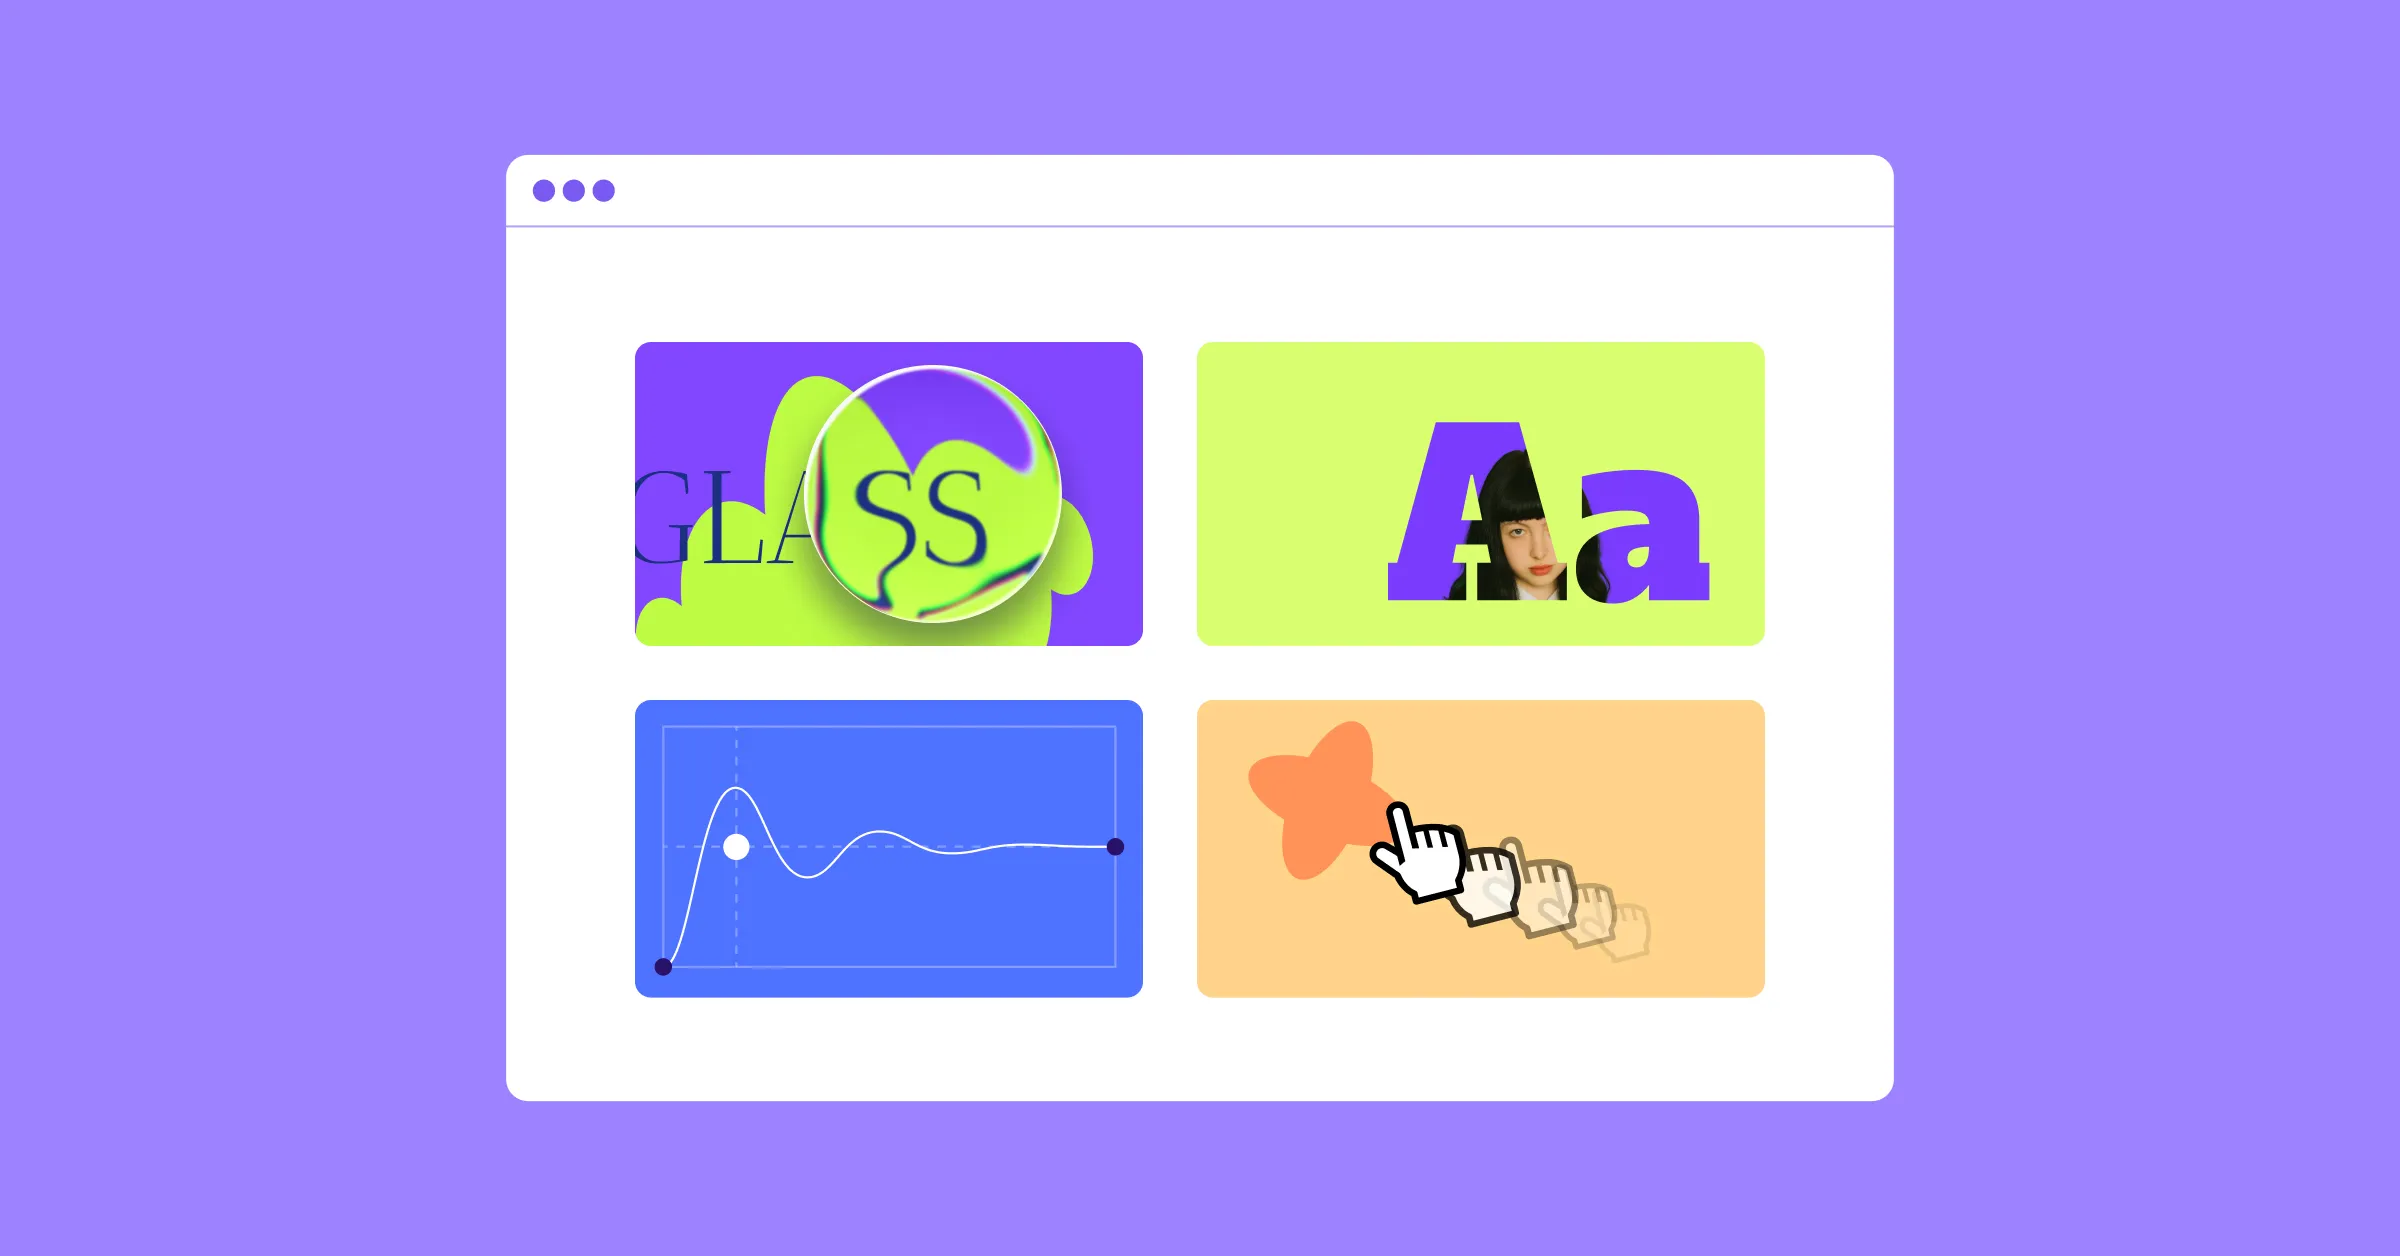
Sleek & Modern Glass Effect
First up on our list is one of the most talked-about UI trends in modern web design, the Glass Effect, or often referred to as Glassmorphism.
By mimicking the look of frosted or translucent glass, this effect adds depth and a premium, futuristic feel while still keeping designs clean and minimal. It’s commonly used in cards, navigation menus, buttons, and more, as its versatility makes it easy to fit into almost any layout.
Now, at first glance, you might assume pulling this off in WordPress would require tons of back-breaking code and CSS. Traditionally, that would be true.
But with the right tools, it’s quite simple.
Take the Droip WordPress website builder, for instance. It’s a modern no-code platform designed to make building websites more intuitive and flexible than ever. With its built-in glass effect feature, you can create the sleek, frosted look in just a few clicks, visually and completely free of code.
How to Create the Glass Effect in WordPress With Droip:
Step 1: Select the element you want to apply the glass effect to. Make sure it doesn’t have a background (or you can also reduce its opacity as a stylistic choice).
Step 2: Then, from the Style Panel, navigate to Effects > Filters, and select Glass.
Step 3: Adjust the glass effect settings, such as Refraction, Blur, Angle, etc, to fine-tune the look.
And voila, adding a sleek glass effect is just that easy with Droip!
Interactive Cursor Trail Animation
Next up is an effect that instantly makes your website feel more interactive and playful: the Cursor Trail Animation.
This effect causes an element to follow the user’s cursor as they move across the screen or within a specific section, much like a visual trail.
Again, you don’t need to do any complex coding to implement this effect if you have a tool like Droip, which offers this feature also built in.
How to Add an Interactive Cursor Trail Animation:
Step 1: Select your element and open Style Panel > Interaction, then click the plus (+) icon to add an animation.
Step 2: Set the trigger to Scroll Into View, click the plus (+) icon beside the Scrolled Into option, and choose Cursor Trail.
Step 3: Finally, choose whether the trail stays within the element’s Parent container or spans the Viewport, then adjust Smoothing to control how fluid the movement is.
Just like that, you’ve added an interactive cursor trail animation that brings subtle motion and personality to your site with no code required.
Playful Spring-Based Transition
Spring-based Transition is another effect that can add a natural, playful motion to your website.
Instead of moving an element from position A to B in a linear way, this effect mimics real-world physics to add a spring-like motion that feels smooth and eye-catching.
These transitions work especially well for hover interactions, button clicks, modal reveals, section animations, and more. When used thoughtfully, they add personality and create a memorable user experience.
You could create them visually by playing around with an element’s trajectory from A to B by stacking multiple interactions. But in Droip, achieving it is as easy as a few clicks.
How to Add Spring-Based Transitions in WordPress:
Step 1: Start by selecting your trigger element. In this case, it’ll be the card. Then, navigate to the Style Panel > Interaction to create your custom animation.
Now select your desired trigger and create any custom interaction.
Step 2: For this tutorial, we’ve gone for Mouse Hover. Under Hover In, choose Set New and select the target element you want to animate, which in this instance, is the content wrapper.
Step 3: With the content wrapper selected, add a Move action and set its Y-Axis value to 0 px. This allows the content to slide upward and reveal itself on hover.
At this stage, the animation will work but may feel a bit abrupt. This is where a Spring Transition can help smooth and spruce up the effect.
Step 4: For the Spring effect, go to Edit Transition > Timing and choose Custom. This will open the Custom Timing Editor from where you access the Spring tab. You can play around with the settings to get the desired effect.
Adding a Spring Transition to your design is really just that simple. But to enhance the interaction even further, let’s stack another action.
Step 5: This time, select the card element as the target and add the Radius action. Then, set all four corner values to 48px and once again apply the Spring Transition.
Step 6: Finally, duplicate your custom response for Hover Out and reverse the values. Reset the content wrapper’s Y-Axis back to 120px and return the card’s corner radius to 24px.
Now, when the cursor leaves, the animation will reverse smoothly with the same satisfying spring effect.
Advanced Text Effects: Shadows, Gradients & Clip Masks
Text does more than just fill space on a website. It highlights key messages, communicates your brand value, and drives action.
But often, important messages blend into the surrounding design and fail to stand out.
This is where advanced text effects can make a difference. A subtle shadow can improve readability and add depth. Gradients can make important headings stand out. And Clip Masks can create bold, high-impact visuals that instantly grab attention.
And with Droip, applying these effects is completely visual and straightforward, with no CSS tricks or complex code required.
How to Add Text Shadow:
Step 1: Select your text element and go to Style Panel > Typography.
Step 2: From here, open Advanced Typography settings, and click on the plus (+) icon next to Text Shadow to enable it.
Step 3: Customize the shadow by adjusting the color, opacity, offset, and blur to get the preferred depth and contrast.
How to Create Gradient Text:
Step 1: Select your text element and go to Style Panel > Backgrounds.
Step 2: Add a linear, radial, or conic gradient. Then, use the available controls to choose colors, position the color stops, adjust the angle, etc., to fine-tune the look.
Step 3: Finally, set the Clip Background to Text to have the gradient apply only to the lettering.
How to Add a Text Clip Mask Effect:
Step 1: Similar to Gradient Text Effect, select your text element and head to Style Panel > Backgrounds.
Step 2: This time, add an Image Background and choose the image you want to use.
Step 3: Again, set Clip Background to Text to mask the image within the text.
Like this, with just a few clicks, you can turn plain text into a bold focal point.
With that said, do make use of these effects sparingly and strategically. You don’t want to create visual chaos and overwhelm the design, and reduce readability.
And apart from these effects, you can also animate text effortlessly in Droip. If you’d like to dive deeper, check out our full guide on How to Instantly Animate Text With No Code.
Level Up Your WordPress Website Game With Droip
From sleek glass effects to playful spring transitions and interactive cursor trails, these are just a few of the cool website effects in WordPress you can add without code, if only you have the right tools.
And Droip, implementing these effects (and many more) visually, is quick, effortless, and requires no extra plugins or costs.
So go ahead, level up your WordPress website game today, and bring it to life with Droip.

